NOIR Camera Scratch Build
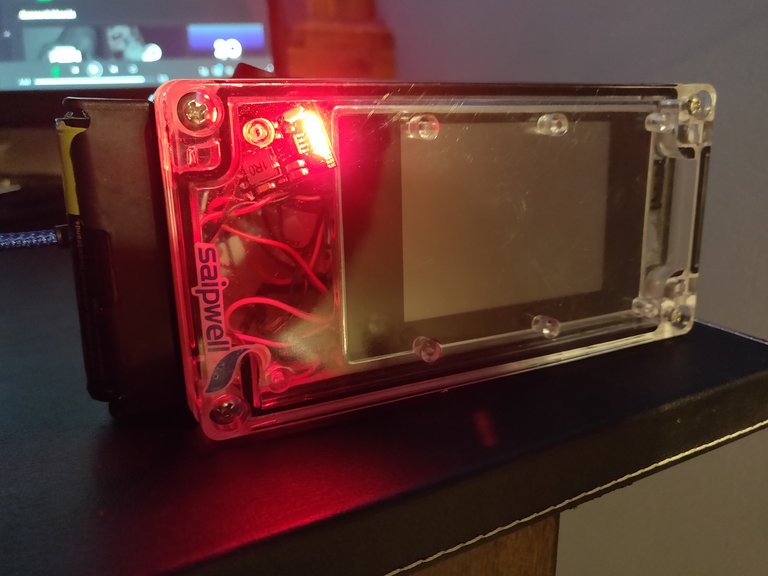
Let's build a camera based on the Raspberry Pi with a NOIR camera. It can see in a different spectrum and you can use a TV remote control like a flashlight at night, neat. I want to start by saying this wasn't a well planned project. Every single piece of this except for the charging bits were pieces were things I had around from other projects and they all came together for this particular build.
Originally my vision was to create a semi-modern, as open as possible camera setup I could take reasonable pictures with and share. That. is. coming! However, this is a crash build to get my feet wet for that project. This is the foundation, with components I already owned.
Features:
- NOIR Camera Module at 5mp
- Rechargeable lion batteries
- Micro USB charge port
- Main power switch
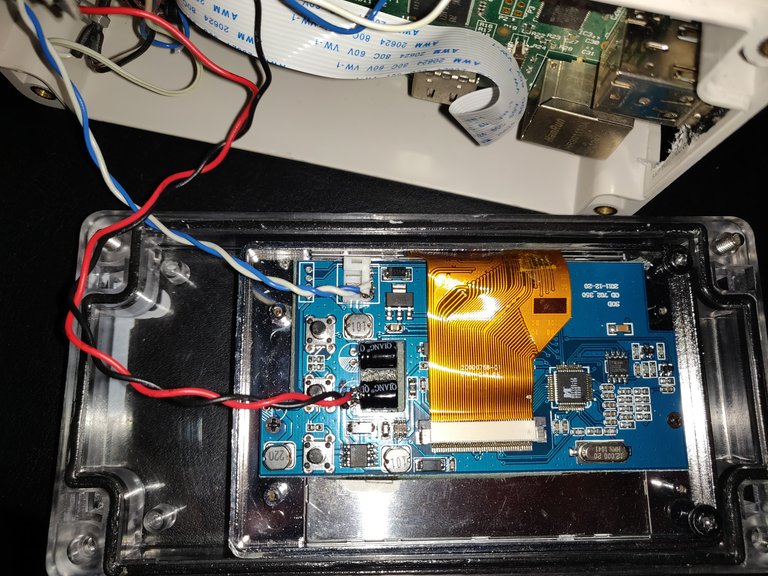
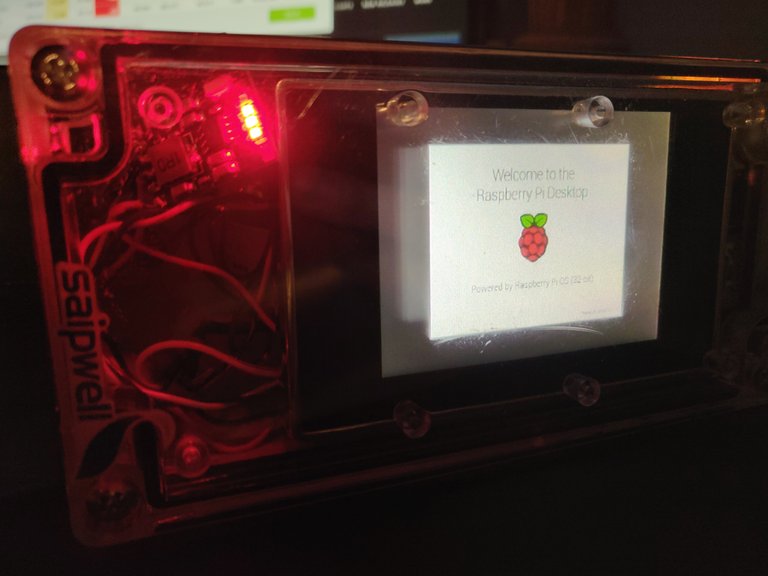
- 3.5 Inch TFT LCD monitor
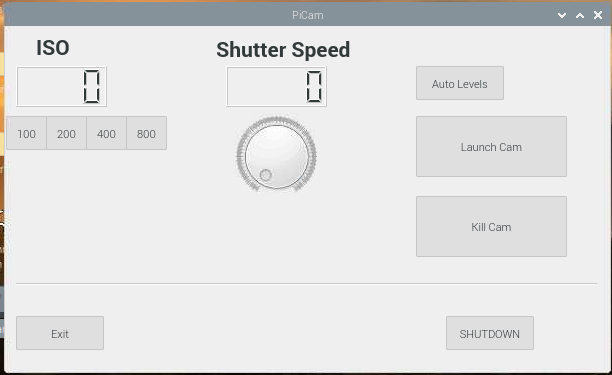
- Custom PyCam software
- Ability to save pictures in open and raw formats
Whats Open Source and what's not
- The operating system and camera libraries are Open Source
- The Pi is not Open Source hardware entirely
- I edit exclusively on Linux with Open Source photo editors
Features it lacks
- A camera style push button (it's currently controlled by a wireless keyboard/mouse combo)
- WiFi/Bluetooth
- Any type of power management, it's a hog. I haven't tested it yet, but I bet it only runs for 30-40 minutes.
- No video capture implemented yet
- No audio
- AESTHETICS - It's super gross, not sexy
Components:
Raspberry Pi 2 Model B (original)
3.5 Inch TFT LCD Monitor
https://smile.amazon.com/gp/product/B0045IIZKU/ref=ppx_yo_dt_b_search_asin_title?ie=UTF8&psc=1
5MP NOIR Camera f3.6mm 1/2.7"
https://sg.cytron.io/c-raspberry-pi/c-raspberry-pi-camera/p-3.6mm-lens-raspberry-pi-5mp-ir-camera
Female Micro USB to DIP 5-Pin Pinboard(the actual Micro USB plug)
https://smile.amazon.com/gp/product/B07W6T97HZ/ref=ppx_yo_dt_b_asin_title_o07_s00?ie=UTF8&psc=1
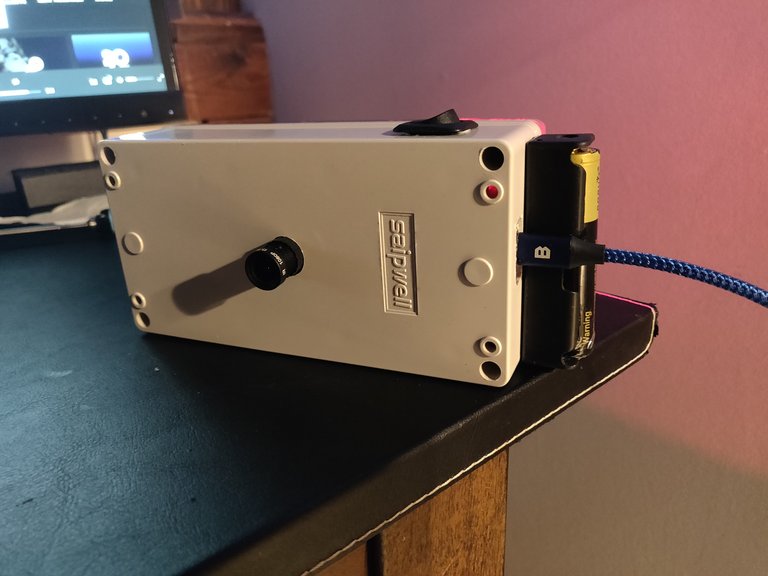
5V/2A Charge Module 3.7V for 18650 Lion Battery https://smile.amazon.com/gp/product/B07PZT3ZW2/ref=ppx_yo_dt_b_asin_title_o04_s02?ie=UTF8&psc=1
This is the charge controller module with 4 lights on the right side. 25%-50%75%-100%
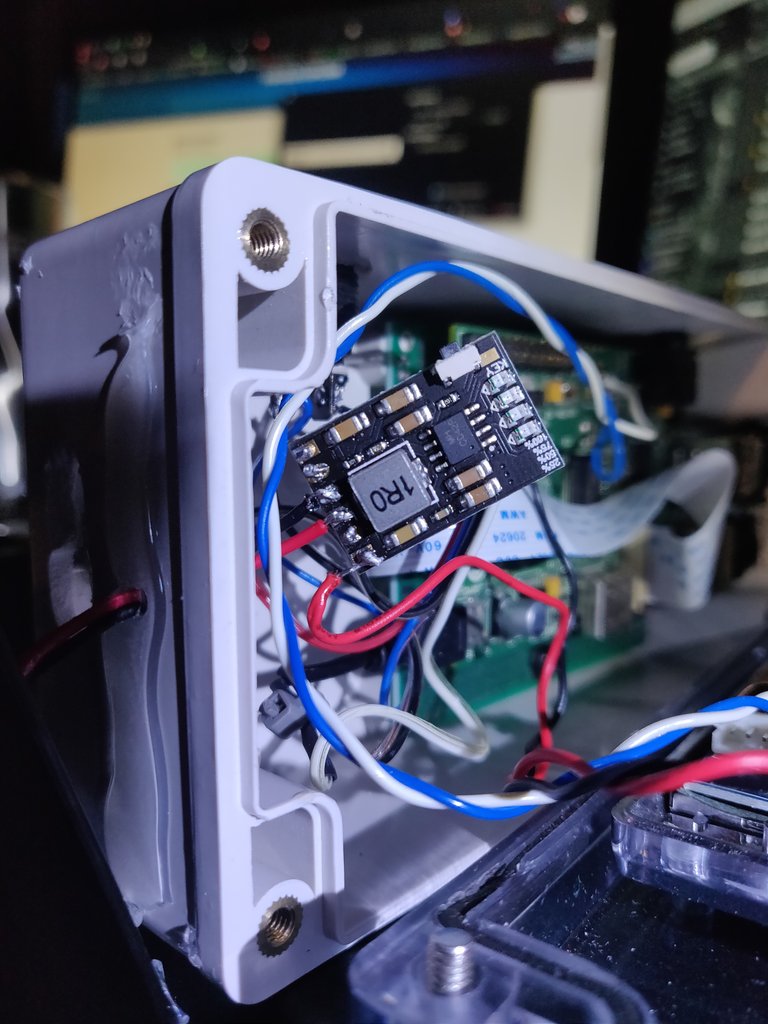
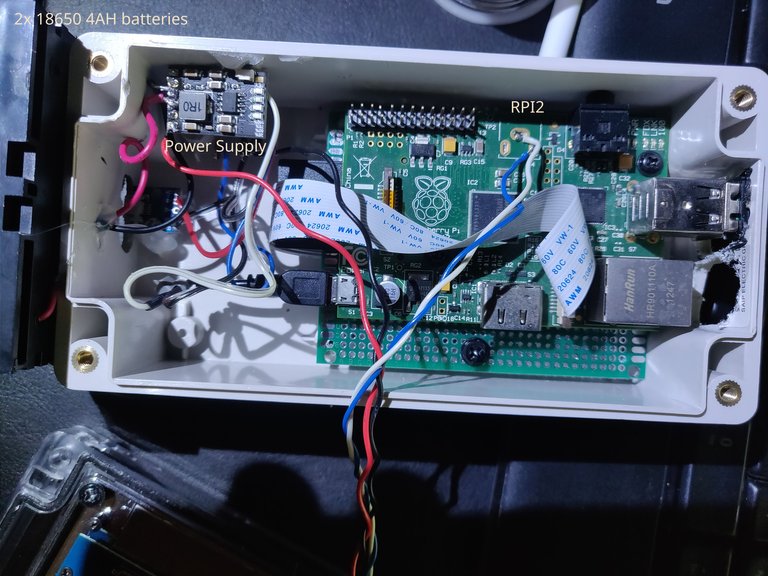
Several modifications were made to suit the project. First the composite port did not fit neatly in the box and there was no use for it. It is a two wire setup, so I de-soldered the connection right off of the RPI and soldered the connection right onto the contacts of the Raspberry board and then to the monitor. Those are the blue and white wires below. Note the power supply is actually mounted now.
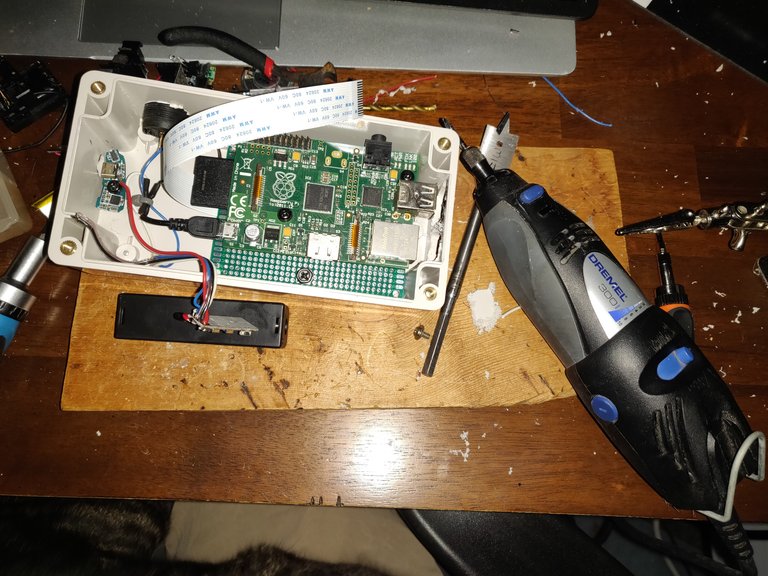
May have made a mess!
I wrote a custom software to assist with configuring the camera and settings when shooting. It is still a work in progress, but it helps a bit by making it easier to use.
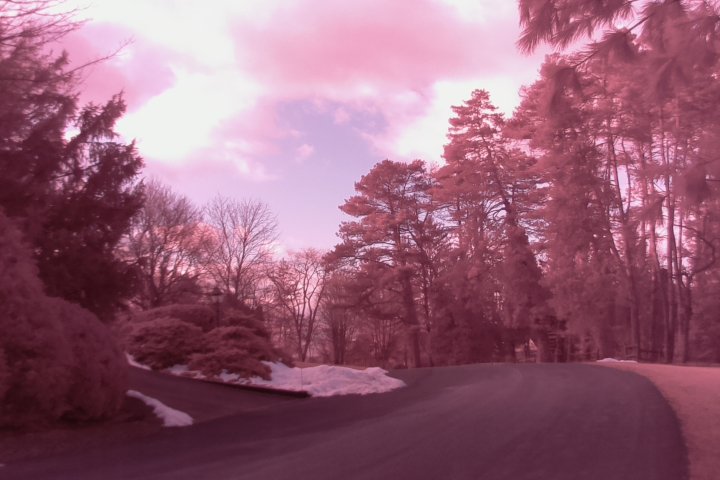
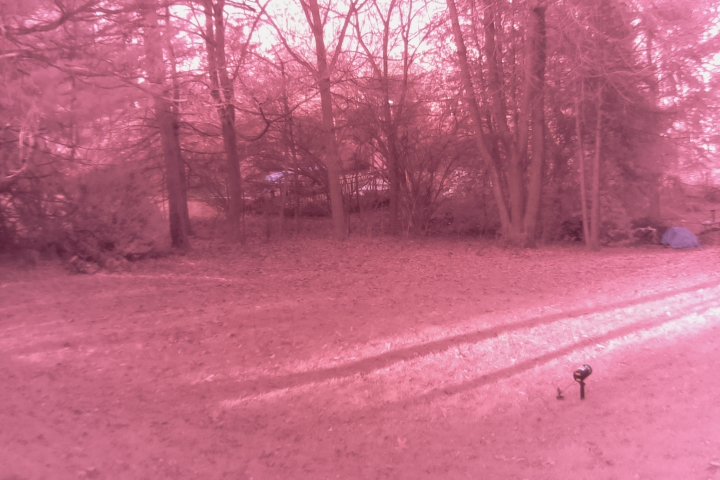
Here are a few sample shots. Keep in mind, I'm still trying to get the right resolution and settings. I think the white balance may need to be manually set due to the NOIR. The resolution was also very low.

Feel free to drop questions and comments below. Constructive criticism always welcome. I plan on future posts that focus on some of the more detailed aspects of each part of the project. It's just entirely too much for a single post.
@stevenson7 for visibility!
Consider joining the OpenSource Photography Community
Wow, this is fascinating. I can't believe you actually pull this off and the camera could get photographs. This is very impressive and i still don't understand the open source and software part very much.
This Amazes me
Well that gives me ideas for posts. The next build I'll take it step by step with the hardware and the software. Stay tuned.
Of course I will. This really fascinates me, also, please don't forget to mention me.
Thank you ,😊
No worries, I'll do that. I guess I should do a cost on these types of builds too! Everyone should know what goes into it. Thank your for interacting!
Thank you for sharing this amazing post on HIVE!
Your content got selected by our fellow curator @stevenson7 & you just received a little thank you via an upvote from our non-profit curation initiative!
You will be featured in one of our recurring curation compilations and on our pinterest boards! Both are aiming to offer you a stage to widen your audience within and outside of the DIY scene of hive.
Join the official DIYHub community on HIVE and show us more of your amazing work and feel free to connect with us and other DIYers via our discord server: https://discord.gg/mY5uCfQ !
If you want to support our goal to motivate other DIY/art/music/homesteading/... creators just delegate to us and earn 100% of your curation rewards!
Stay creative & hive on!