Creating a craft with everyday items with my son, a little hexagonal box [ENG-ESP]
Greetings Dear #hive and Hivediy community, it is a pleasure for me to share with you this work I did for my son in his activity at his school.
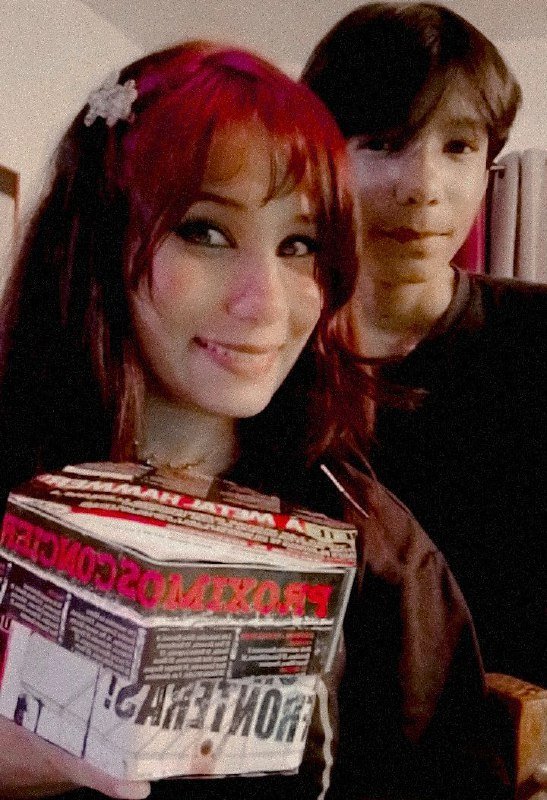
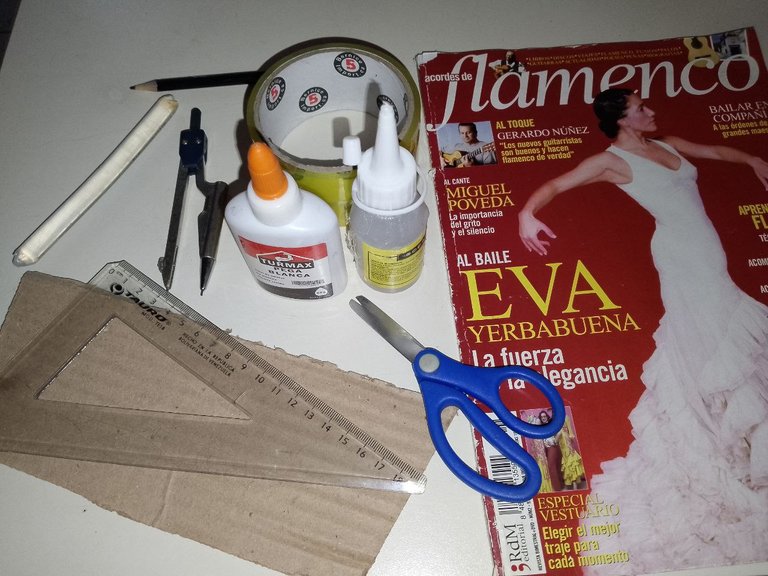
I will tell you how I made this beautiful little box in the shape of a geometric body, an activity that I really enjoyed doing with my son. We used simple materials that surely everyone has at home: cardboard, silicone, ruler, scissors, tape, compass and contac paper or magazines.
 |  |
|---|
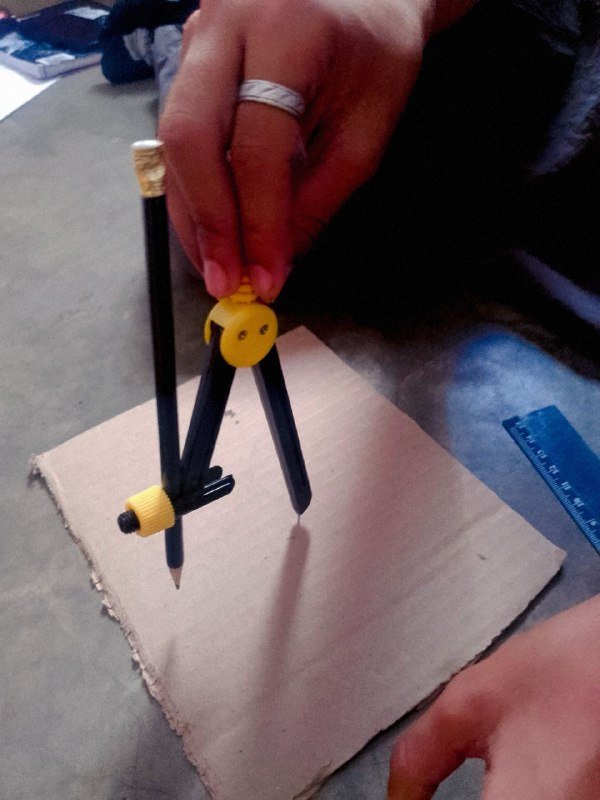
The first thing we did was to take a piece of cardboard and a compass to draw a circle with a diameter of 7 cm. It is important to make sure that the circle is well defined and then proceed to cut it out carefully.
 |  |
|---|
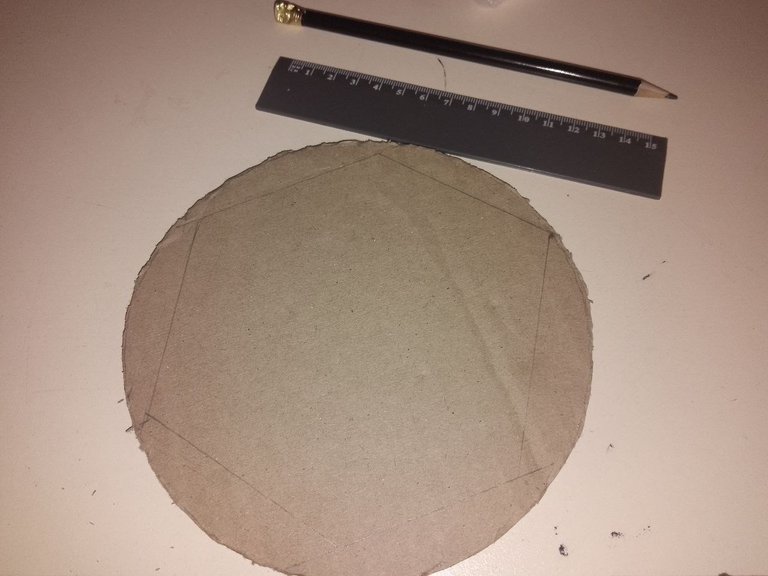
Once we had the circle ready, we drew lines to form a hexagon, making sure that each side measured exactly 7 cm. This allowed us to create a solid base for our little box.
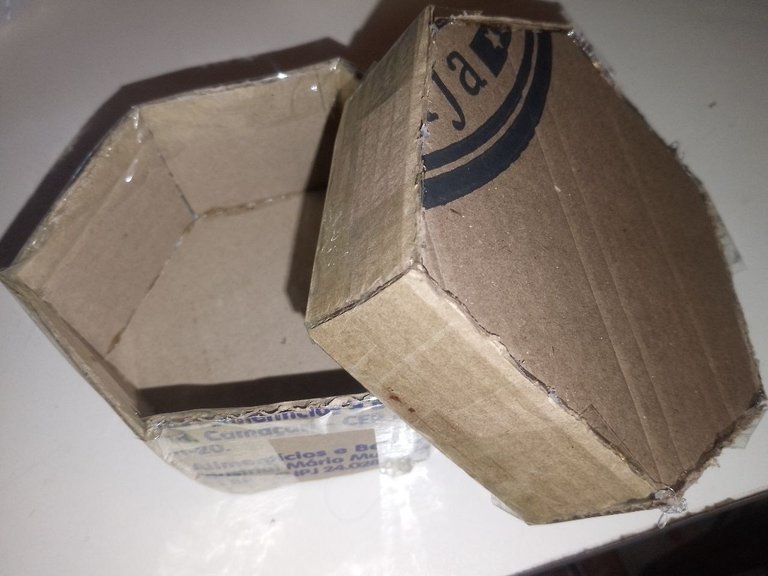
After carefully cutting out the hexagon, we proceeded to make some additional pieces with the same cardboard and the same measurements for each angle. These pieces would be the sides of our box, so it is important that they match in size and shape with the hexagonal base.
Then, using silicone, we glue each of the pieces in its corresponding place. It is important to let the silicone dry completely before continuing with the next step, to ensure a firm and durable joint.
 |  |
|---|
Once all the pieces were glued and dry, we reinforced the structure with tape on top and around all the joints. This helps keep the box tightly closed and provides greater stability.
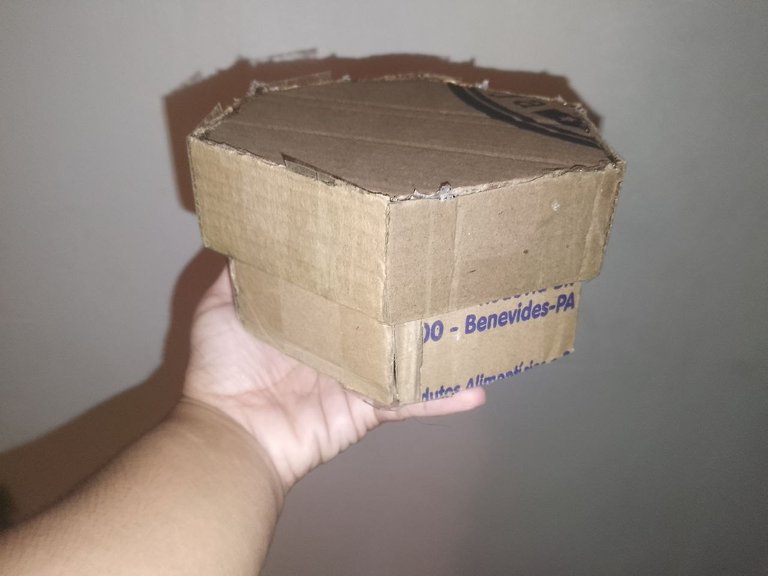
For the box lid, we repeated the same process, making sure it perfectly matched the base and that it was securely fastened with silicone and tape.
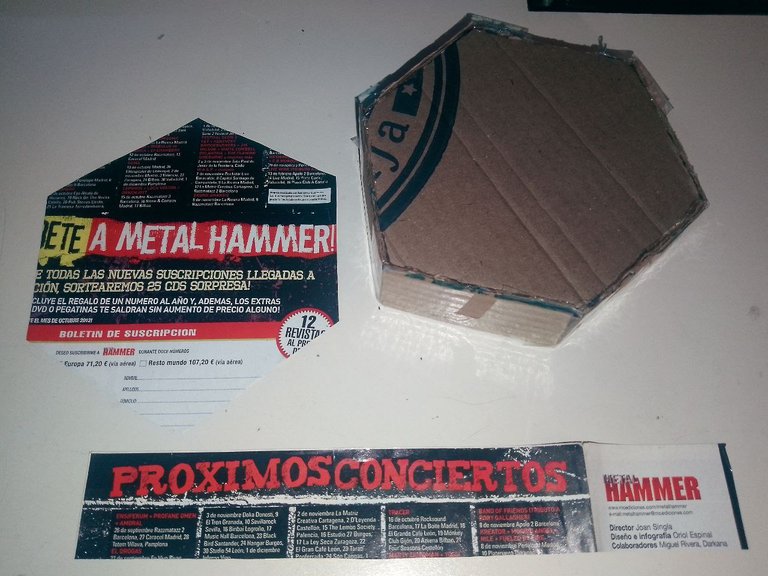
Once the box was complete and well assembled, the most fun moment came: the decoration. We used magazines and contac paper to cover the box and give it a personalized touch. You can let your imagination run wild in this step and decorate the box according to your tastes and preferences.
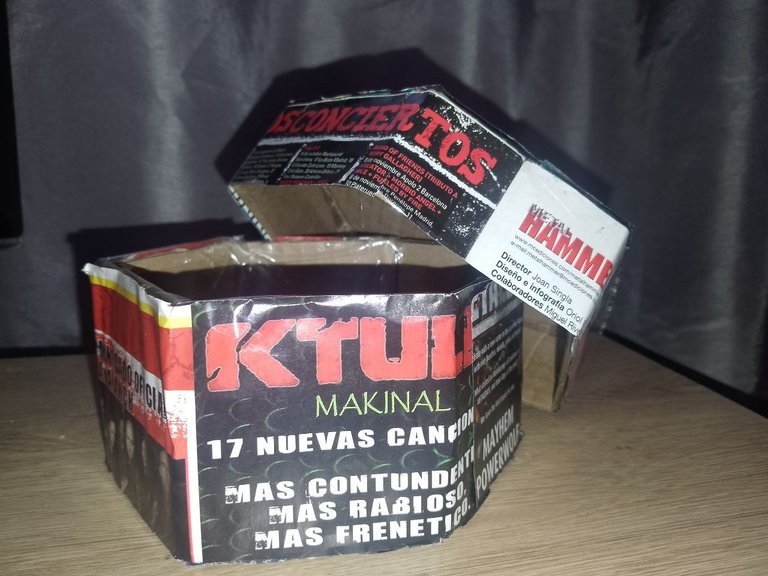
Finally, once the decoration was ready and dry, our little box in the shape of a geometric body was ready to be used or given as a gift. This activity not only provided us with moments of fun and creativity, but also allowed us to work together on a practical and rewarding project.
My tips for those who wish to make this craft are: take your time with each step to make sure everything is done right, use good quality materials for best results, and don't be afraid to experiment with decorating to make the box even more special. I hope you enjoy making this beautiful little geometric box as much as we did!
Grateful to everyone for letting me expose this cute homemade craft, very important to be able to help our children or relatives in these nice details, they are very simple things to do and create a unique and fun family moment.
Greetings to all!
Translated with DeepL.com (free version)
SPANISH (click here!)
Saludos Querida comunidad de #hive y Hivediy, para mi un placer poder compartir con ustedes este trabajo que realice para mi hijo en su actividad en su plantel educativo.
Les contare cómo realicé esta hermosa cajita en forma de cuerpo geométrico, una actividad que disfruté mucho hacer en compañía de mi hijo. Utilizamos materiales simples que seguramente todos tienen en casa: cartón, silicona, regla, tijeras, cinta adhesiva, compás y papel contac o revistas.
| |
|---|
Lo primero que hicimos fue tomar un trozo de cartón y un compás para trazar un círculo con un diámetro de 7 cm. Es importante asegurarse de que el círculo quede bien definido y luego proceder a recortarlo con cuidado.
| |
|---|
Una vez que tuvimos el círculo listo, trazamos líneas para formar un hexágono, asegurándonos de que cada lado midiera exactamente 7 cm. Esto nos permitió crear una base sólida para nuestra cajita.
Después de recortar cuidadosamente el hexágono, procedimos a hacer unas piezas adicionales con el mismo cartón y las mismas medidas para cada ángulo. Estas piezas serían los lados de nuestra caja, así que es importante que coincidan en tamaño y forma con la base hexagonal.
Luego, usando silicona, pegamos cada una de las piezas en su lugar correspondiente. Es importante dejar que la silicona se seque completamente antes de continuar con el siguiente paso, para garantizar una unión firme y duradera.
| |
|---|
Una vez que todas las piezas estuvieron pegadas y secas, reforzamos la estructura con cinta adhesiva en la parte superior y alrededor de todas las juntas. Esto ayuda a mantener la caja bien cerrada y proporciona una mayor estabilidad.
Para la tapa de la caja, repetimos el mismo proceso, asegurándonos de que coincida perfectamente con la base y que quede bien sujeta con silicona y cinta adhesiva.
Una vez que la caja estuvo completa y bien ensamblada, llegó el momento más divertido: la decoración. Utilizamos revistas y papel contac para cubrir la caja y darle un toque personalizado. Puedes dejar volar tu imaginación en este paso y decorar la caja de acuerdo a tus gustos y preferencias.
Finalmente, una vez que la decoración estuvo lista y seca, nuestra cajita en forma de cuerpo geométrico estaba lista para ser utilizada o regalada. Esta actividad no solo nos brindó momentos de diversión y creatividad, sino que también nos permitió trabajar juntos en un proyecto práctico y gratificante.
Mis consejos para aquellos que deseen realizar esta manualidad son: tomarse el tiempo necesario en cada paso para asegurarse de que todo esté bien hecho, utilizar materiales de buena calidad para obtener mejores resultados y no tener miedo de experimentar con la decoración para hacer la caja aún más especial. ¡Espero que disfruten tanto como nosotros al hacer esta hermosa cajita geométrica!
Agradecidos con todos por dejarme exponer esta linda manualidad hecha en casa, muy importante poder ayudar a nuestros hijos o familiares en estos lindos detalles, son cosas muy sencillas de realizar y crean un momento único y divertido en familia.
Saludos a todos!
Utilizando las herramientas para la traduccion de deepl, editor de canva y fotos tomadas de mi telefono TECNO SPARK 10C
Using deepl translation tools, canva editor and photos taken from my TECNO SPARK 10C phone


Instagram: LINK
Congratulations @yukensy! You have completed the following achievement on the Hive blockchain And have been rewarded with New badge(s)
Your next target is to reach 1750 upvotes.
Your next target is to reach 100 replies.
You can view your badges on your board and compare yourself to others in the Ranking
If you no longer want to receive notifications, reply to this comment with the word
STOPTo support your work, I also upvoted your post!
Las manualidades requieren de mucha paciencia ya que si realizamos las cosas a las carreras nos saldrán mal, una genial manera de darle un buen uso a lo que otros consideran basura gracias al reciclaje le damos vida útil a muchas cosas que son desechadas excelente idea amiga
Si en realidad tiene mucho valor trabajar en reciclaje así aprendemos a valorar un poco lo que uno cree que no sirve 🥰❤️