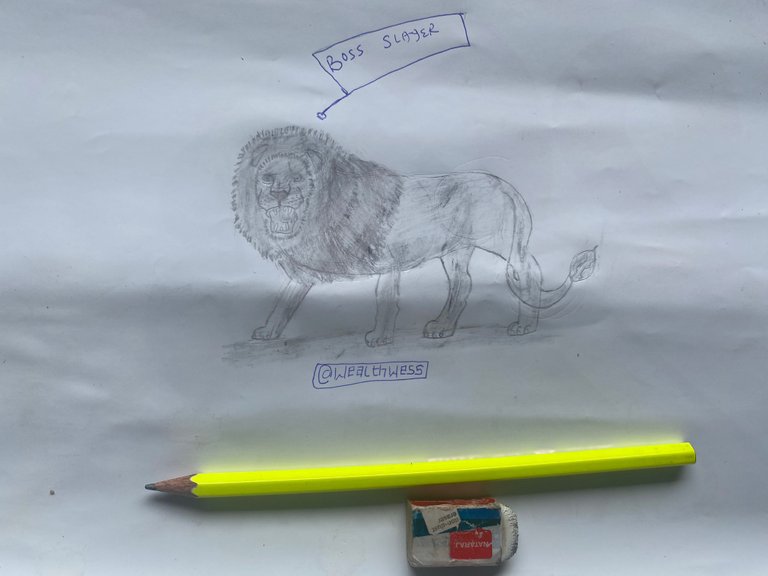
FINAL BOSS - BOSS SLAYER 💀
Hello friends, welcome to my blog. Today, i am going to share with you my art on “Final Boss- Boss slayer. Which happened to be the last quest on #CYOA- The Artist.
I’m quite excited that i’ve made it through to the last stage of the Art quests because deep down i know I’m not so much of an Artist, but I’m not the type that backs down from challenges and to think of that, I’ve seen myself doing lots of things I haven’t done before, all because of Leo Zealy quests and which i enjoyed doing by the way.
So it’s brings me great pleasure to be Sharing with everyone my step by step process of sketching the Boss Slayer standing firm on his feet with a little roar coming out from his mouth.
Even though i got a little fever prior to the sketching but i still didn’t give up and gave my best on it. I believe it’s the efforts that matters. I hope you like. Kindly see the process below.
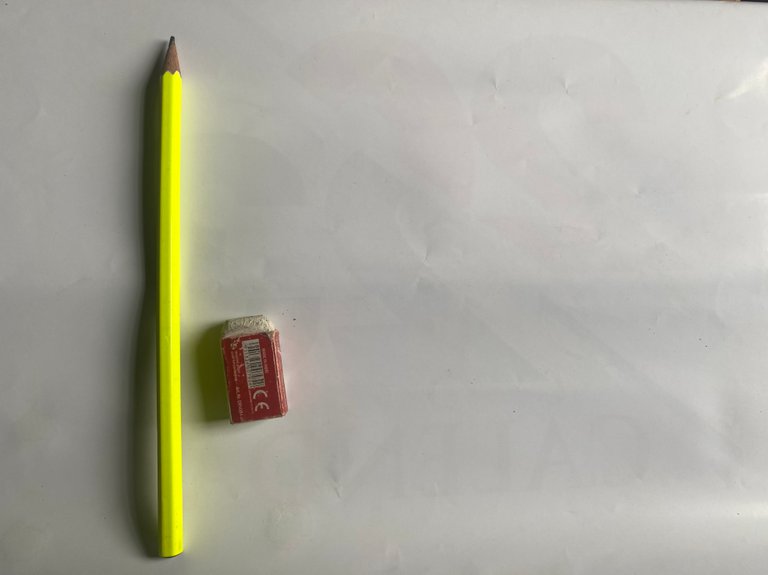
Materials used in this drawing includes;
- Cardboard
- Pencil
- pen(for writing captions)
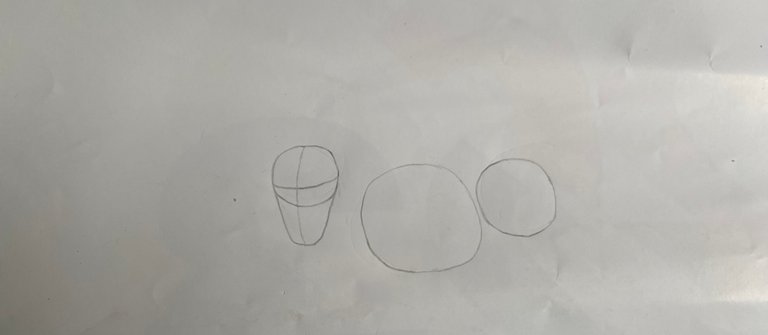
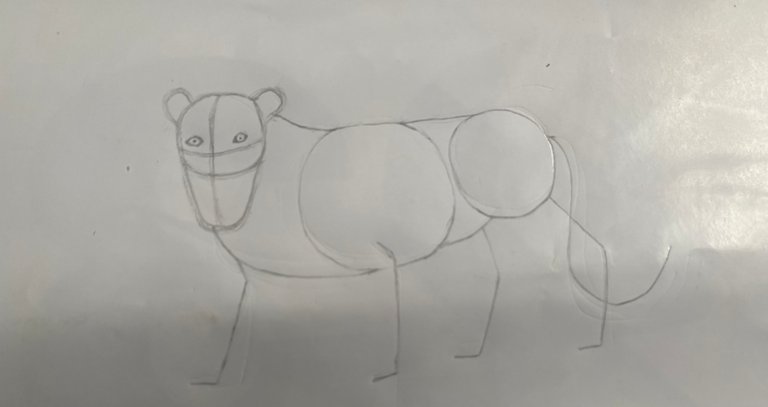
Step 1: I draw two circles as guides for the lions body, i then draw some marks for the height and width of the circle, then i connect the marks using curved lines. Then I make the circle on the right side smaller and placed higher. The edges of the circles almost touch each other.
Step 2: i draw another circle on the top left side as a guild for the head. The circle is about one fourth the size of the first one and i placed it closer to the first circle.
Step 3: i draw a U-shaped arc under the head as a guide for the lower part of the open mouth.
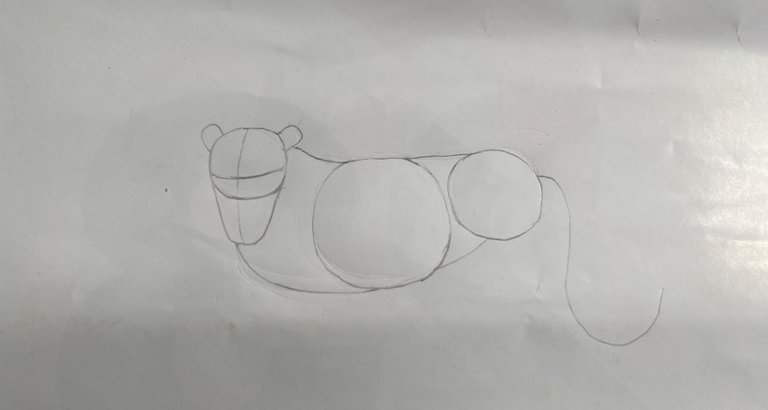
Step 4: i draw two intersecting lines inside the entire head to help me draw the facial features later on. I curve the lines contour to the head. Then I draw the vertical line a little high on the head.
Step 5: i draw two small arcs on the top of the head as guides for the ears.
Step 6: i then draw a series of curved lines that connects the major shapes to form the rest of the body. On the right side of the body, I draw a curved lines similar to a backward letter J as a guide for the tail.
Step 7: Then i draw four lines under the body as a guide for the legs. I bend the lines on the left a bit at the top for the joints and at the bottom for the feet. I placed the legs to be far from each other to give the lion a wide and aggressive stance. I bend the lines for the hind legs near the middle and at the bottom.
Step 8: i slightly sketch the eyes as small circles inside the head. Using the construction lines as guides for placement. Then i darken the shape of each eyes using thicker line. In the middle of the eye, I draw a tiny dot for the pupils.
Step 9: i draw the nose by lightly sketching a triangle. Then I placed the nose to rest between the horizontal construction line and the bottom edge of the circle.
Step 10: i draw the mouth and sketch the remaining parts of the body while adding some shadings.
ALL SKETCHES BELOW


Thanks so much for stopping by & with the upvotes!!!
You explained the full process of drawing the lion, anyone like me who's don't know how to draw the lion will take help from your this blog. Thanks for sharing enjoy reading the process of drawing the lion.
Oh, I’m glad to hear my piece could be useful. thanks for stopping by.
Yay! 🤗
Your content has been boosted with Ecency Points, by @wealthwess.
Use Ecency daily to boost your growth on platform!
Support Ecency
Vote for new Proposal
Delegate HP and earn more
Congratulations @wealthwess! You have completed the following achievement on the Hive blockchain And have been rewarded with New badge(s)
Your next target is to reach 3750 upvotes.
You can view your badges on your board and compare yourself to others in the Ranking
If you no longer want to receive notifications, reply to this comment with the word
STOPCheck out our last posts: