Valentine's Day gift ❤️✨♦️/Regalo de San Valentín ❤️✨♦️

Hello everyone ! I hope you are doing very well Hive Arte community☺️🫶🏻, in this pleasant opportunity I bring you a craft made by me for Valentine's Day or any other day that you want to give something to that person who is so special to you, I hope you like it, it is easy to do , it is not expensive and the best of all is that you can make it with recycling materials or that you have at home 🤩🤩🤩
Hola a todos ! espero estén muy bien comunidad de Hive Arte☺️🫶🏻, en esta grata oportunidad les traigo una manualidad hecha por mí para San Valentín o cualquier otro día que quieran regalarle algo a esa persona tan especial para ustedes, espero les guste, es fácil de hacer, no ed costosa y lo mejor de todo es que la pueden elaborar con materiales de reciclaje o que tengan en casa 🤩🤩🤩
For the Box we will need:
Para la Cajita vamos a necesitar:
Dark colored cardboard, or any cardboard (can be from a shoe box or cake box, etc.)
Cartulina de color oscuro, o cualquier cartón ( puede ser de una caja de zapatos o de pastel, etc.)
a ruler, black marker, colors, and glue.
una regla, marcador negro, colores, y pegamento.
gold decoration ribbon (or whatever color you want)
cinta de decoración dorada ( o del color que deseé)
Pasos:
Steps:
- With the ruler we are going to measure the cardboard and mark the cuts for the Box. The measurements are: Side: 21 cm x 9 cm. Horizontal: 20cm x 9cm. For the lid they are also the same measurements.
Con la regla vamos a medir el cartón y a marcar los cortes para la Cajita. Las medidas son : Lateral: 21 cm x 9 cm. Horizontal: 20 cm x 9cm. Para la Tapa también son las mismas medidas
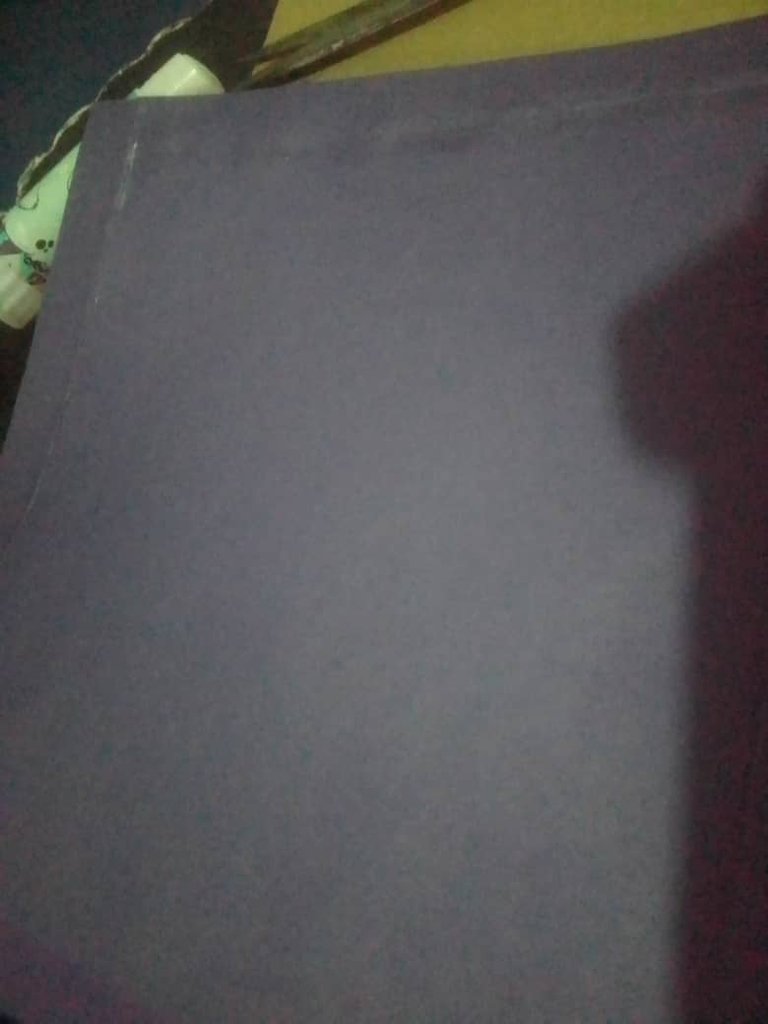
- After making the cuts, we begin to paint the cardboard with tempera or cold paint on both sides. You can paint them the same color or the opposite sides with different colors. If you chose the cardboard, you only have to glue the sides of the box with the glue on. bar or Silicon (can be hot or liquid)
Después de realizar los cortes, empezamos a pintar el cartón con tempera o pintura al frío de ambos lados puedes pintarlos del mismo color o los lados opuestos de diferentes colores, si escogiste la cartulina solo debes de pegar los lados de la caja con la pega en barra o el Silicon ( puede ser caliente o líquido).
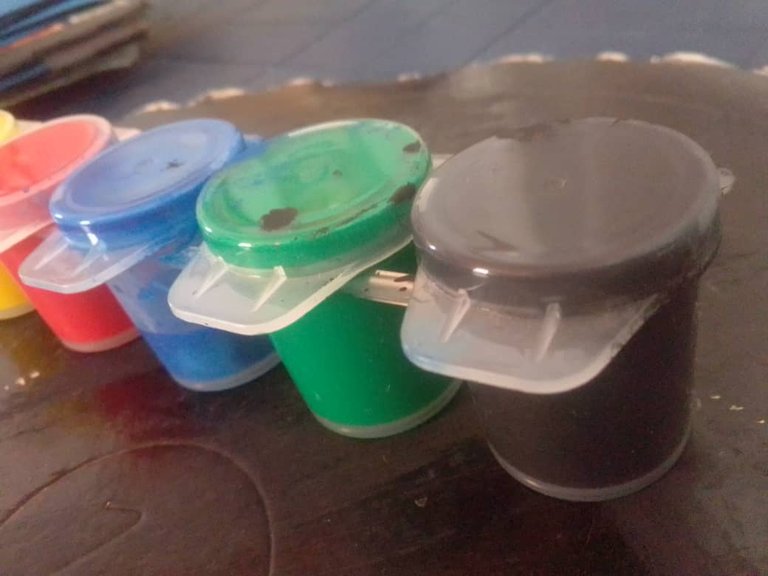
I chose these tempera paints, you can find them in any stationery store and they are very economical.
Yo elegí estas témperas las puedes encontrar en cualquier papelería y salen muy económicas
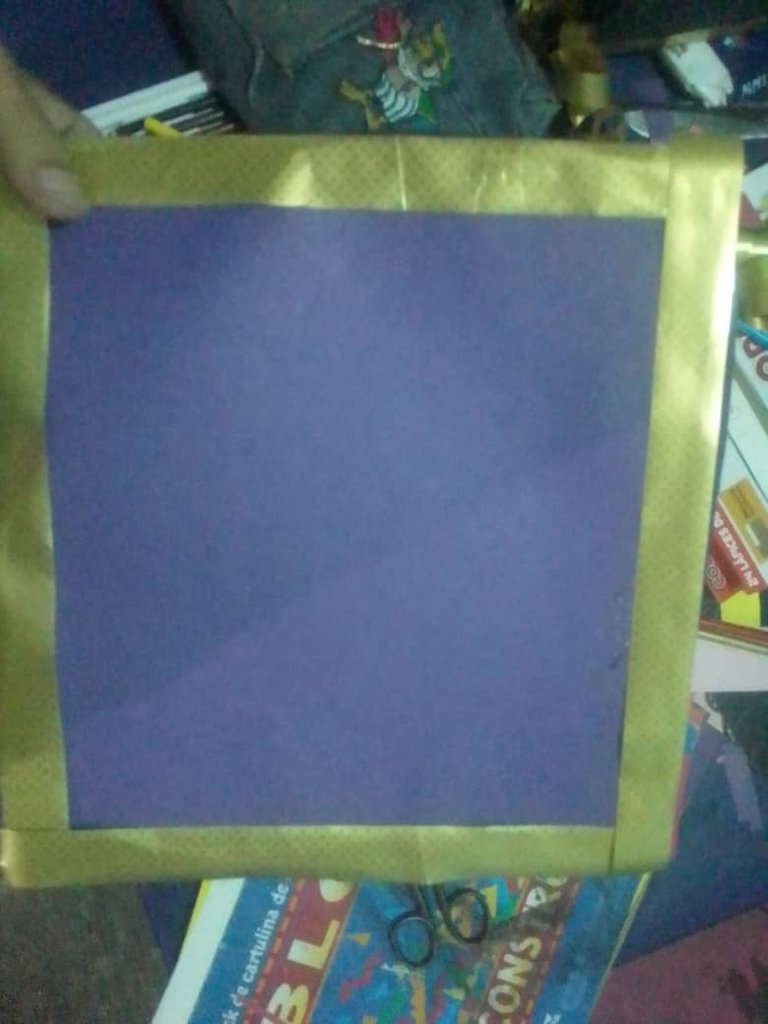
you should have something like this 👇🏻:
te debe quedar algo así 👇🏻:

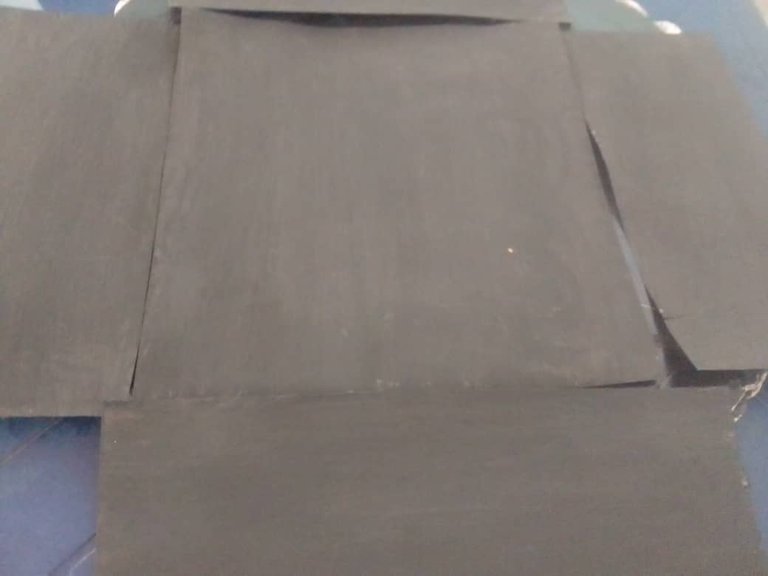
You must give the cardboard several layers so that the color is uniform. While you wait for the cardboard to dry, let's move on to the contents of the box.
debes darle varias capas al Cartón para que quedé uniforme el color, mientras esperas a que el cartón seque, vamos con el contenido de la Cajita
- lovers card ❤️😍
Cards are a good option when giving as a gift to our special person and will be great content for our Box 😍😍😍
Las tarjetas son una buena opción a la hora de regalar a nuestra personita especial y será un gran contenido para nuestra Cajita 😍😍😍
Materiales:
colour cardboard(the color of your preference).
Cartulina ( del color de tu preferencia).
Black marker and colors.
Marcador negro y colores .
glue and scissors
pega en barra y tijeras
- Pasos:
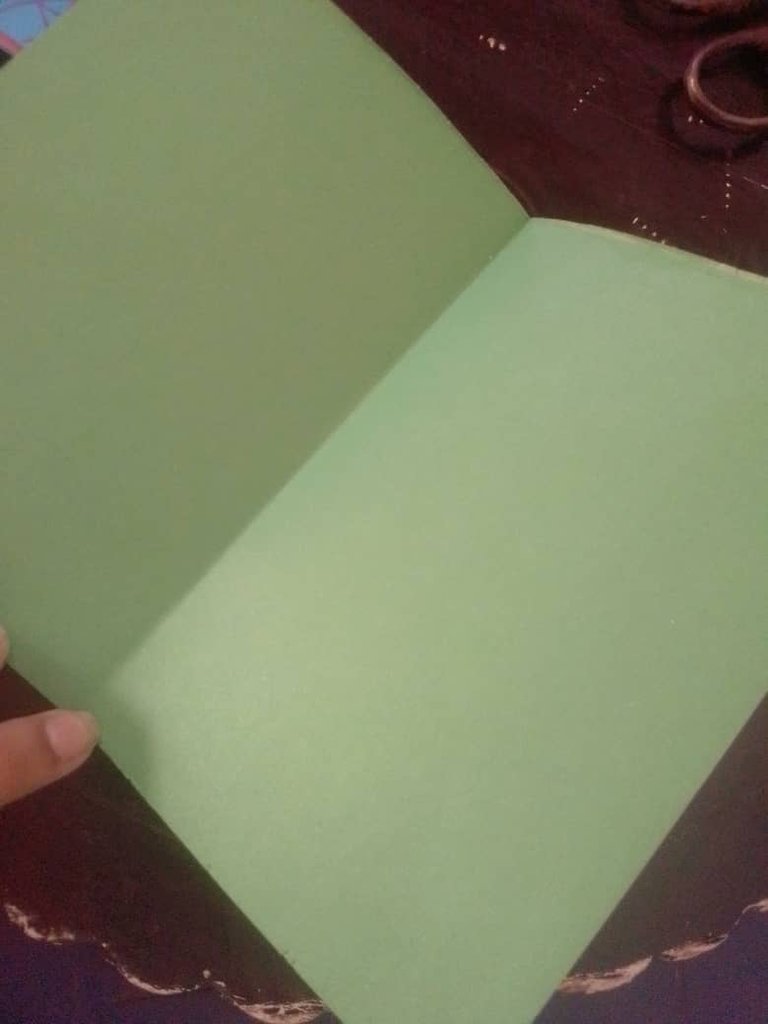
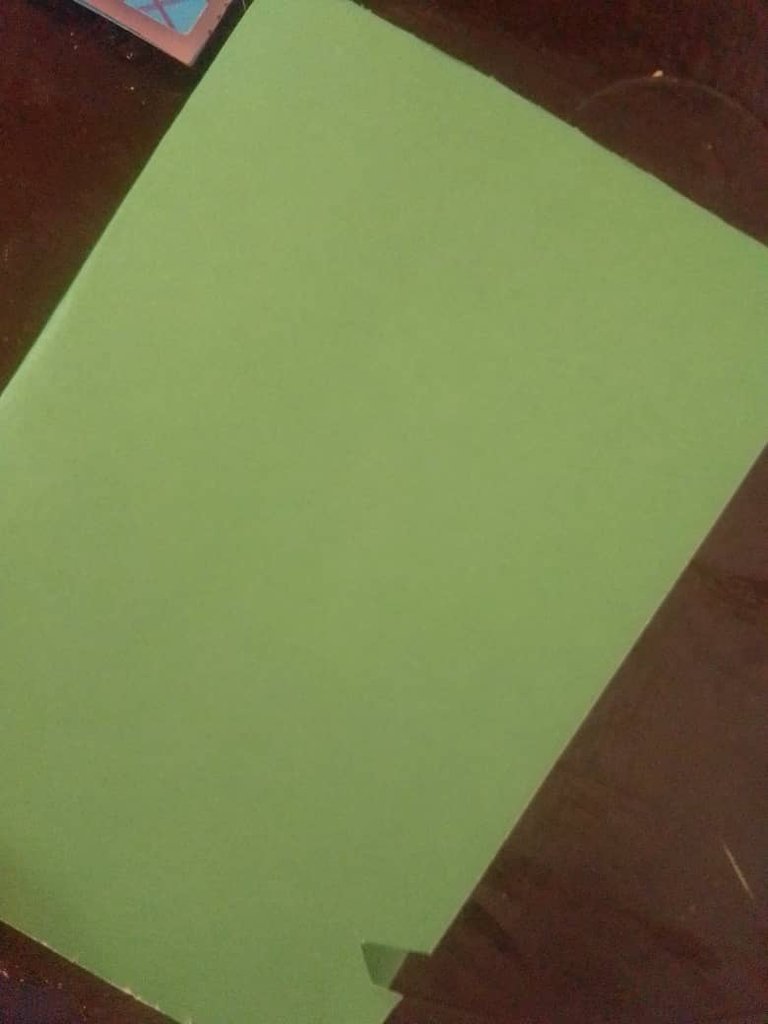
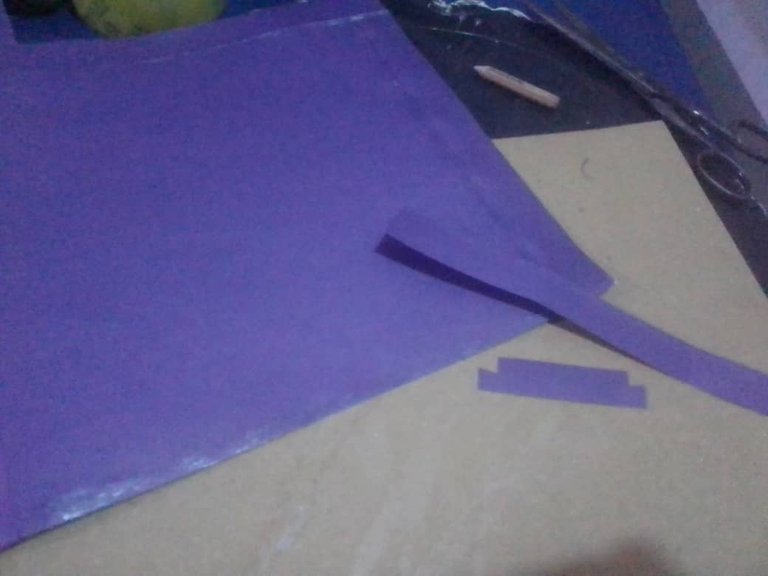
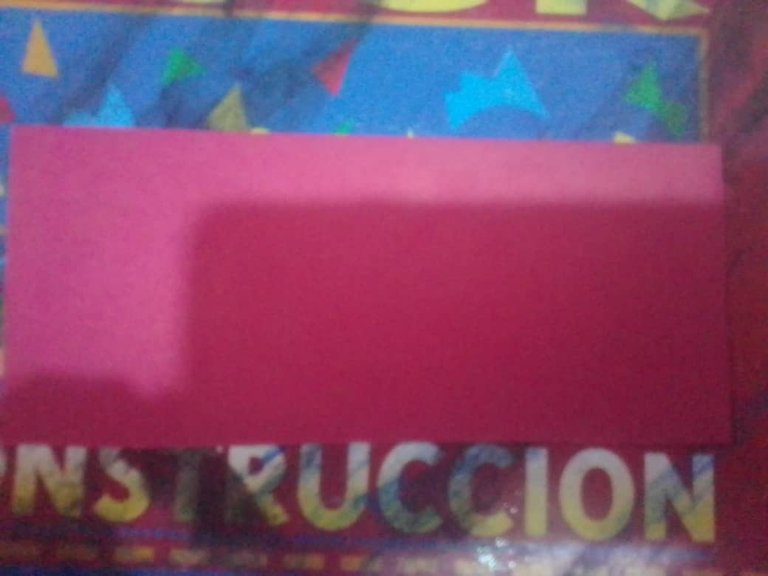
- We are going to use only half of the cardboard, with half ready we are going to fold it in half
Vamos a utilizar solo la mitad de la cartulina, ya con la mitad lista vamos a doblarla a la mitad
So we were left like this 👇🏻:
De modo que nos quedé así 👇🏻:
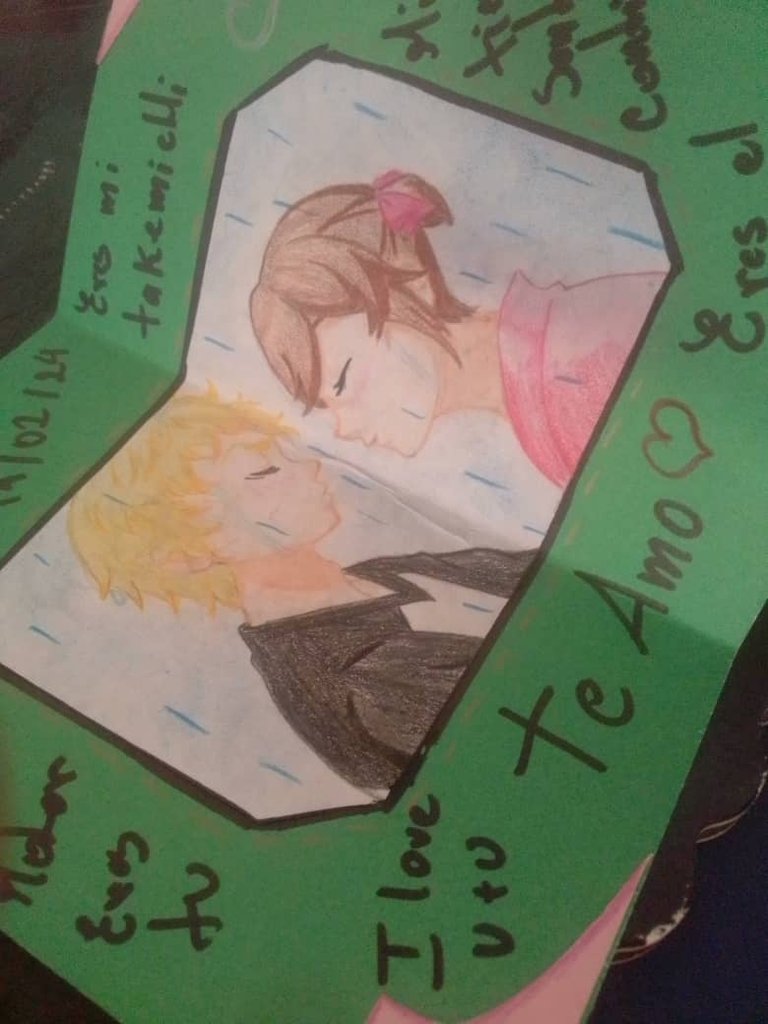
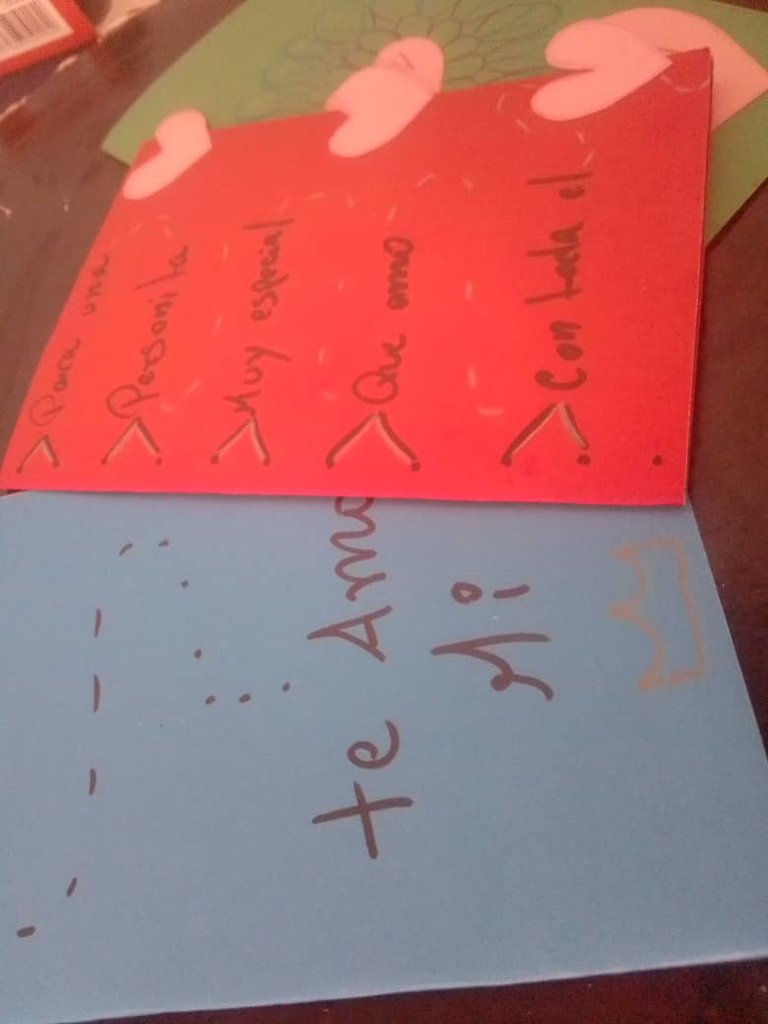
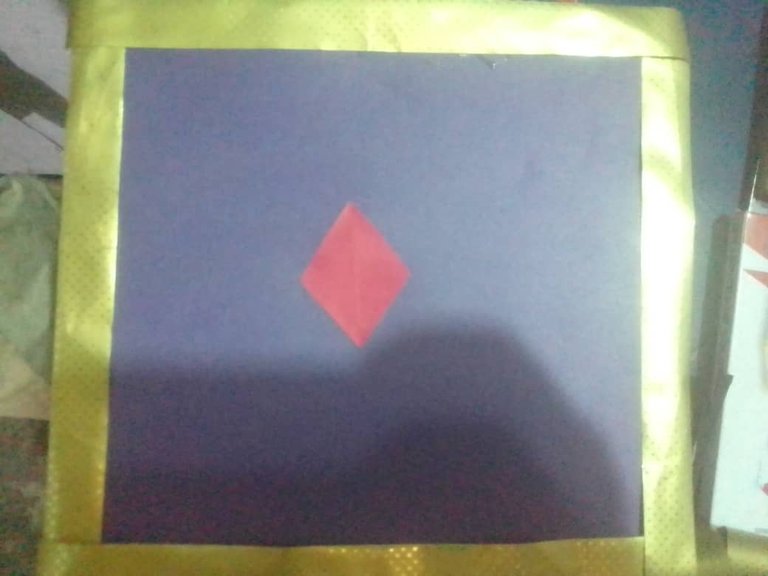
And we only decorate it inside as we want, in my case I made a drawing and glued it on and around it I wrote some things.
Y solo la decoramos por dentro como queramos, en mi caso hice un dibujó y se lo pegué y a su alrededor escribí algunas cositas.
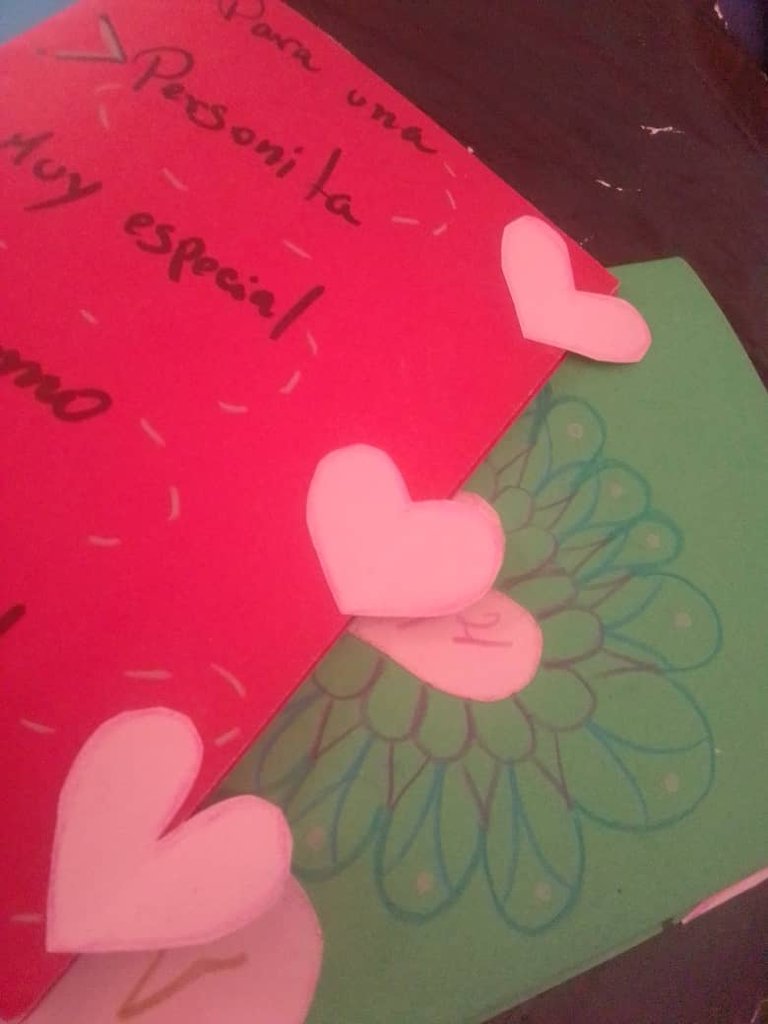
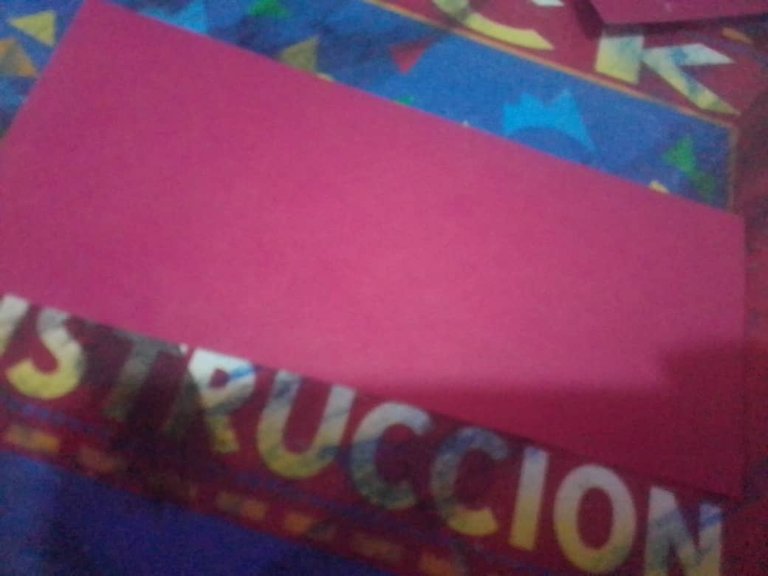
For the outside decoration I wanted to make little hearts
Para la decoración de afuera yo quise hacer corazóncitos
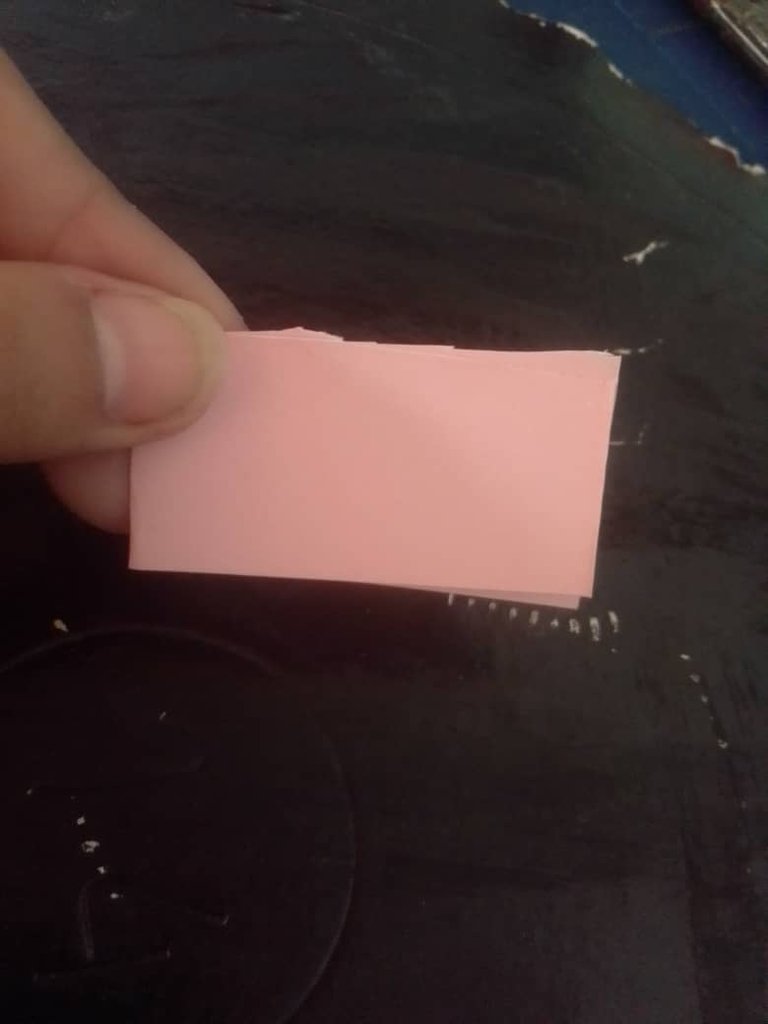
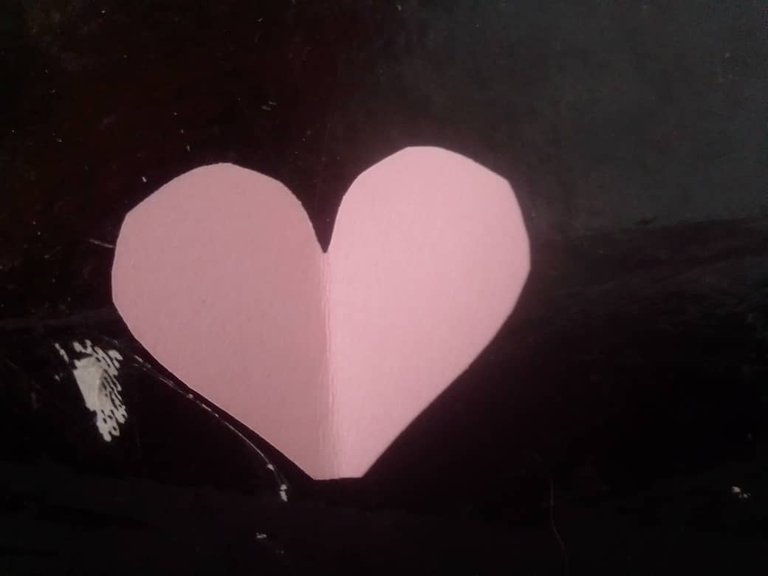
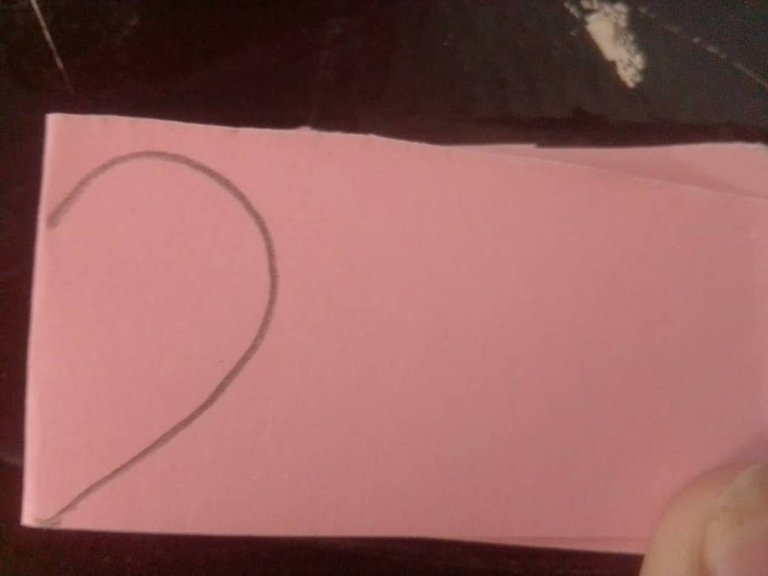
They are very easy to make with a small piece of pink cardboard that you have lying around, you just fold it in half, draw the heart, cut it out and that's it, it looks super cute 😍, you can make super cute designs for the cards
son muy fáciles de hacer con un pedazo pequeño de una cartulina que tengas por ahí de color rosa , solo la doblas a la mitad dibujas el corazón, lo recortas y listo queda súper lindo 😍, puedes hacer diseños super lindos para las tarjetitas
Ready! This is how beautiful the cards are 😍😍👇🏻:
¡Listo! Así de bellas quedan las tarjetas 😍😍👇🏻:

- Small box
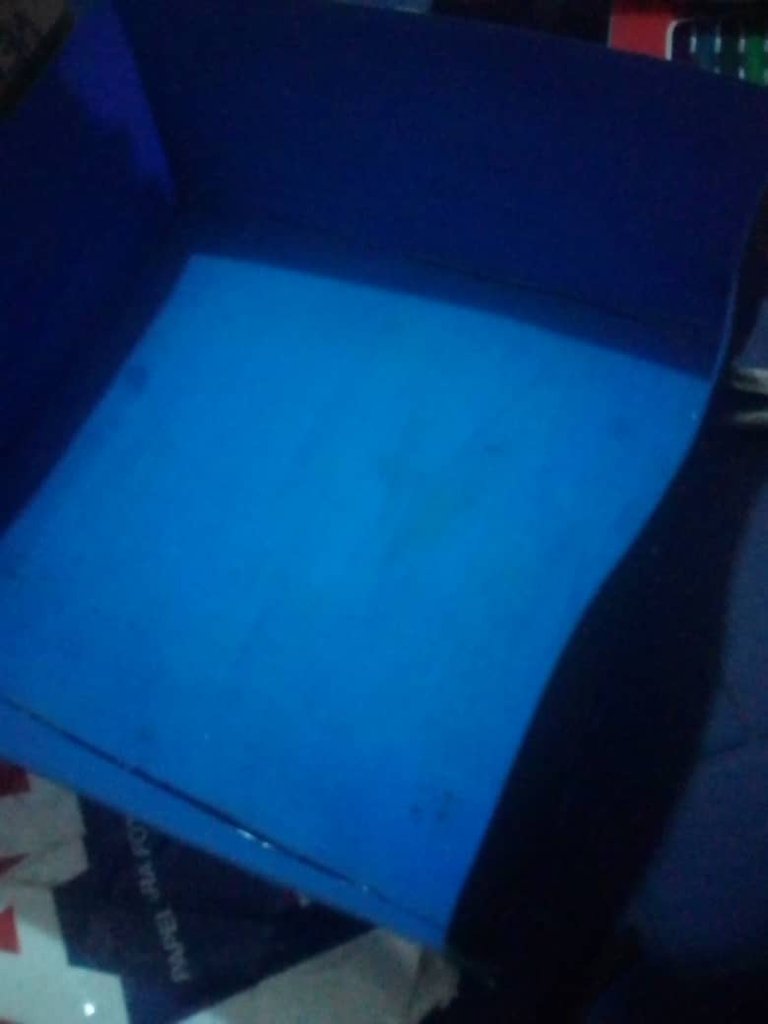
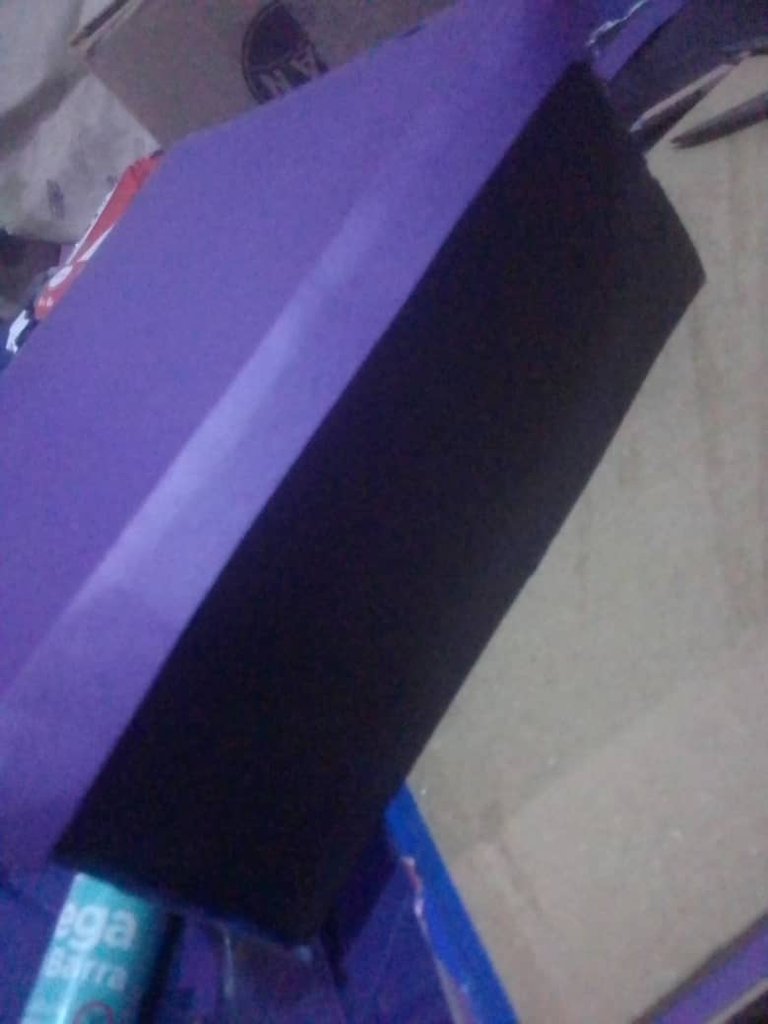
- We continue with the box, now we glue it and it should look something like this 👇🏻:
Seguimos con la cajita, ahora la pegamos y debe quedar algo así 👇🏻:

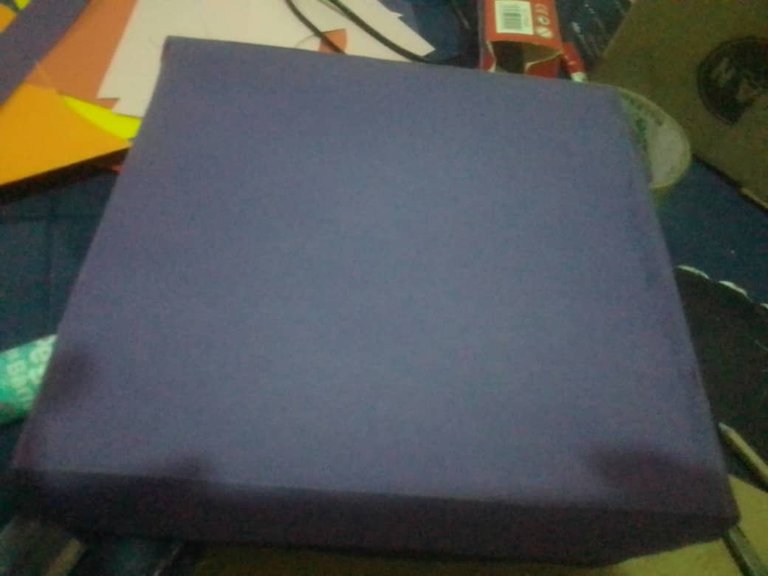
- Now we make the lid of the box, in my case I made it with a dark colored cardboard, I still took the measurements of the box, cut it out with scissors, made the doubles and fit them with the mouth of the box, glued them, and I waited for it to dry.
Ahora hacemos la tapa de la cajita, en mi caso la hice con una cartulina de color oscuro, igual tomé las medidas de la caja, con la tijera recorte, hice los dobles y los calce con la boca de la caja, los pegué , y esperé a que secara.
With light and dark pink cardboard, we are going to cut out squares (the size you want)
Con cartulina color rosa claro y oscuro, vamos a recortar cuadrados( la medida que ustedes quieran)
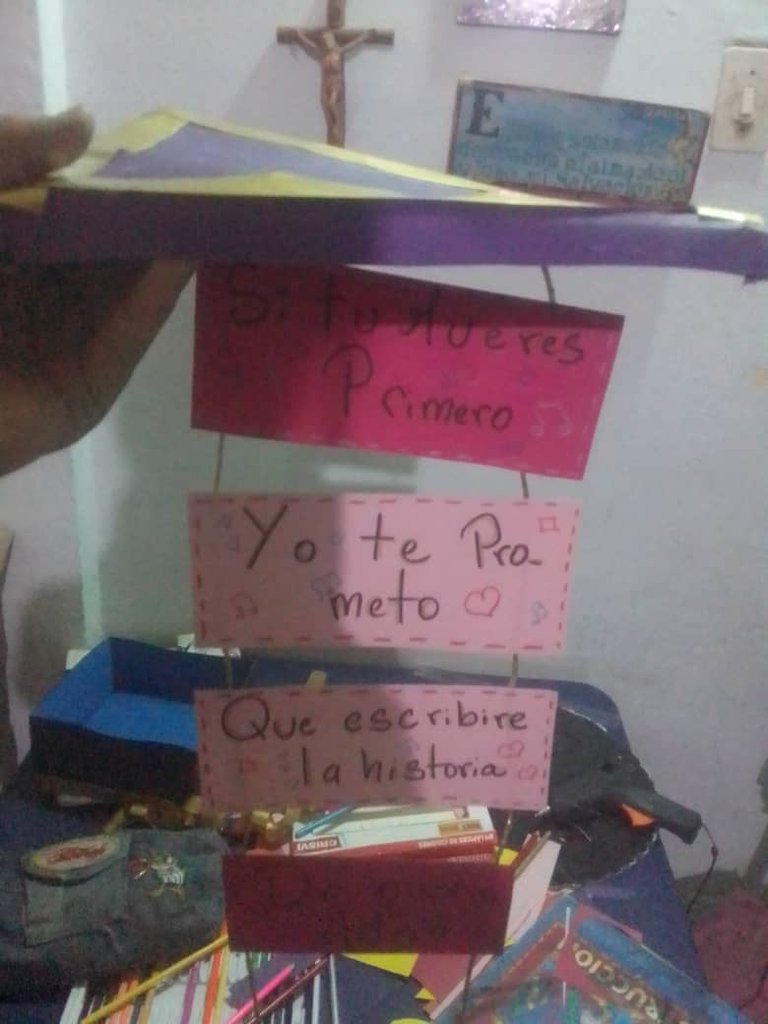
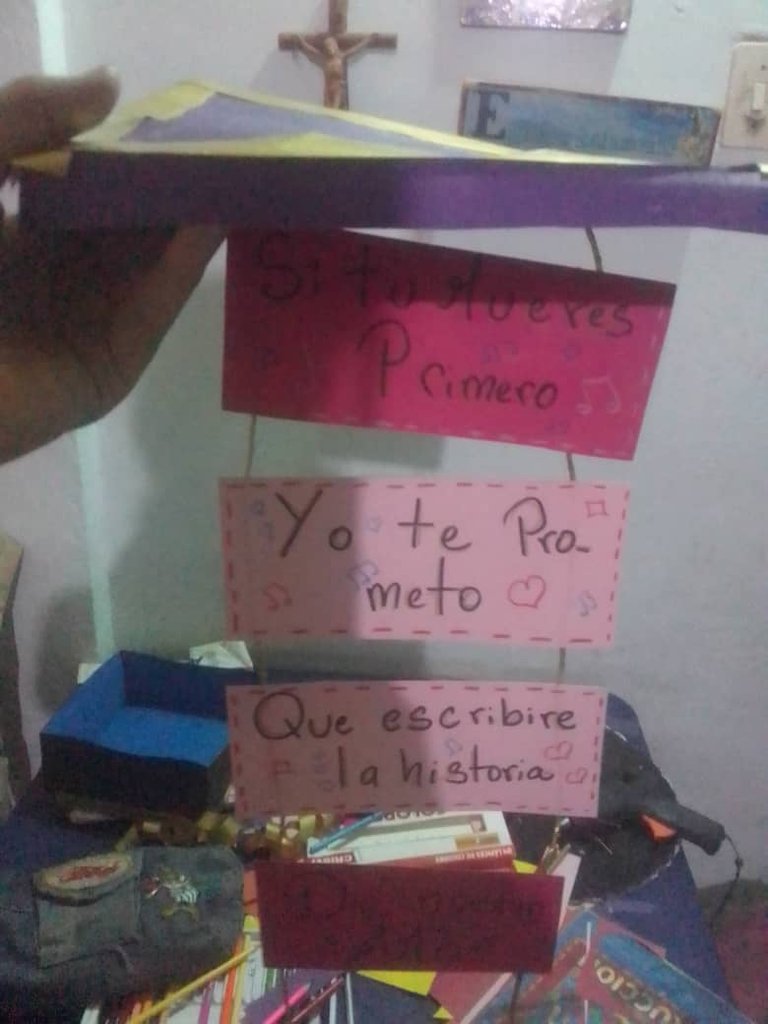
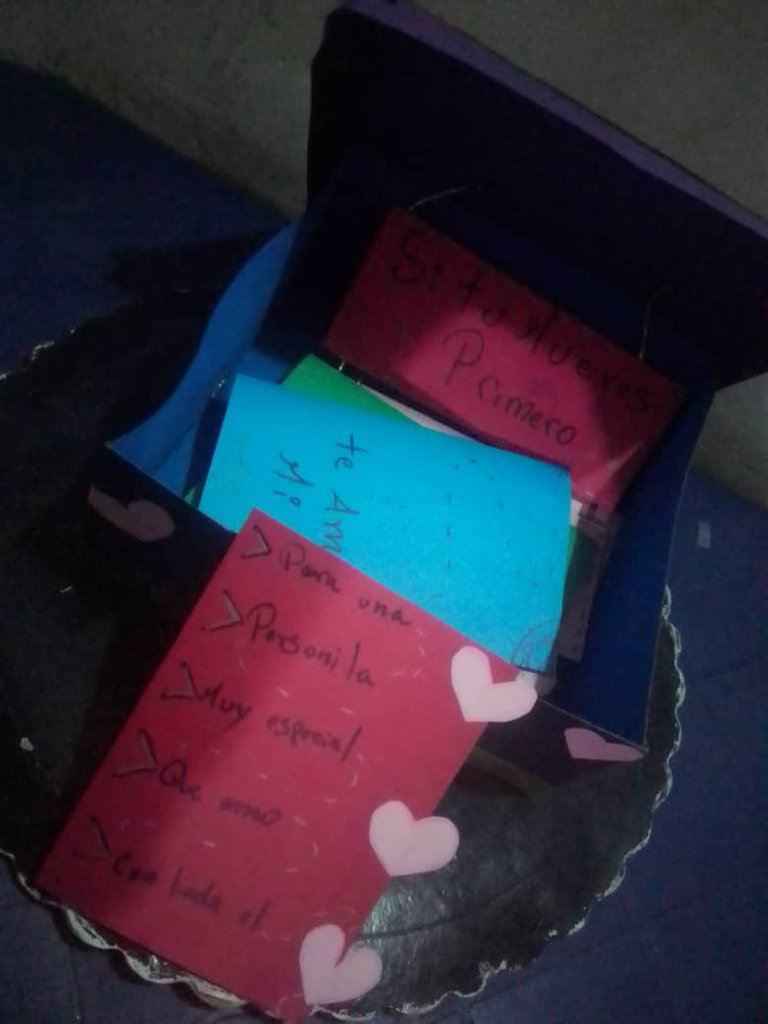
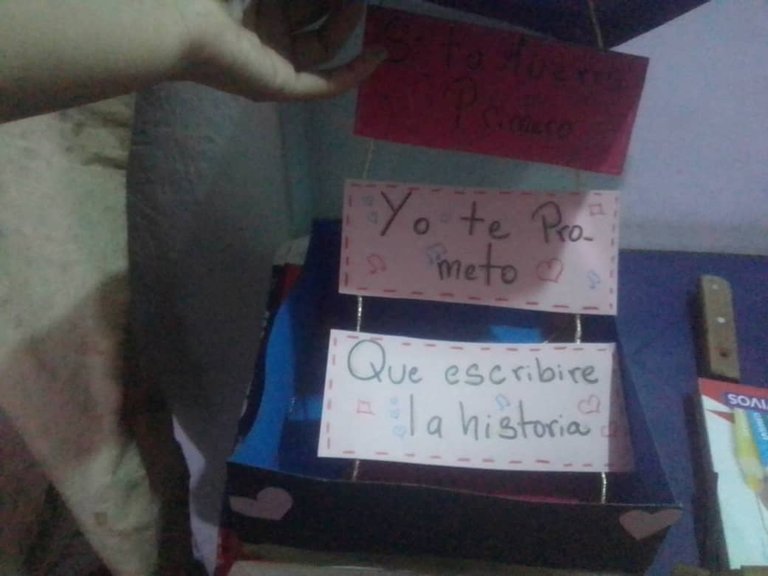
And on the cardboard we are going to write messages, you can write the lyrics of a song, a poem, etc., we decorate each painting, you can label the message, color the paintings, whatever you want and after having each painting ready, with a thread gold or a decorative ribbon, we are going to stick each square one under the other leaving a significant separation, and this "message ladder", we are going to stick it with glue (Silicon) at the bottom of the cover, leaving something like this 👇🏻:
Y en las cartulinas vamos a escribir mensajes, pueden se la letra de una canción, un poema, etc, decoramos cada cuadro , pueden rotular el mensaje, colorear los cuadros, lo que ustedes deseen y después de tener cada cuadro listo, con un hilo dorado o una cinta de decoración, vamos a pegar cada cuadro uno debajo del otro dejándo una separación significativa, y está "escalerita de mensajes" , la vamos a pegar con pegamento ( Silicon ) en la parte de abajo de la tapita, quedando algo como esto 👇🏻:

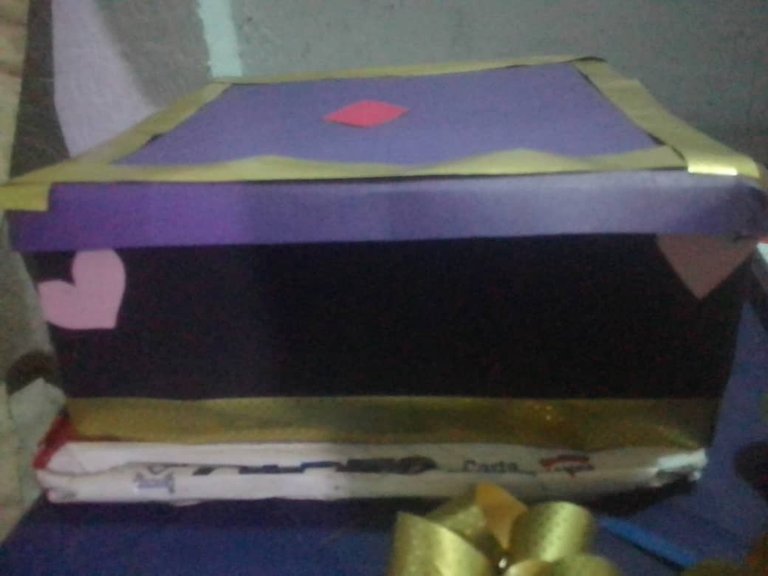
We decorate the lid with the gold ribbon and with figures of our choice, we can also place hearts on the box and gold ribbon in the corners
Decoramos la tapita con la cinta dorada y con figuras de nuestra preferencia, también podemos colocar corazones a la cajita y cinta dorada en las esquinas
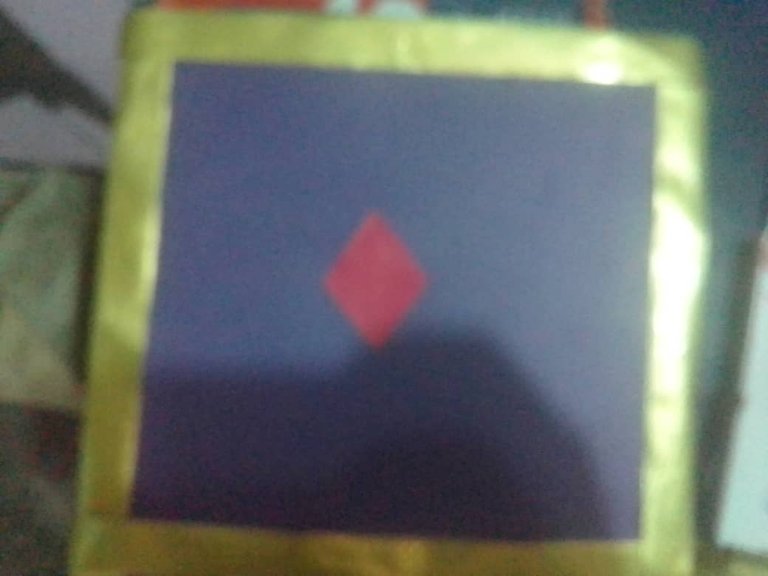
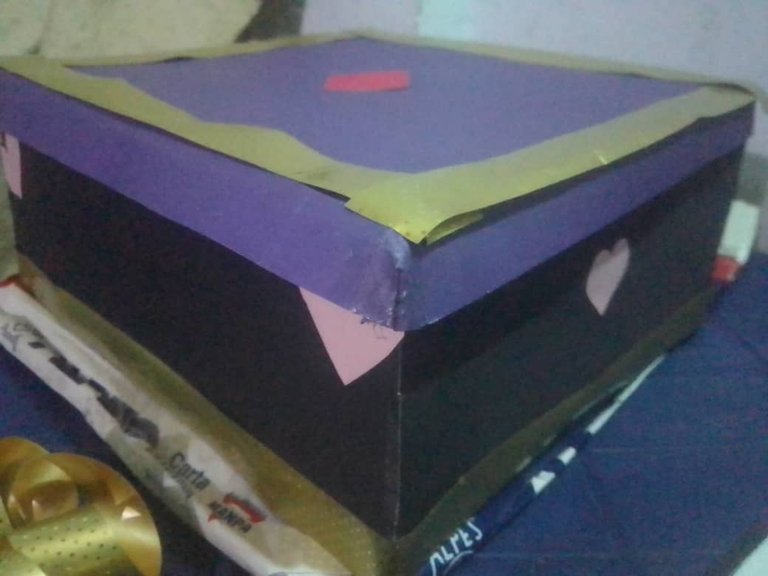
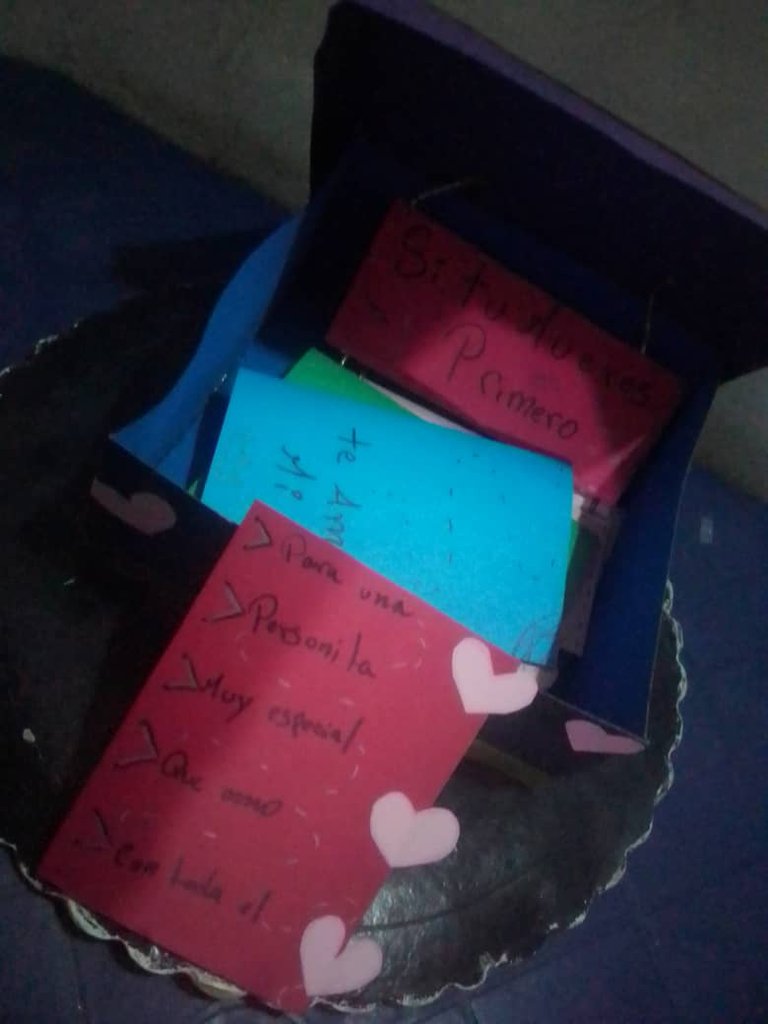
Ready 😍 this is the final result of the box, the cards and our surprise message, a simple but cute and easy craft to do without much expense for our special person 😍😍😍
Listo 😍 este es el resultado final de la cajita, las tarjetas y nuestro mensaje sorpresa , una manualidad sencilla pero linda y fácil de hacer sin tanto gasto para nuestra persona especial 😍😍😍

Thank you very much for having read my post and getting this far, with all my heart I hope you like it and it is useful to you, happy Valentine's Day to all ❤️☺️🤩🤩✨♦️🫶🏻
Muchísimas gracias por haber leído mi post y llegar hasta aquí, de todo corazón espero les guste y les sea útil , feliz San Valentín para todos ❤️☺️🤩🤩✨♦️🫶🏻
Me encanta esta idea! Explicas con mucho detalle como hacerla, lastima que ví tu post mucho después de San Valentín. 😅 Pero lo guardaré para adaptarlo a un regalo de cumpleaños. Gracias por compartir! ✨