Holozing Creature Background Contest | Water Whale [ESP/ENG]

Hola amigos de Hive, y un grato saludo nuevamente a la comunidad de Holozing! Primero que todo, feliz navidad! Espero que hayan pasado unas muy felices fiestas.
Yo estoy muy satisfecha de finalmente tener un par de días libres de la universidad, por eso luego de descansar un poco, les traigo el día de hoy una nueva ilustración.
Como comenté en mi publicación anterior, como gamer e integrante de la Web3, holozing me parece una idea asombrosa, y estoy muy emocionada por su desarrollo, y como ilustradora me motiva mucho que se desarrollen iniciativas en donde pueda poner de mi parte.
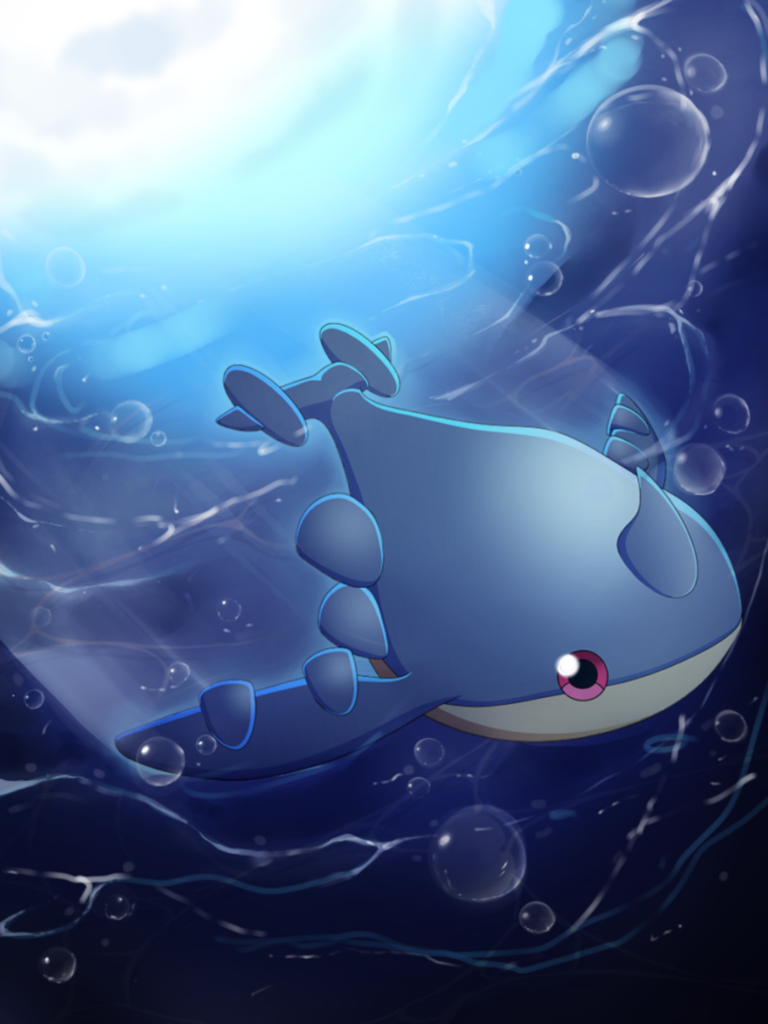
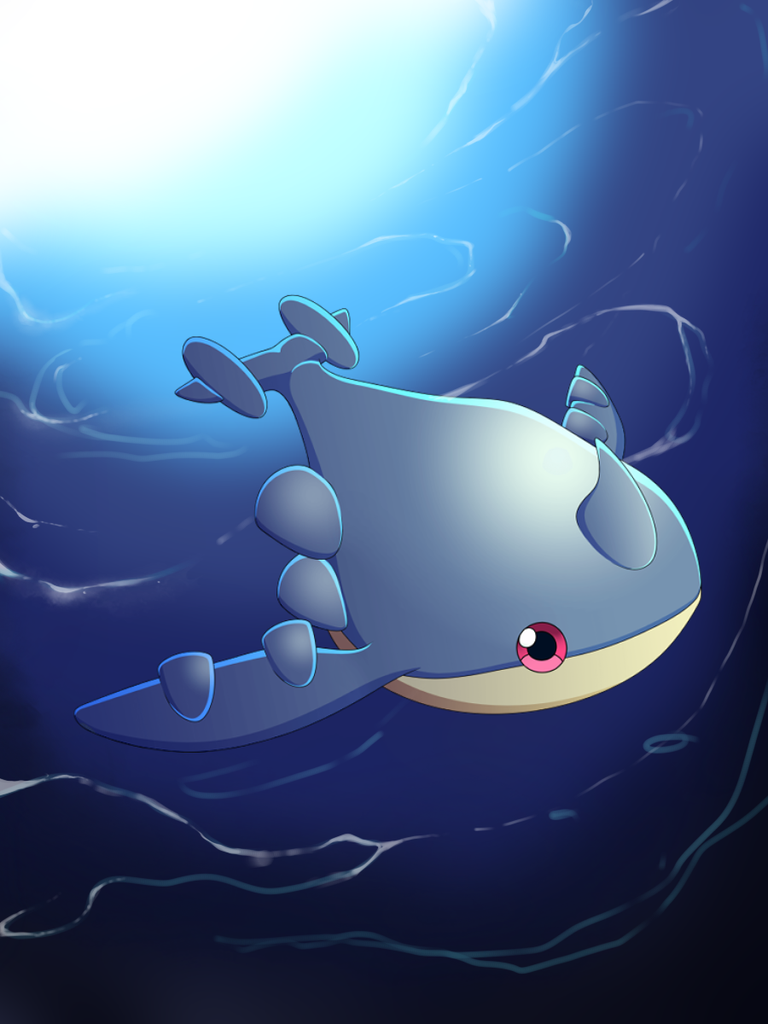
Esta es una participación para el concurso de fondos, al cual no los invito a participar porque ya voy un poco tarde yo también jaja, pero les dejo la publicación para que checkeen. Yo decidí participar con un fondo marino para el personaje de Water Whale.
Sin más que decir, espero que les agrade y a continuación les dejo el paso a paso de la ilustración.

Hello friends of Hive, and a warm greeting again to the Holozing community! First of all, Merry Christmas! I hope you had a very happy holiday season.
I am very pleased to finally have a couple of days off from college, so after a little rest, I bring you today a new illustration.
As I mentioned in my previous post, as a gamer and member of Web3, holozing seems to me an amazing idea, and I'm very excited about its development, and as an illustrator I'm very motivated when initiatives are developed where I can do my part.
This is an entry for the background contest, which I don't invite you to participate because I'm a little late too haha, but I leave the publication for you to check it out. I decided to participate with a sea background for the Water Whale character.
Without more to say, I hope you like it and then I leave you with the step by step of the illustration.
Proceso 🌱 Process
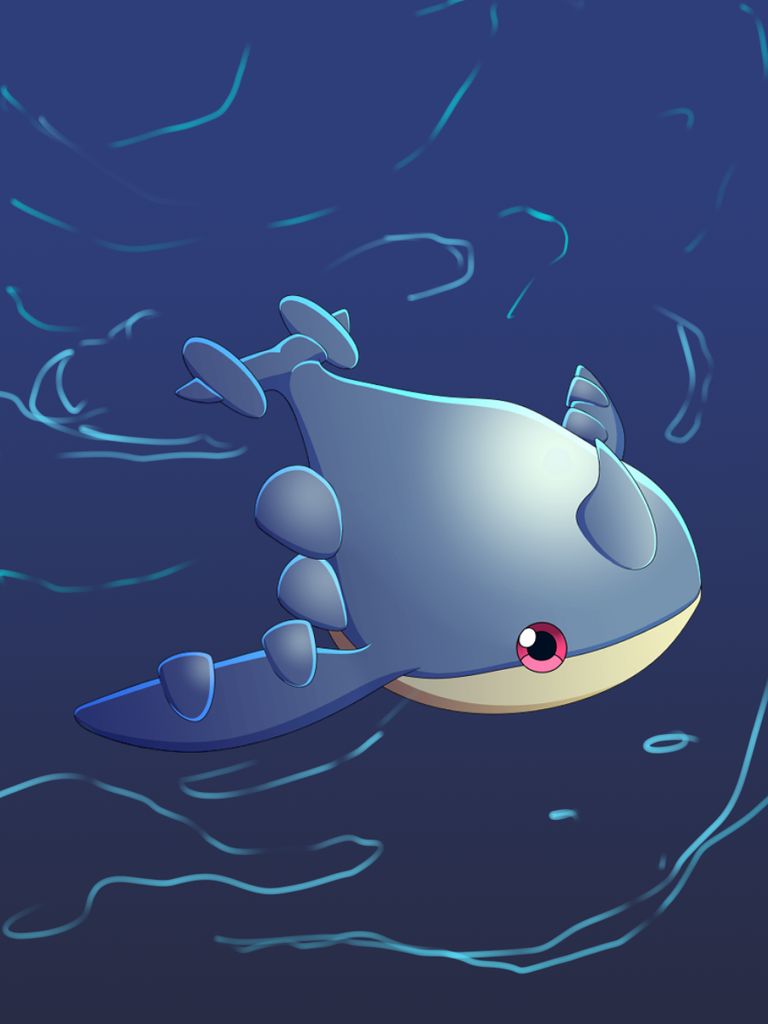
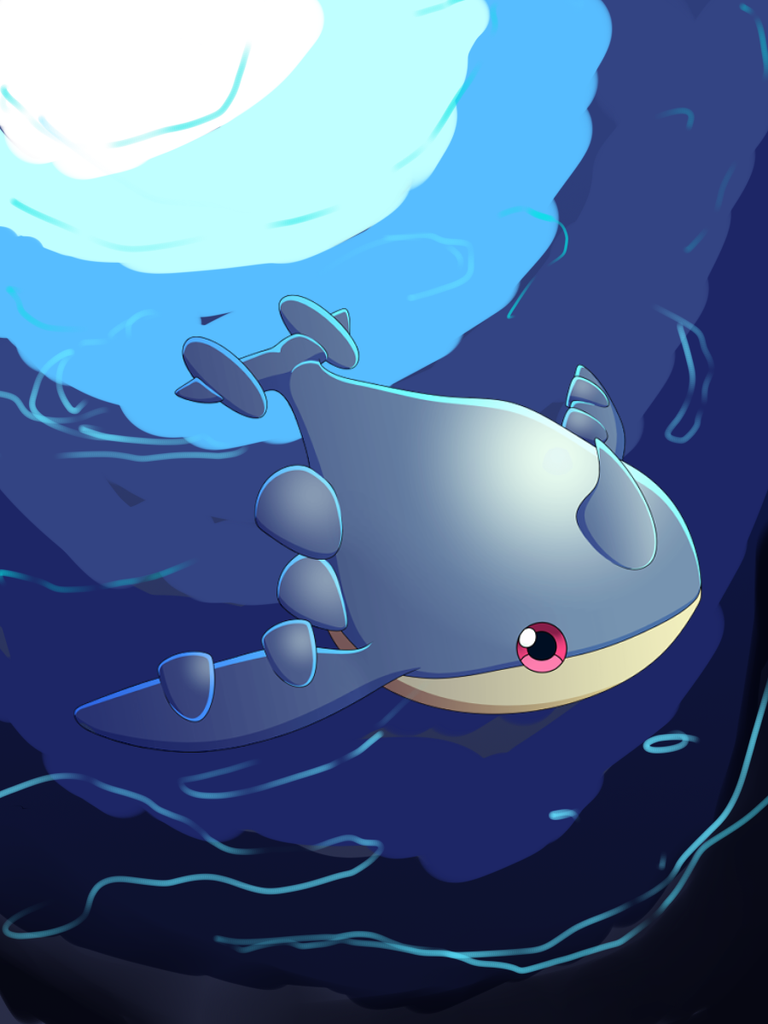
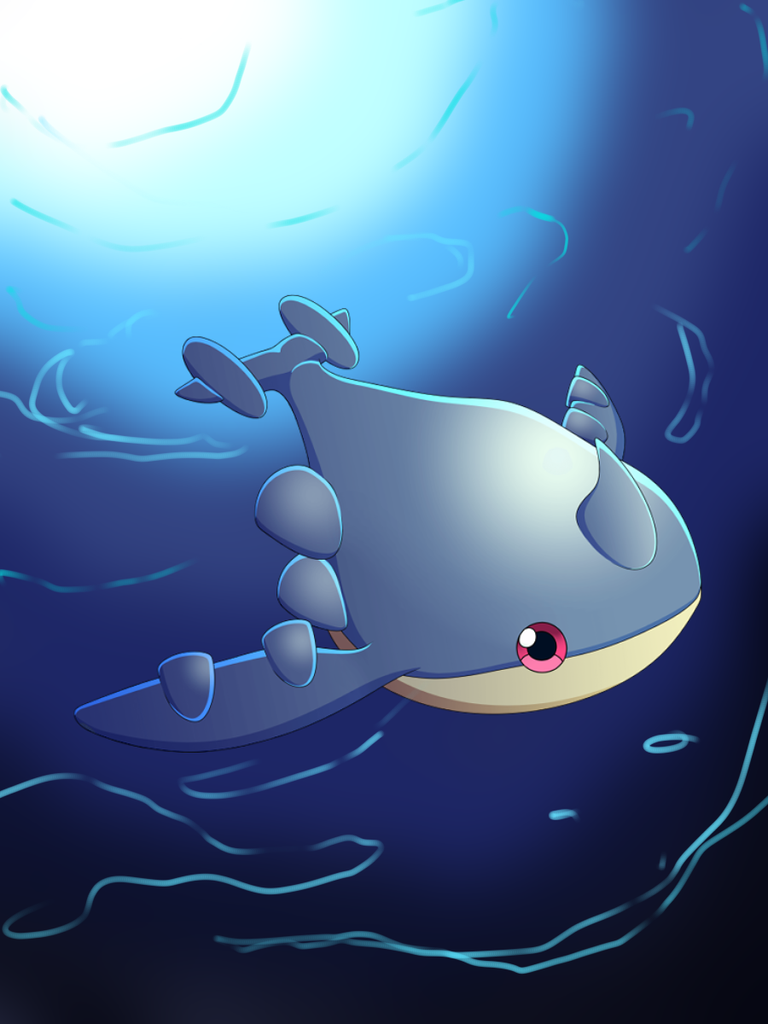
Step by step
Primero empecé haciendo unas líneas que siguieran la forma hacia donde se dirige el personaje original, para que de la sensación de que se sumergió bajo el agua.
First I started by making some lines that follow the shape where the original character is going, to give the sensation of being submerged under the water.
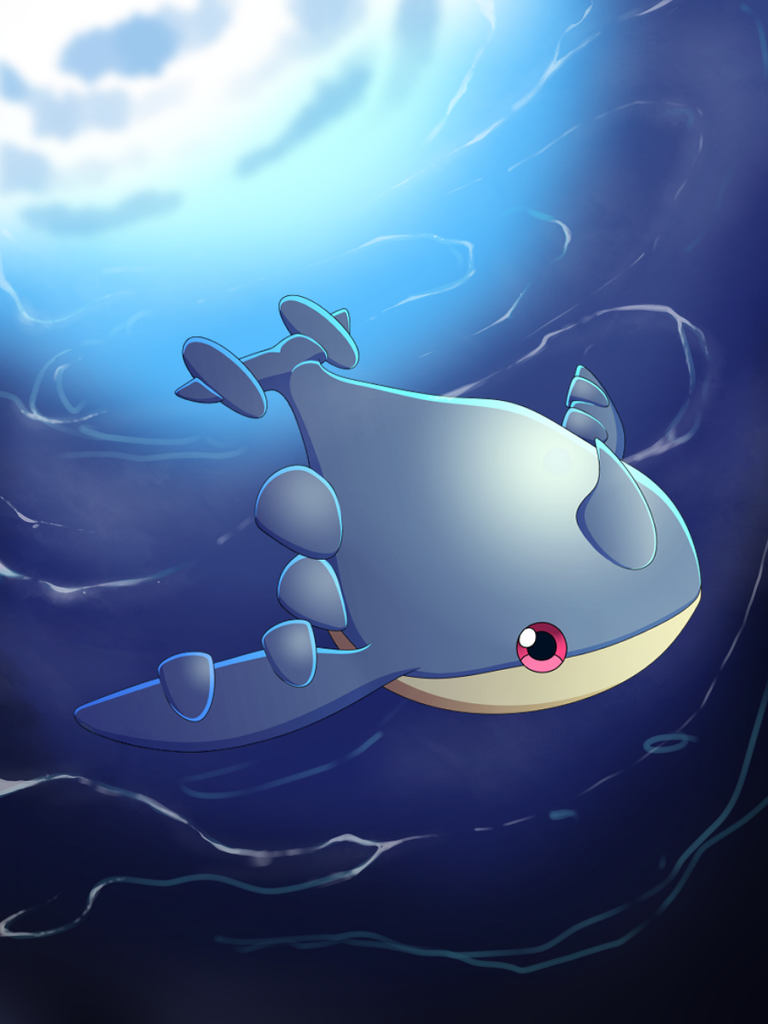
Continué extrayendo colores del personaje original, y de abajo hacia arriba coloreé con distintos colores del tono más oscuro al más claro, pues de arriba tenemos la fuente de iluminación.
I continued extracting colors from the original character, and from bottom to top I colored with different colors from the darkest to the lightest tone, because from the top we have the source of illumination.
Tras colorear pasé a photoshop el fondo y apliqué desenfoque gaussiano para mezclar bien los colores.
After coloring I photoshoped the background and applied gaussian blur to blend the colors well.

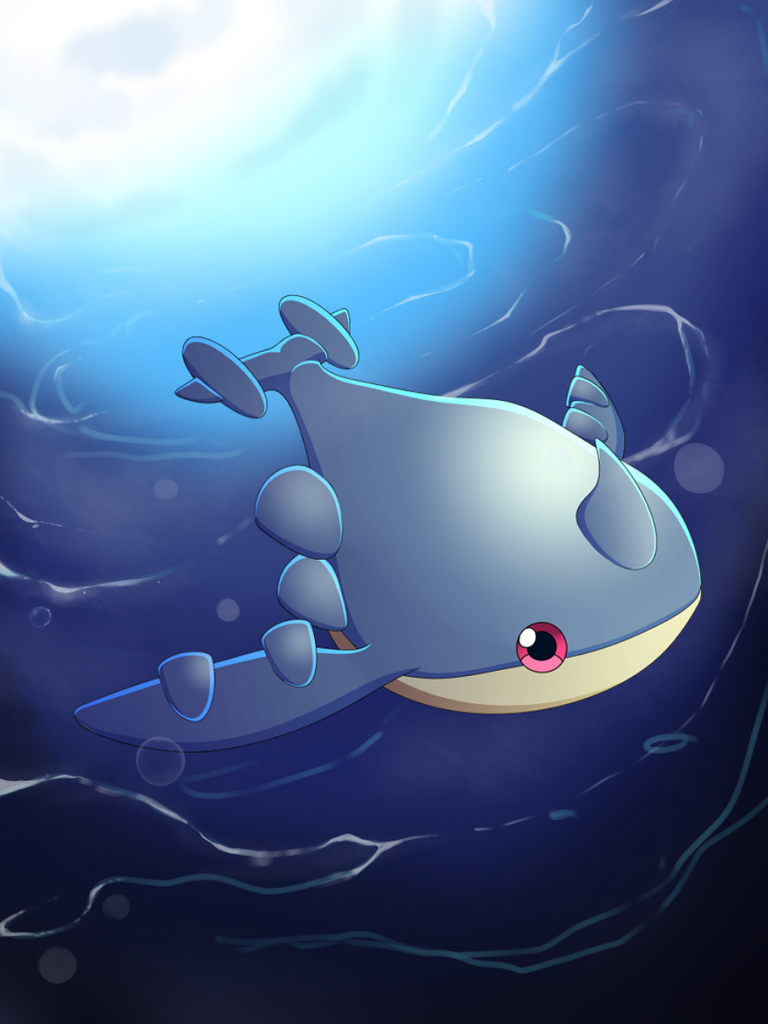
De aquí en adelante he de admitir que no tenía idea de que hacer jaja, así que fui probando distintas cosas. Primero le baje la opacidad a las líneas que dibuje inicialmente para trabajar sobre ellas en una nueva capa en opción de luminosidad. Detallé más las formas de las líneas y les di más movimiento y volumen mientras las limpiaba.
From here on I have to admit that I had no idea what to do haha, so I kept trying different things. First I lowered the opacity of the lines I initially drew to work on them in a new layer in luminosity option. I detailed more the shapes of the lines and gave them more movement and volume while I cleaned them up.
Agarré el aerografo y en una capa con poca opacidad fui aplicando detalles y reflejos en color blanco.
I took the airbrush and in a layer with little opacity I applied details and reflections in white.
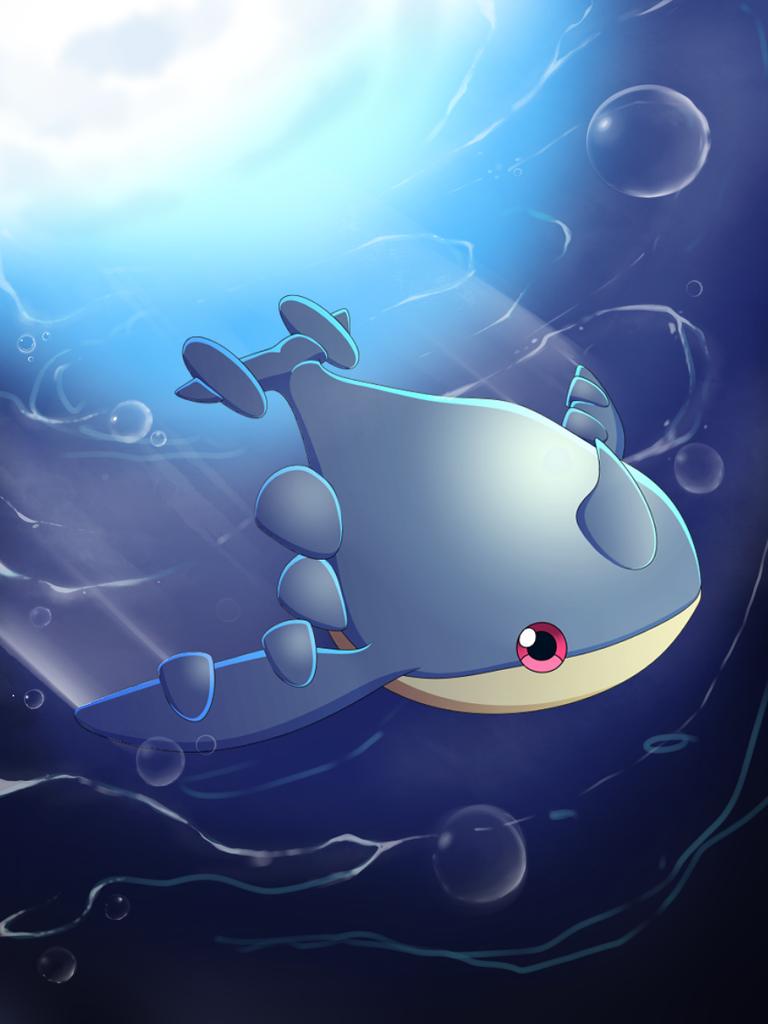
Con un pincel en color blanco empecé a dibujar círculos en una capa de luminosidad con la opacidad al 40%, posteriormente borraba el interior del círculo, y luego en otra capa con luminosidad y opacidad al 100% agregué brillos y detalles para darle forma a las burbujas.
También agregué al fondo del personaje un par de destellos, que dieran la sensación de que se sumerge más al mar.
With a white brush I started to draw circles in a brightness layer with 40% opacity, then I erased the inside of the circle, and then in another layer with brightness and 100% opacity I added glows and details to give shape to the bubbles.
I also added to the character's background a couple of sparkles, giving the sensation that he is diving deeper into the sea.
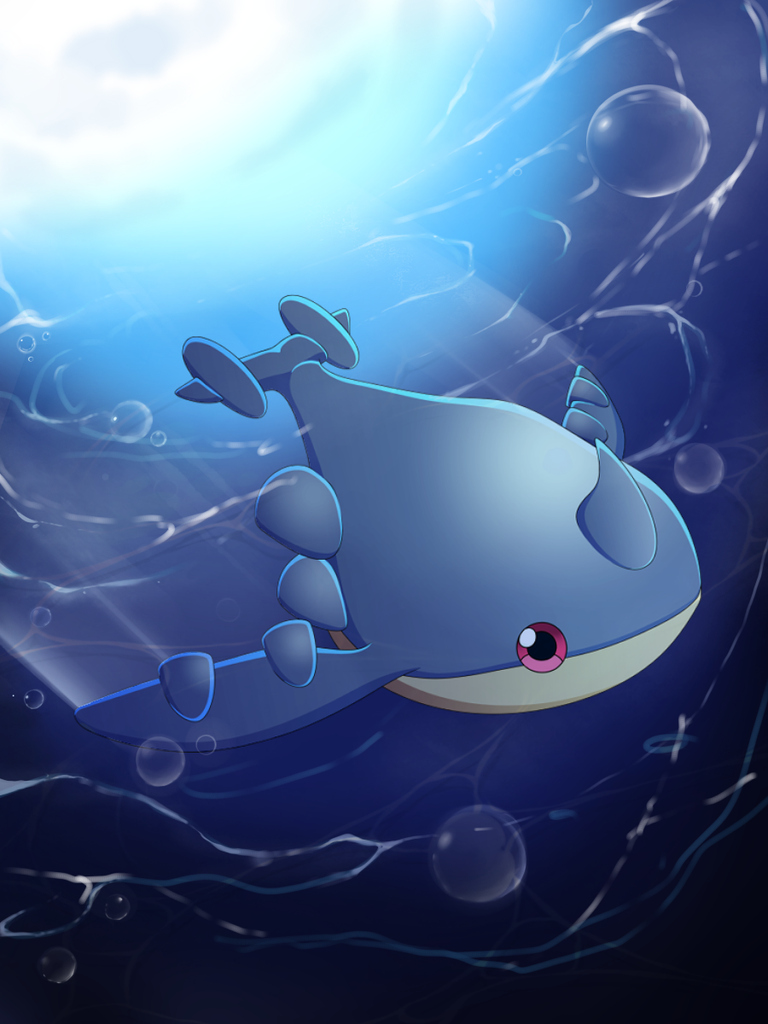
Fui aplicando más detalles de colores, sombras y formas que me ayudaran a generar más volumen y movimiento en el dibujo, en el personaje original apliqué un borde celeste en una capa de luminosidad, y difuminé, luego al frente con una capa en multiplicar sombreé un poco la parte de abajo del personaje para mimetizarlo un poco mejor con el fondo.
I applied more details of colors, shadows and shapes that helped me to generate more volume and movement in the drawing, in the original character I applied a light blue border in a layer of luminosity, and blurred, then in the front with a layer in multiply I shaded a little the bottom of the character to mimic it a little better with the background.

Finalmente agregué más brillos y burbujas, y culminé aplicando desenfoque gaussiano.
Finally I added more glows and bubbles, and finished by applying Gaussian blur.


Para aquellos interesados, pueden ingresar a la página del juego en el siguiente link , y de esta manera puedes empezar a reclamar un poco de zing diario.
Espero que les haya gustado. Gracias por ver ฅ^-ﻌ-^ฅ
For those interested, you can access the game page at the following link , and in this way you can start claiming some daily zing.
I hope you liked it. Thanks for watching ฅ^-ﻌ-^ฅ♡

You did a very nice job and I appreciate your efforts in making this, thanks for participating in the holozing contest.
Thank you for your support!
What a beautiful background, I loved all the details, especially the sea bubbles, it would be a very beautiful card. Congratulations. Many successes @shinfxx ✨
!DIY
You can query your personal balance by
!DIYSTATSEl efecto de agua que creaste esta bastante chévere y se ve lo sencillo que es crearla, es perfecto para un novato como yo cuando se trata de crear agua je. Saludos! Te quedó muy lindo.
Jejej, sí. Qué bueno que le echaras el ojo puedes probar a ver como te sale y si es bastante sencillo n.n Saludos!