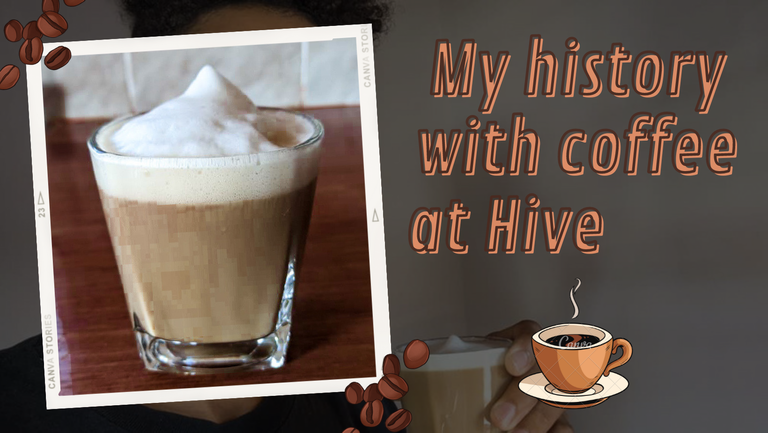
My history with coffee at Hive
Greetings to all the members of this community.
In the time I have been in this community I have learned many things from other Hivers and have been inspired to grow more in the world of coffee and brewing different coffees both hot and cold.
In fact, all of my Hive rewards that I have earned through this community have been invested in my ingredients and tools and among those is nescafe and topins.
I remember that I started with only nescafé sachets and I was very limited with the rest, now I enjoy more tools and ingredients to create recipes and recreate many recipes that I search on the internet, this with the intention of demonstrating that you can do great things with few ingredients and without being a professional in the field.
Again, I am very happy for everything and all the users of this community and I am very happy for the idea that it is a source of inspiration for some, as I was able to demonstrate a few days ago.
Now a new world of coffee recipes has opened up for me thanks to a new tool that I recently acquired, which I use to froth the milk and create that cloud texture, and I still don't have full control of this tool.
But I have taken the task of testing a few days ago to prepare a simple coffee with milk.
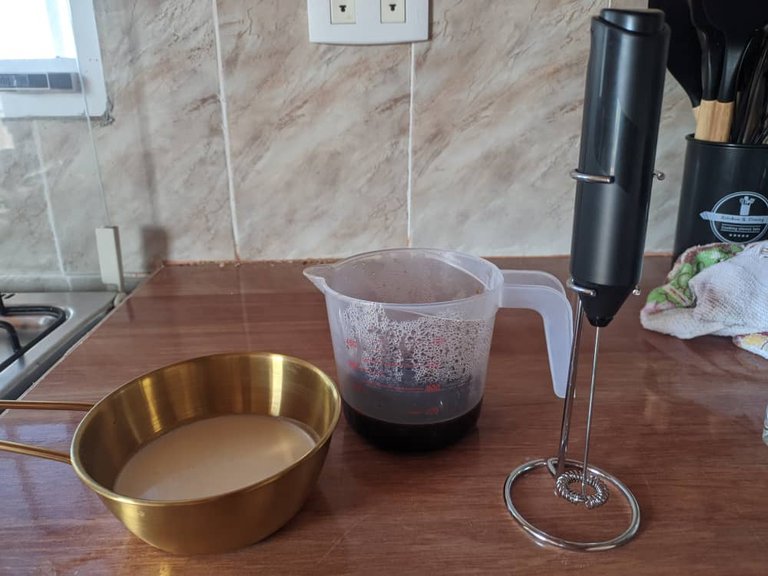
I will show you the ingredients I used and the step by step, which is somewhat simple.
Ingredients
- 100 ml of liquid milk
- 100 ml of coffee
- A pinch of salt
- Sugar to taste
Preparation
I personally suggest making the coffee just before the milk is fully frothed, in this case I did it in advance to avoid any inconvenience, but the coffee was still hot.
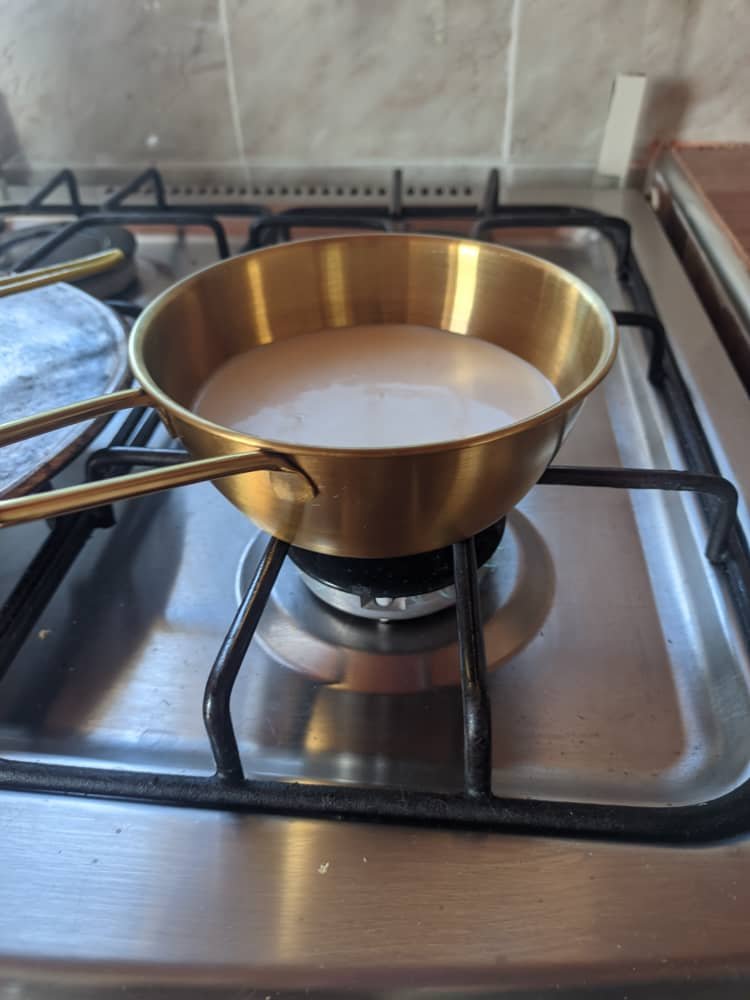
Well, first heat the liquid milk a little and add the pinch of salt, not everyone will know, but the pinch of salt helps to dissipate a little of the acid taste of the coffee and balances the flavor when adding the sugar so it does not feel so sweet.

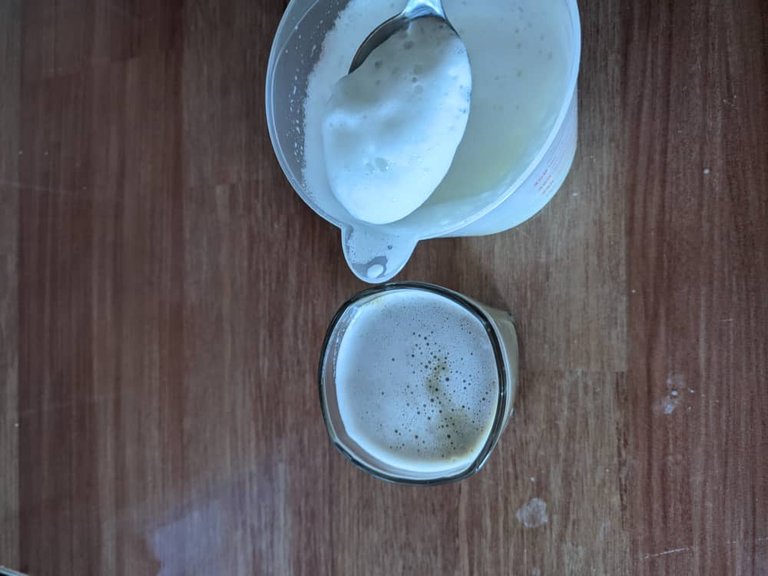
The milk heats up a little, but not to the point of boiling, followed by the use of the new whisk, with the intention of frothing the milk and testing to see how well it worked.
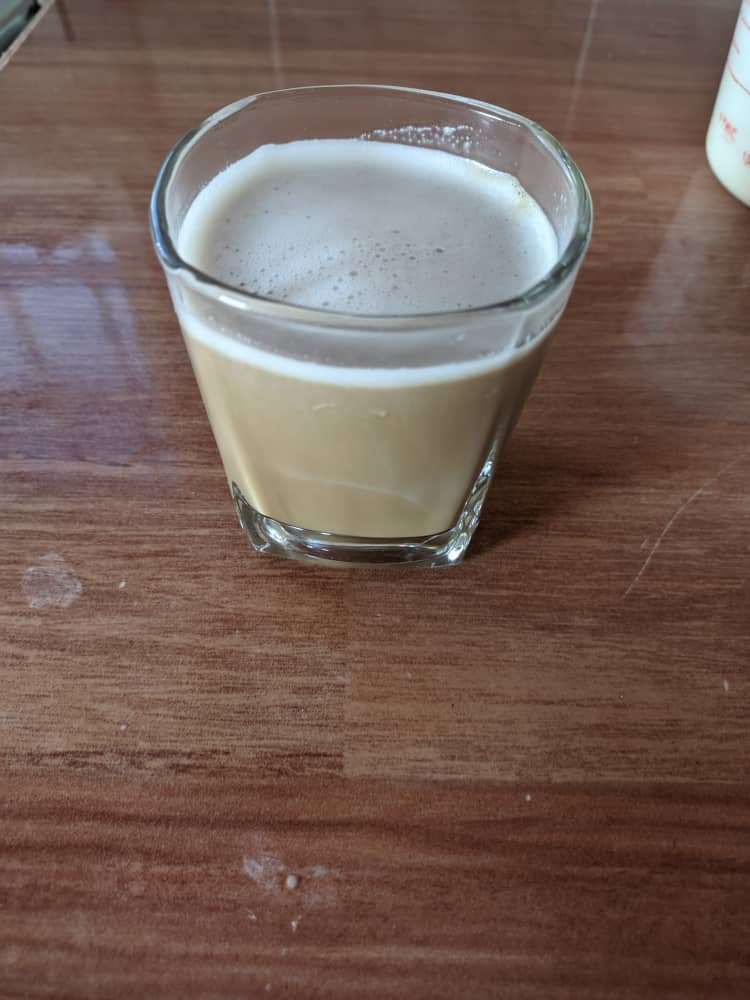
Once the milk is frothed, hot and ready, it only remains to serve it in the cup where it will be tasted and add the coffee.
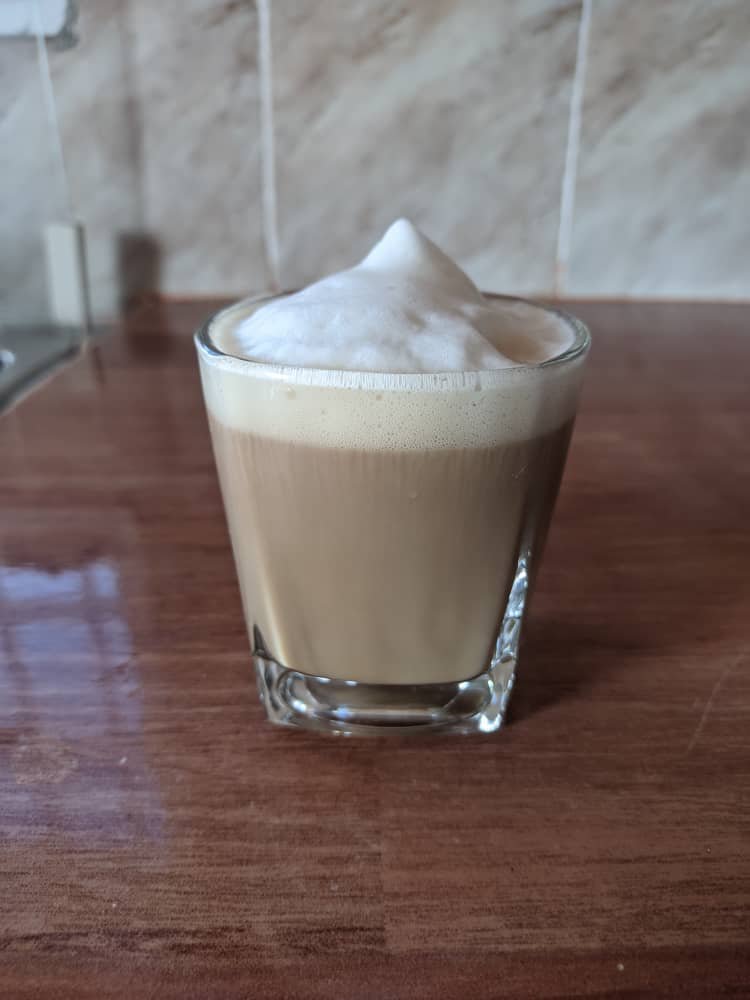
And since the milk was quite frothy, I added the rest of the milk on top and that's how it turned out.
Of course, it's an amazing tool, perfect for creating cappuccino and creating layers of sturdy foam to hold a sipe or whipped cream for coffees.
I took all the photos with my Moto G9 Play, edited them in Canva App and translated the text with DeepL App.
It's great to see how you've developed your love for coffee into learning barista skills. You never know where this might take you:)
Thank you, experimenting and enjoying what I do is what has helped me in my development and develop that love for coffee.
Thank you and have a great day