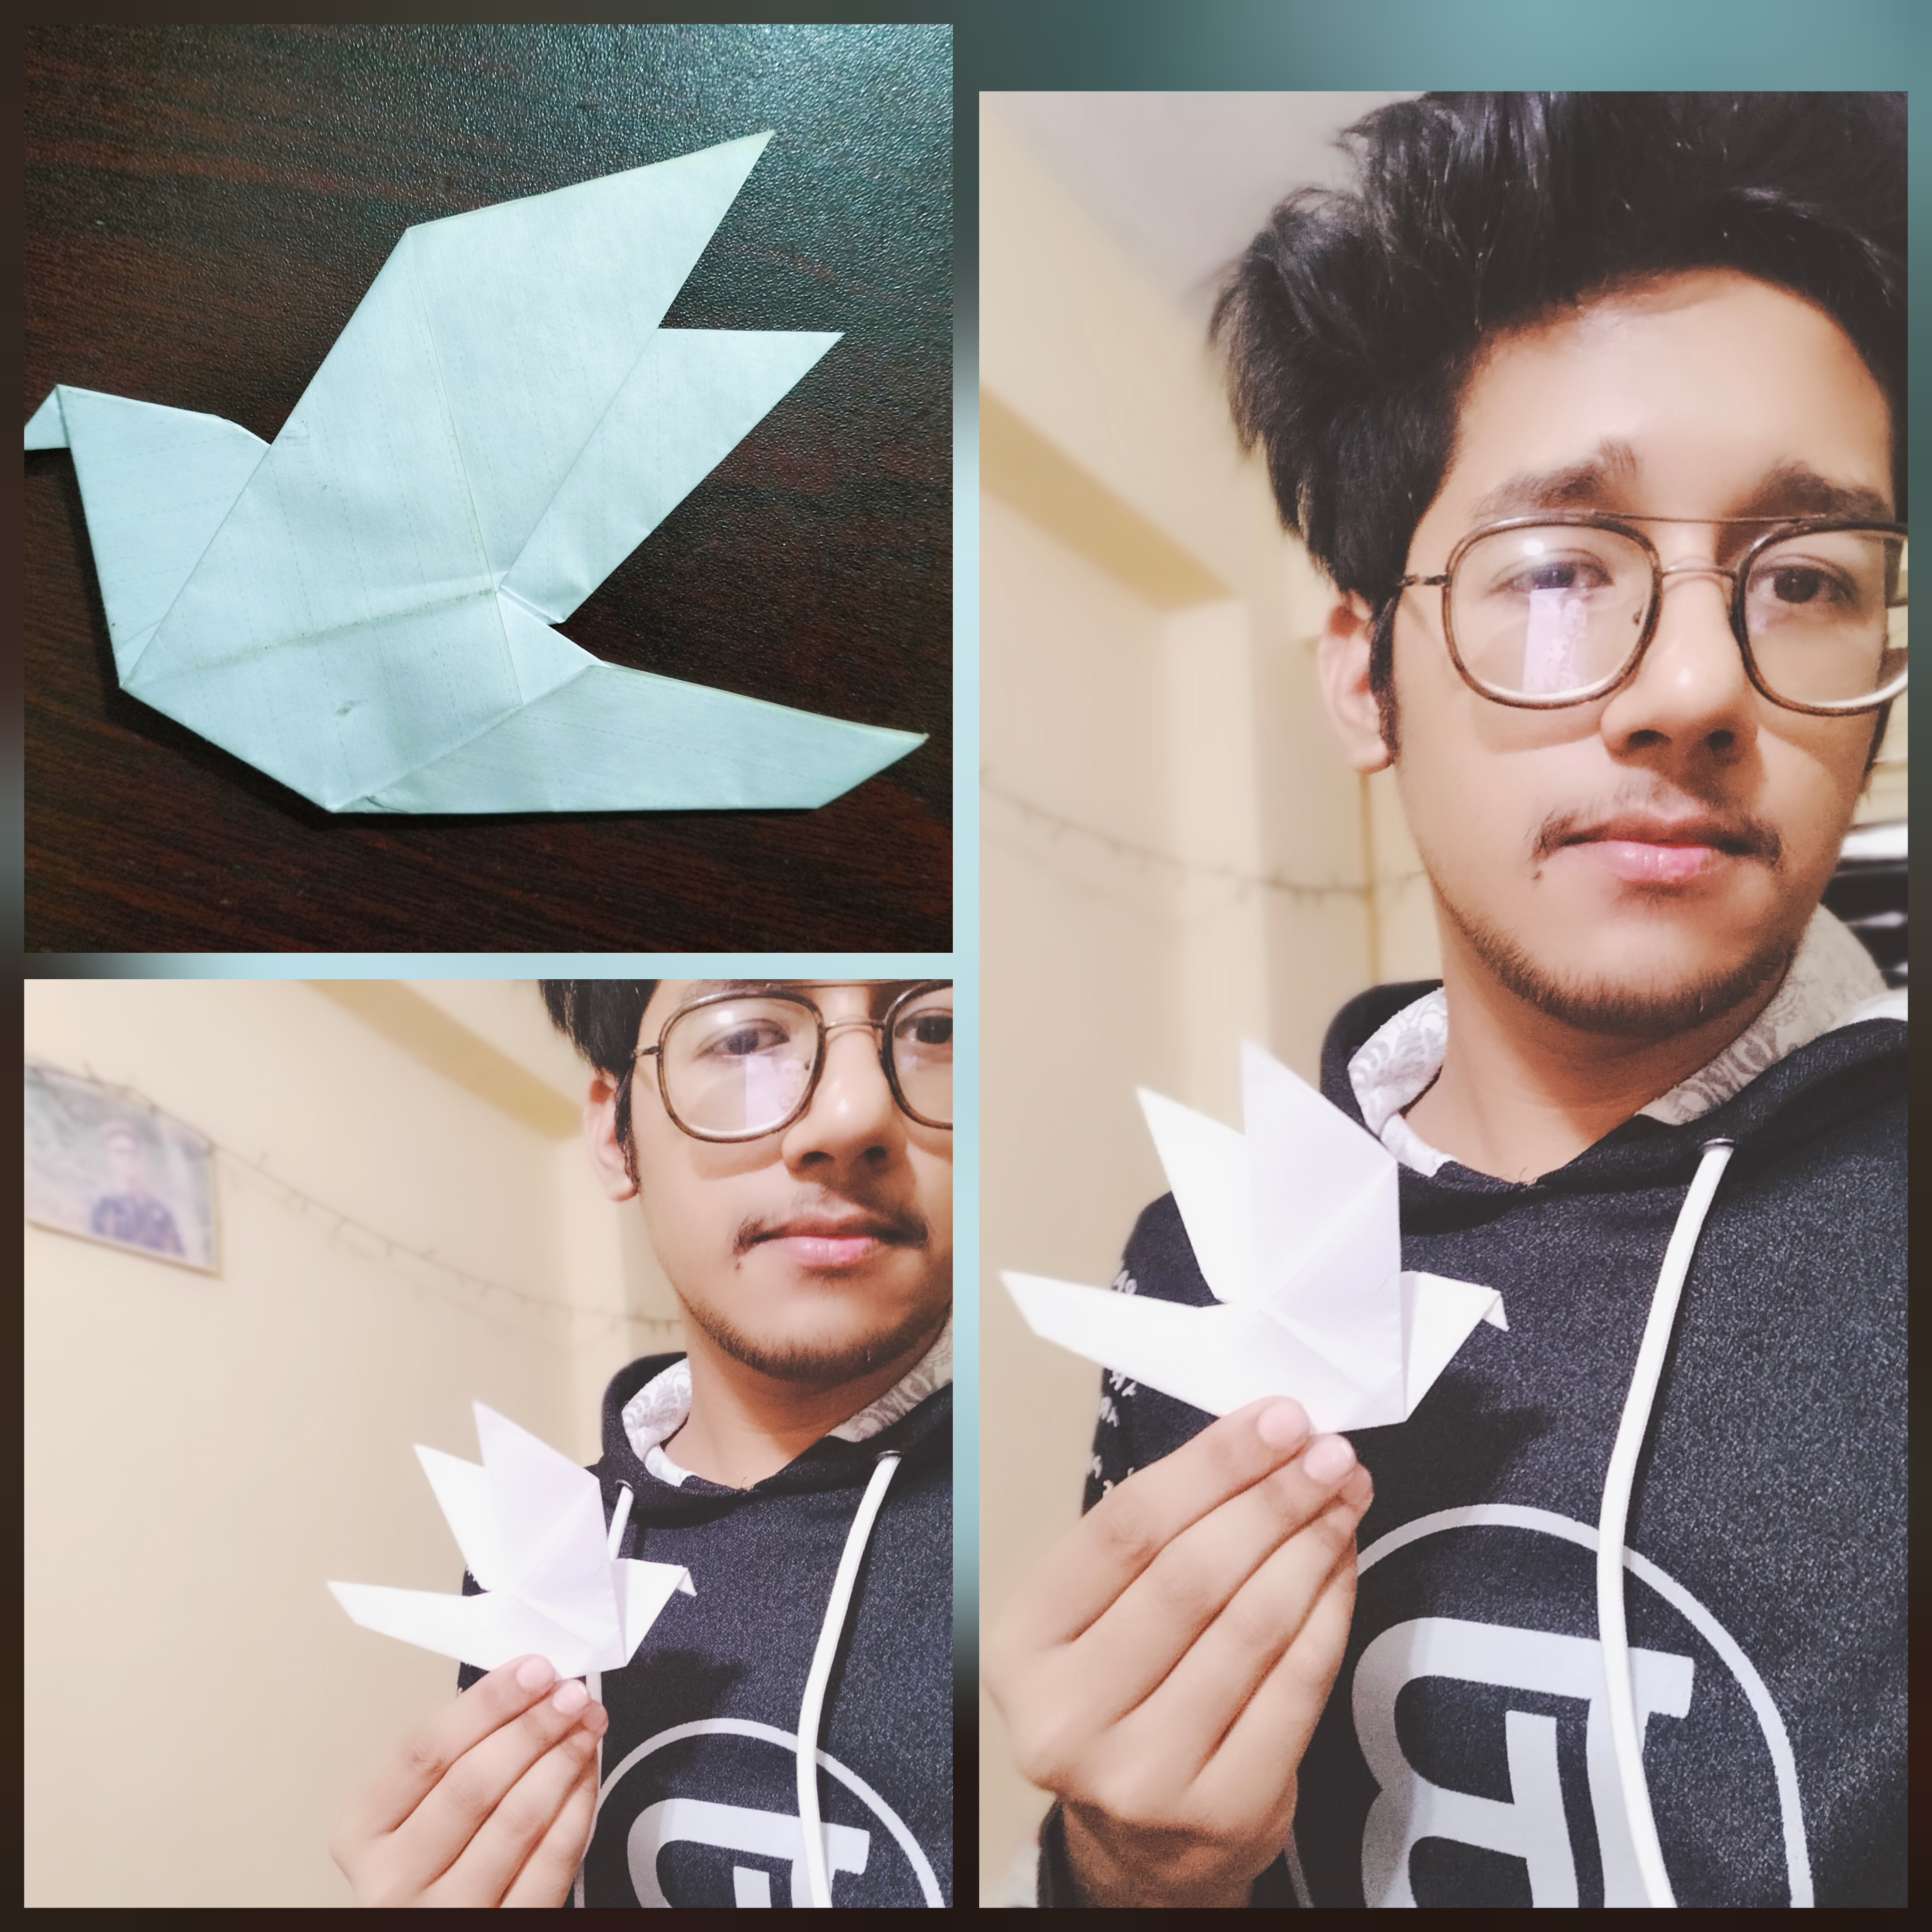
Hello everyone, I hope everyone is good, I am also very well in your prayers. I am here today with a new post. In my today's post I will share with you how to make an origami.
Since childhood, I used to make various things with paper, paper origami is one of them. Making origami with paper is very easy, these origamis look very beautiful too.
If we wish, we can decorate the house with these origamis. Or can be made for small children to play. I make these origami as a hobby, it's my childhood hobby.
In this post I will show you how to make a bird origami step by step so that you too can make this origami easily. So let's start without further ado guys.
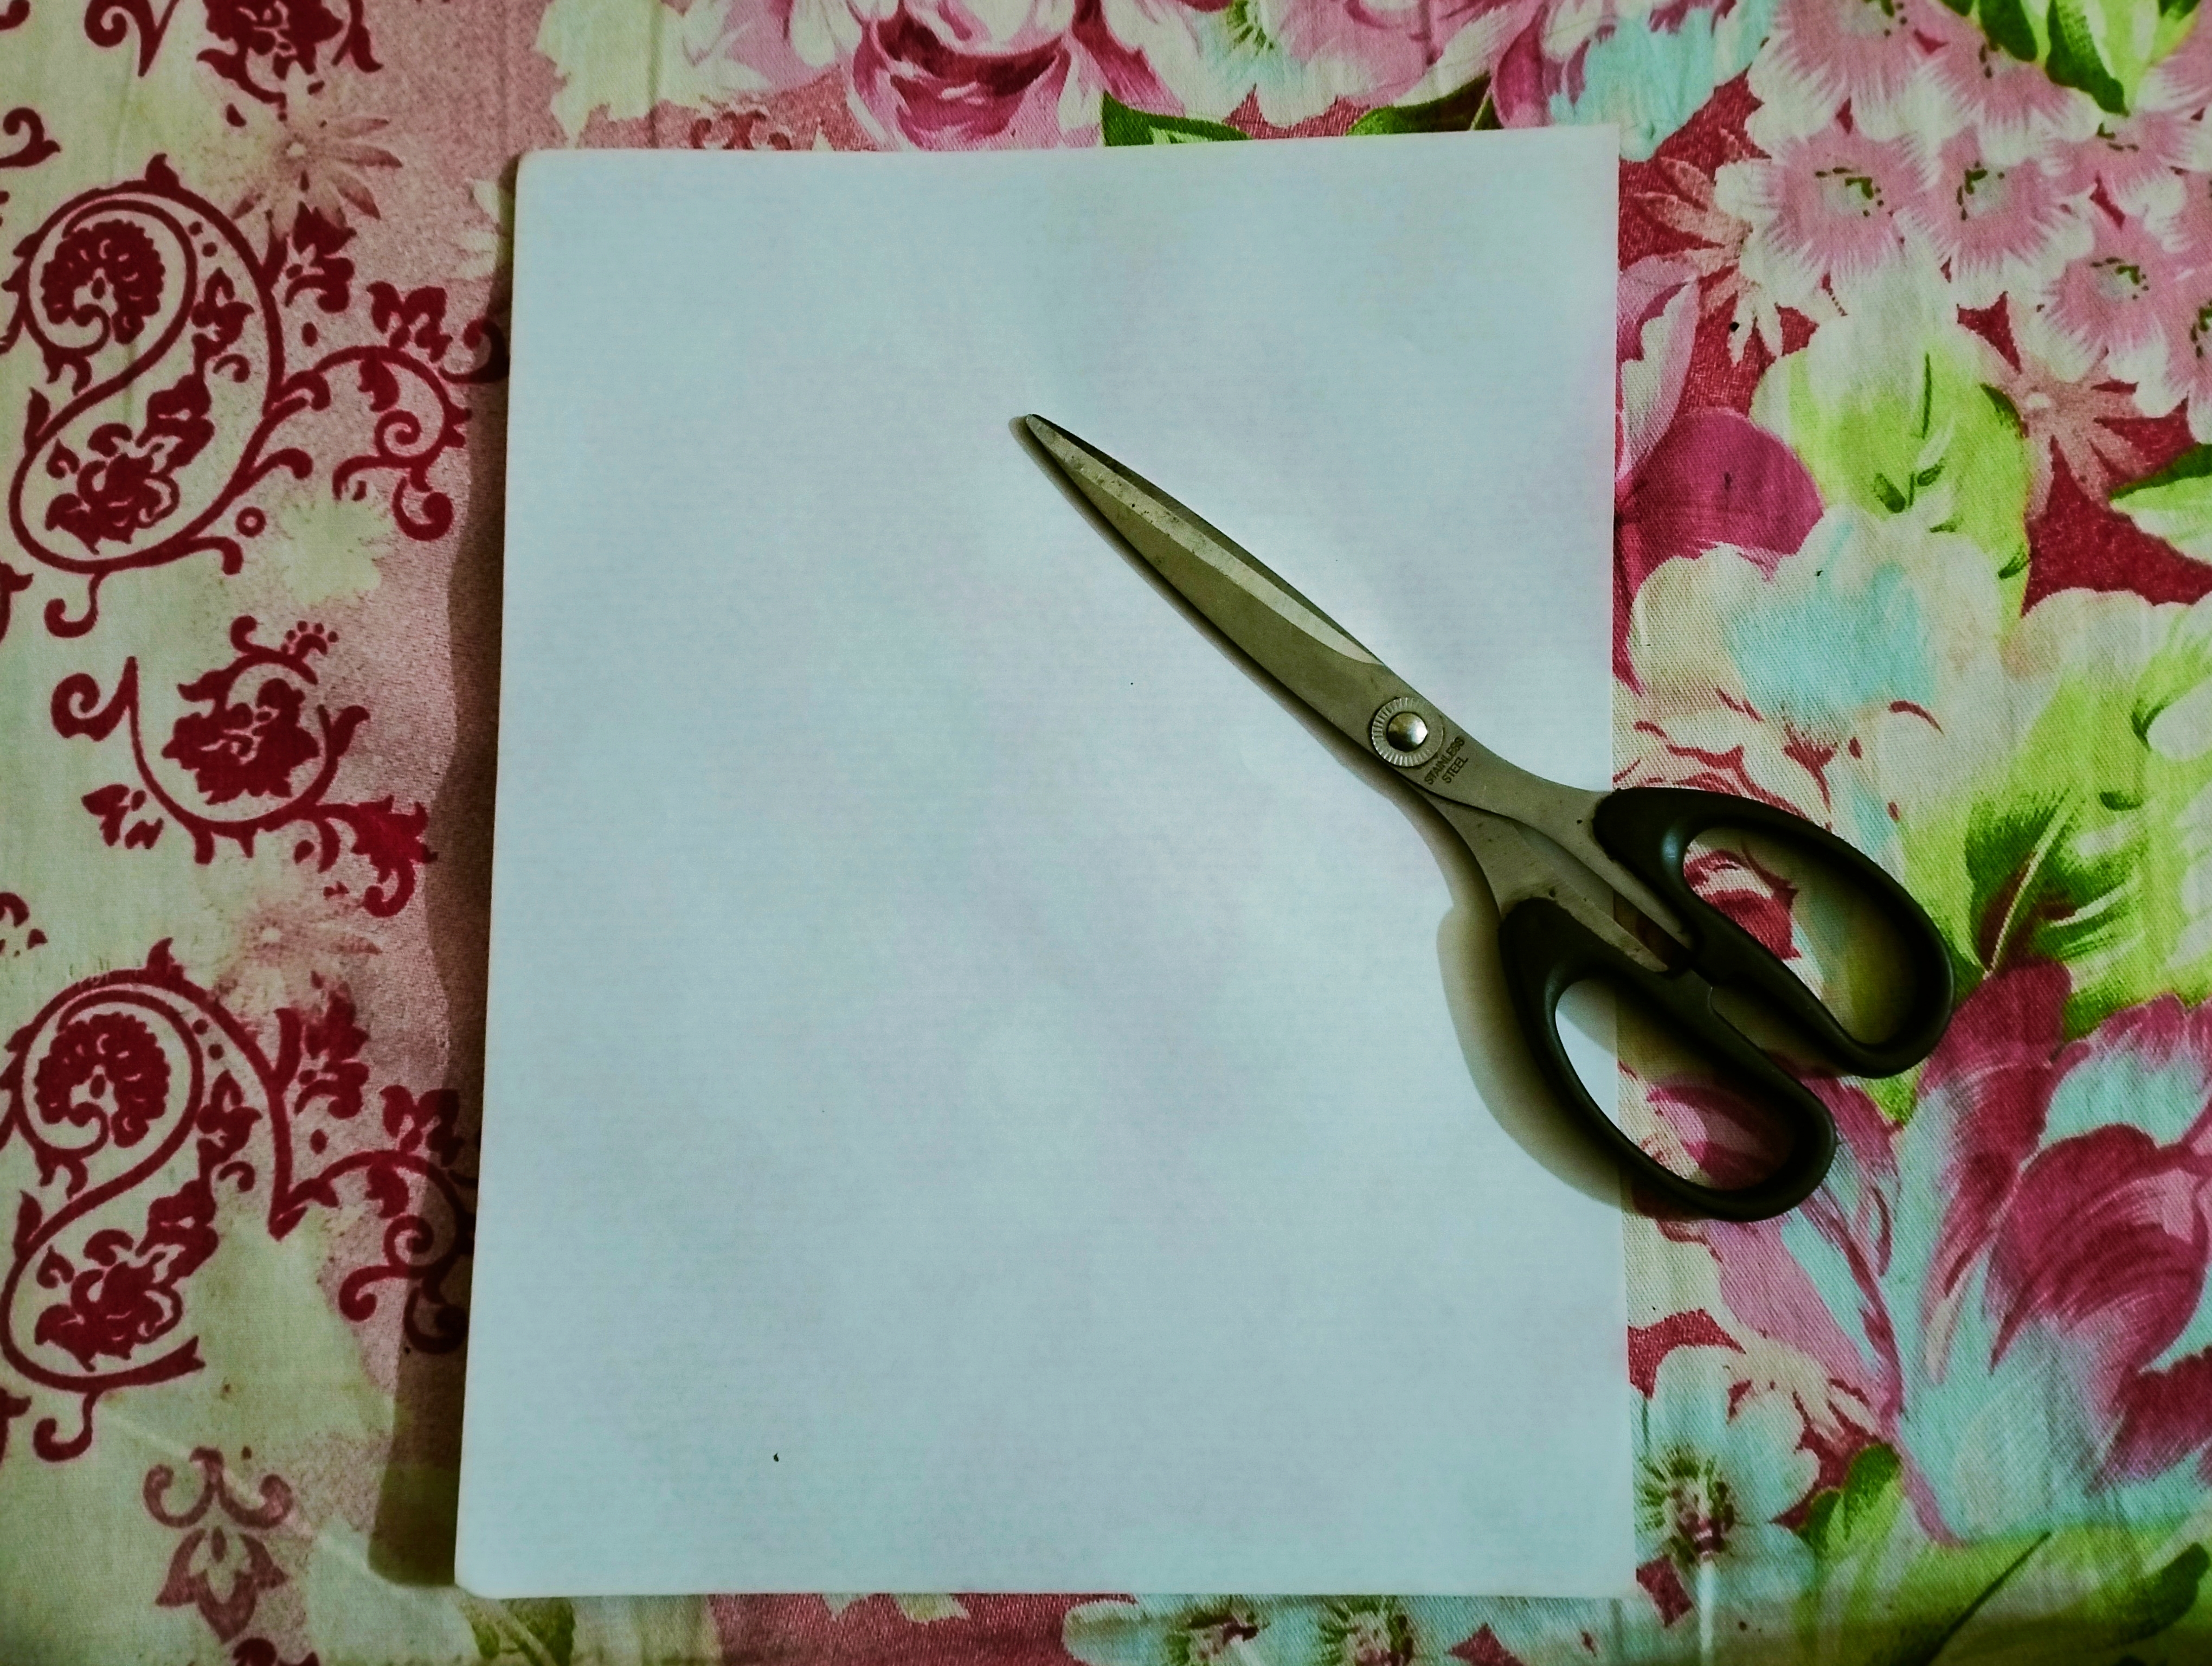
Necessary Equipment
1• Paper
2• Scissors
How to make step by step
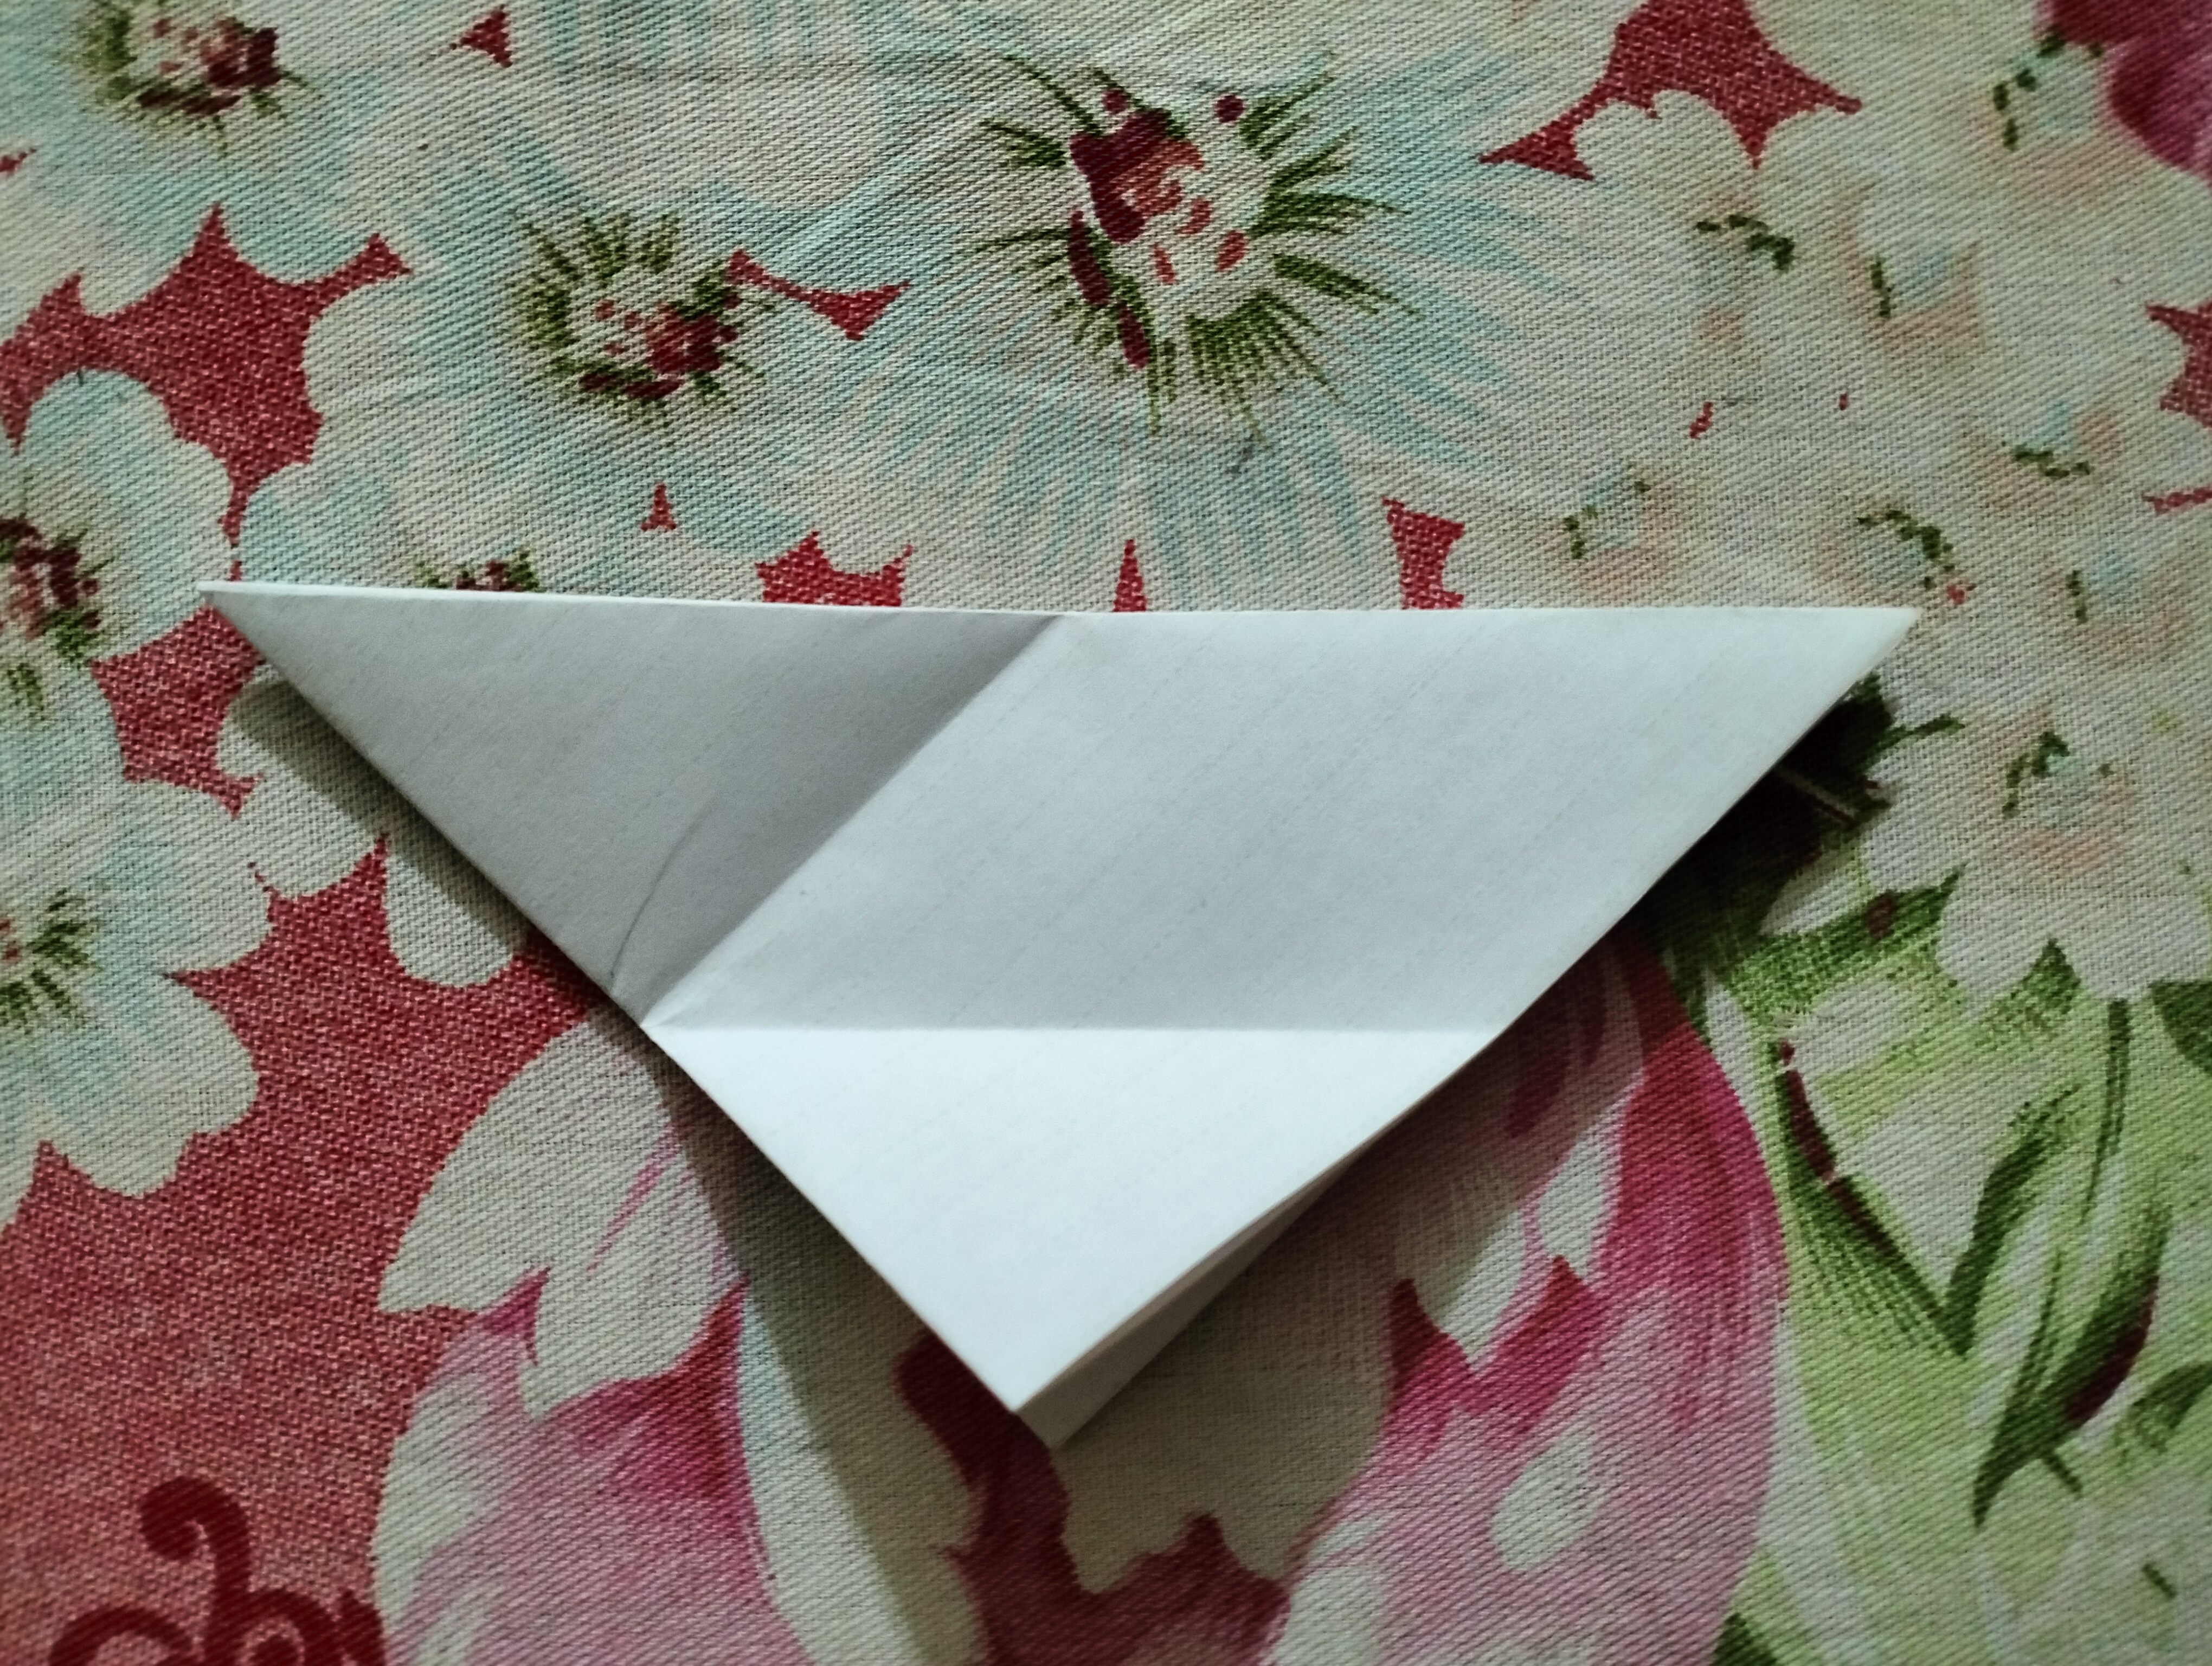
Step- 1
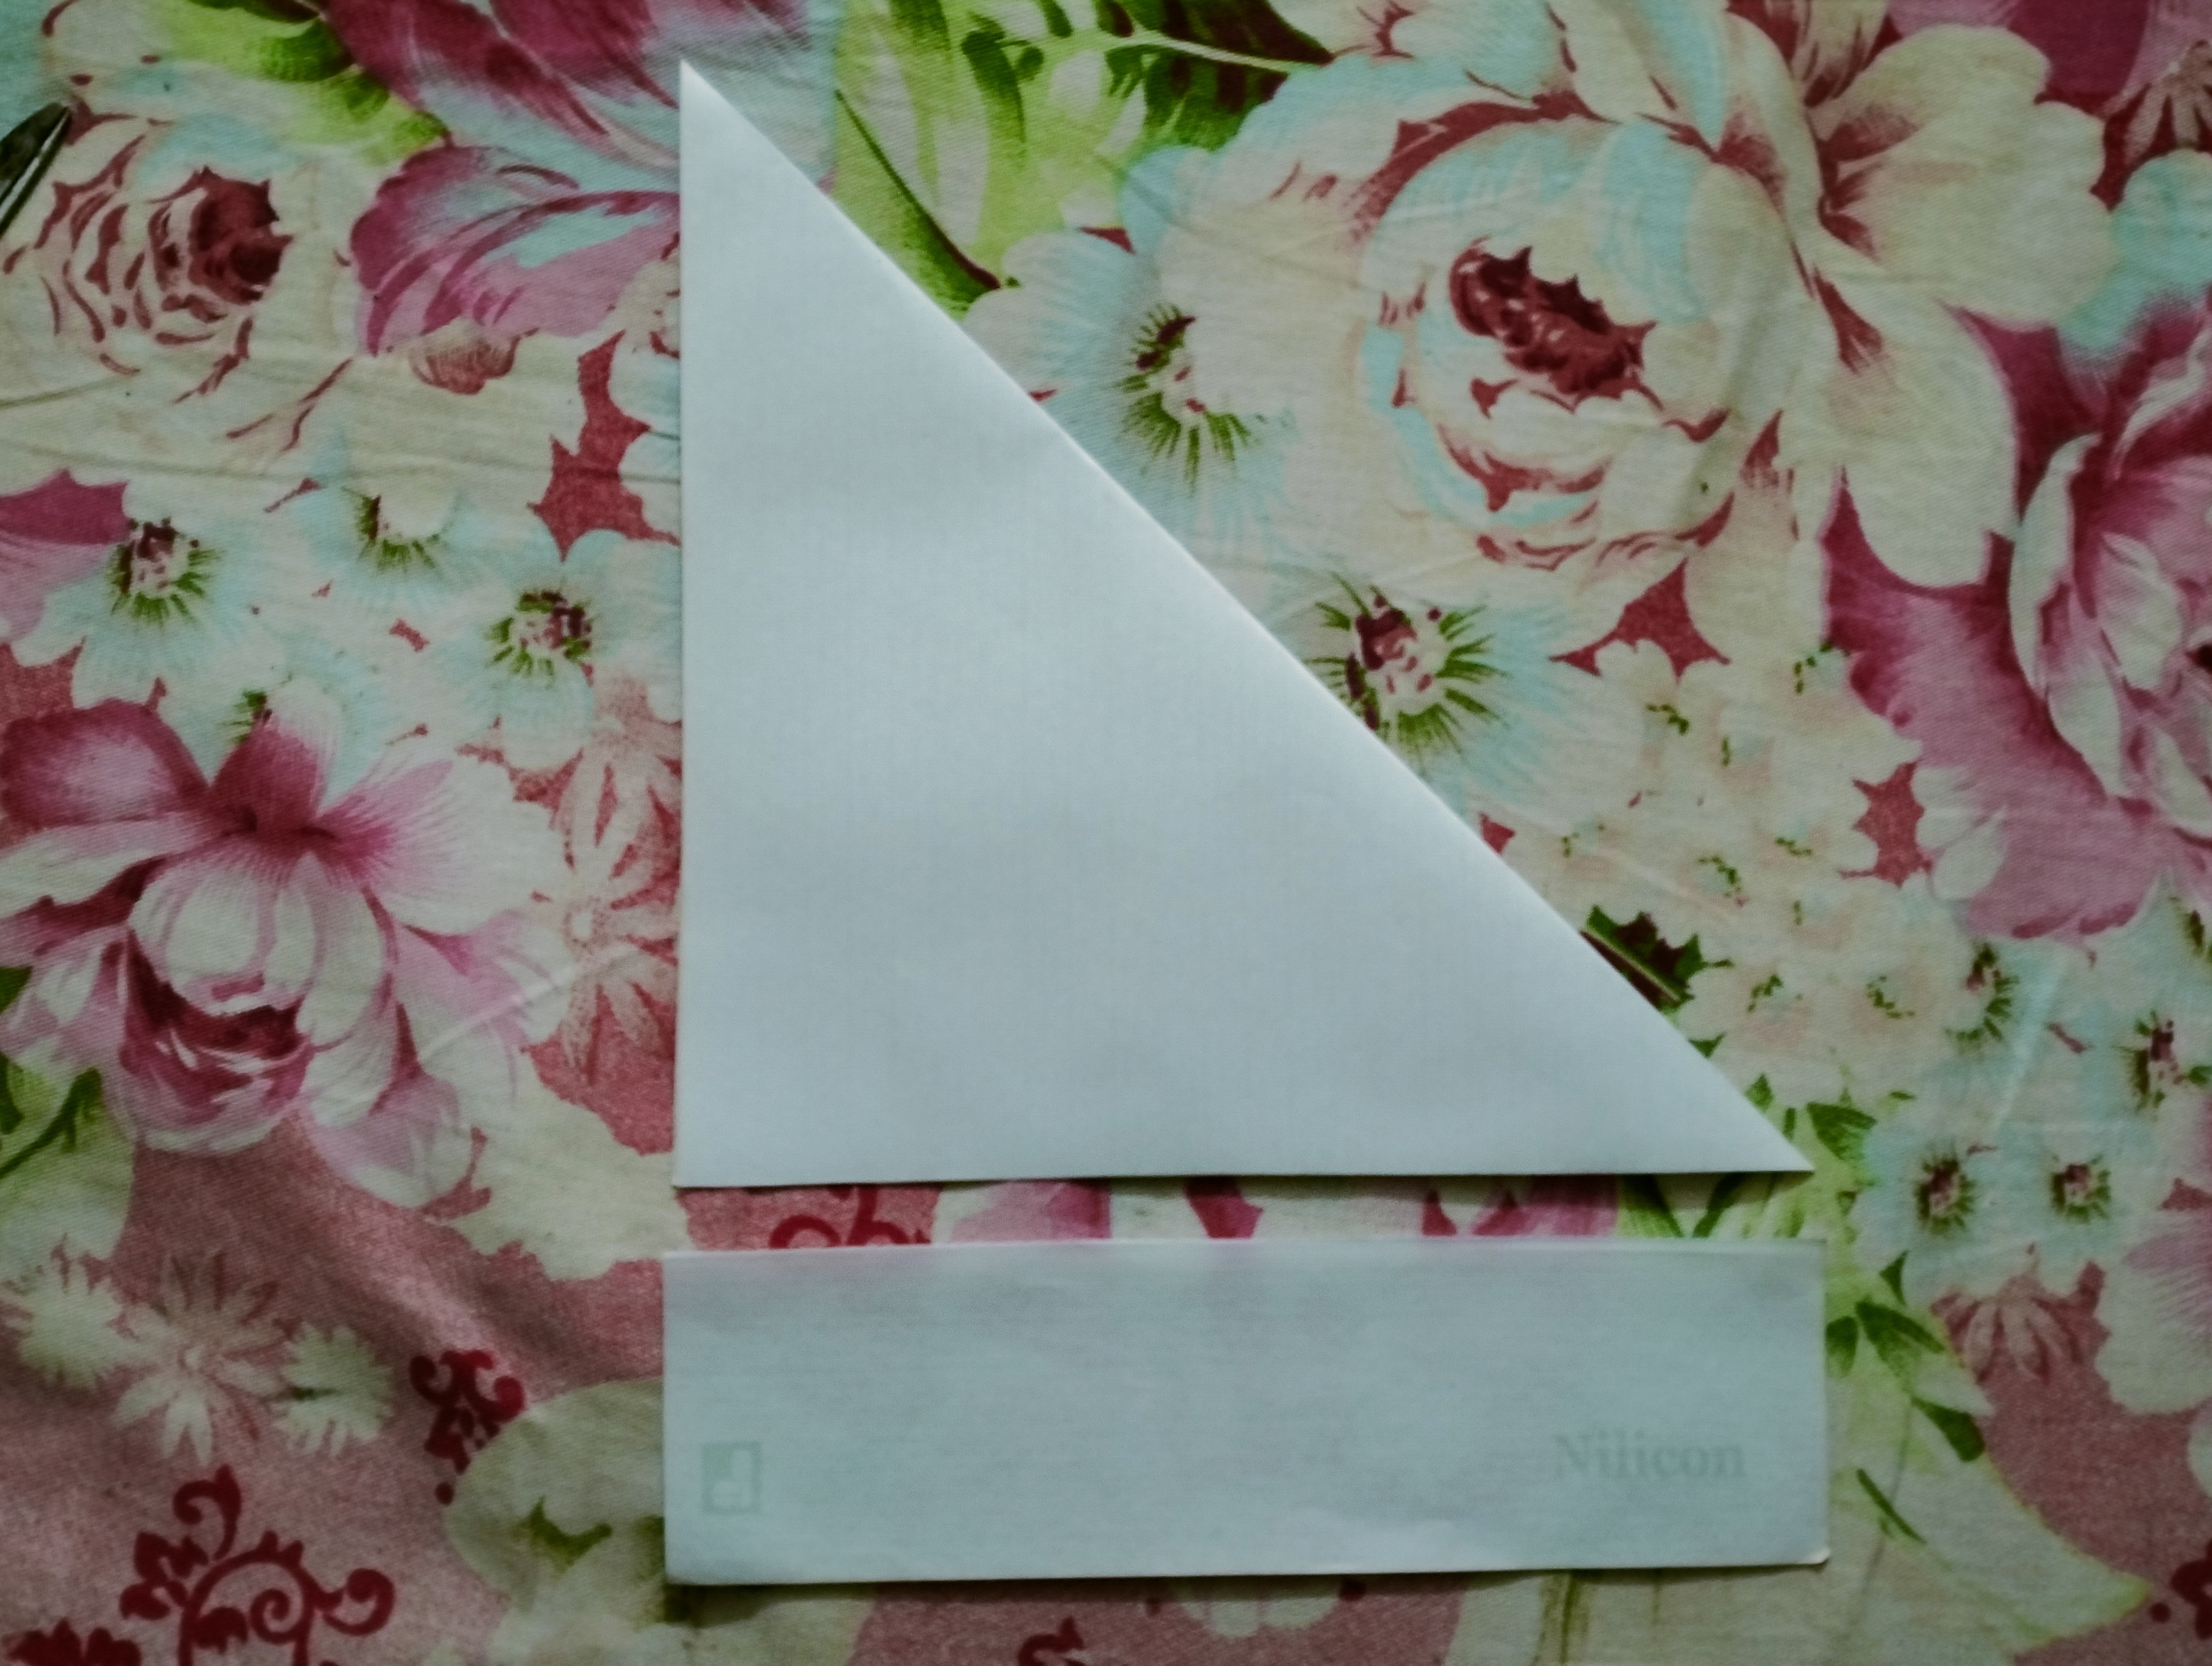
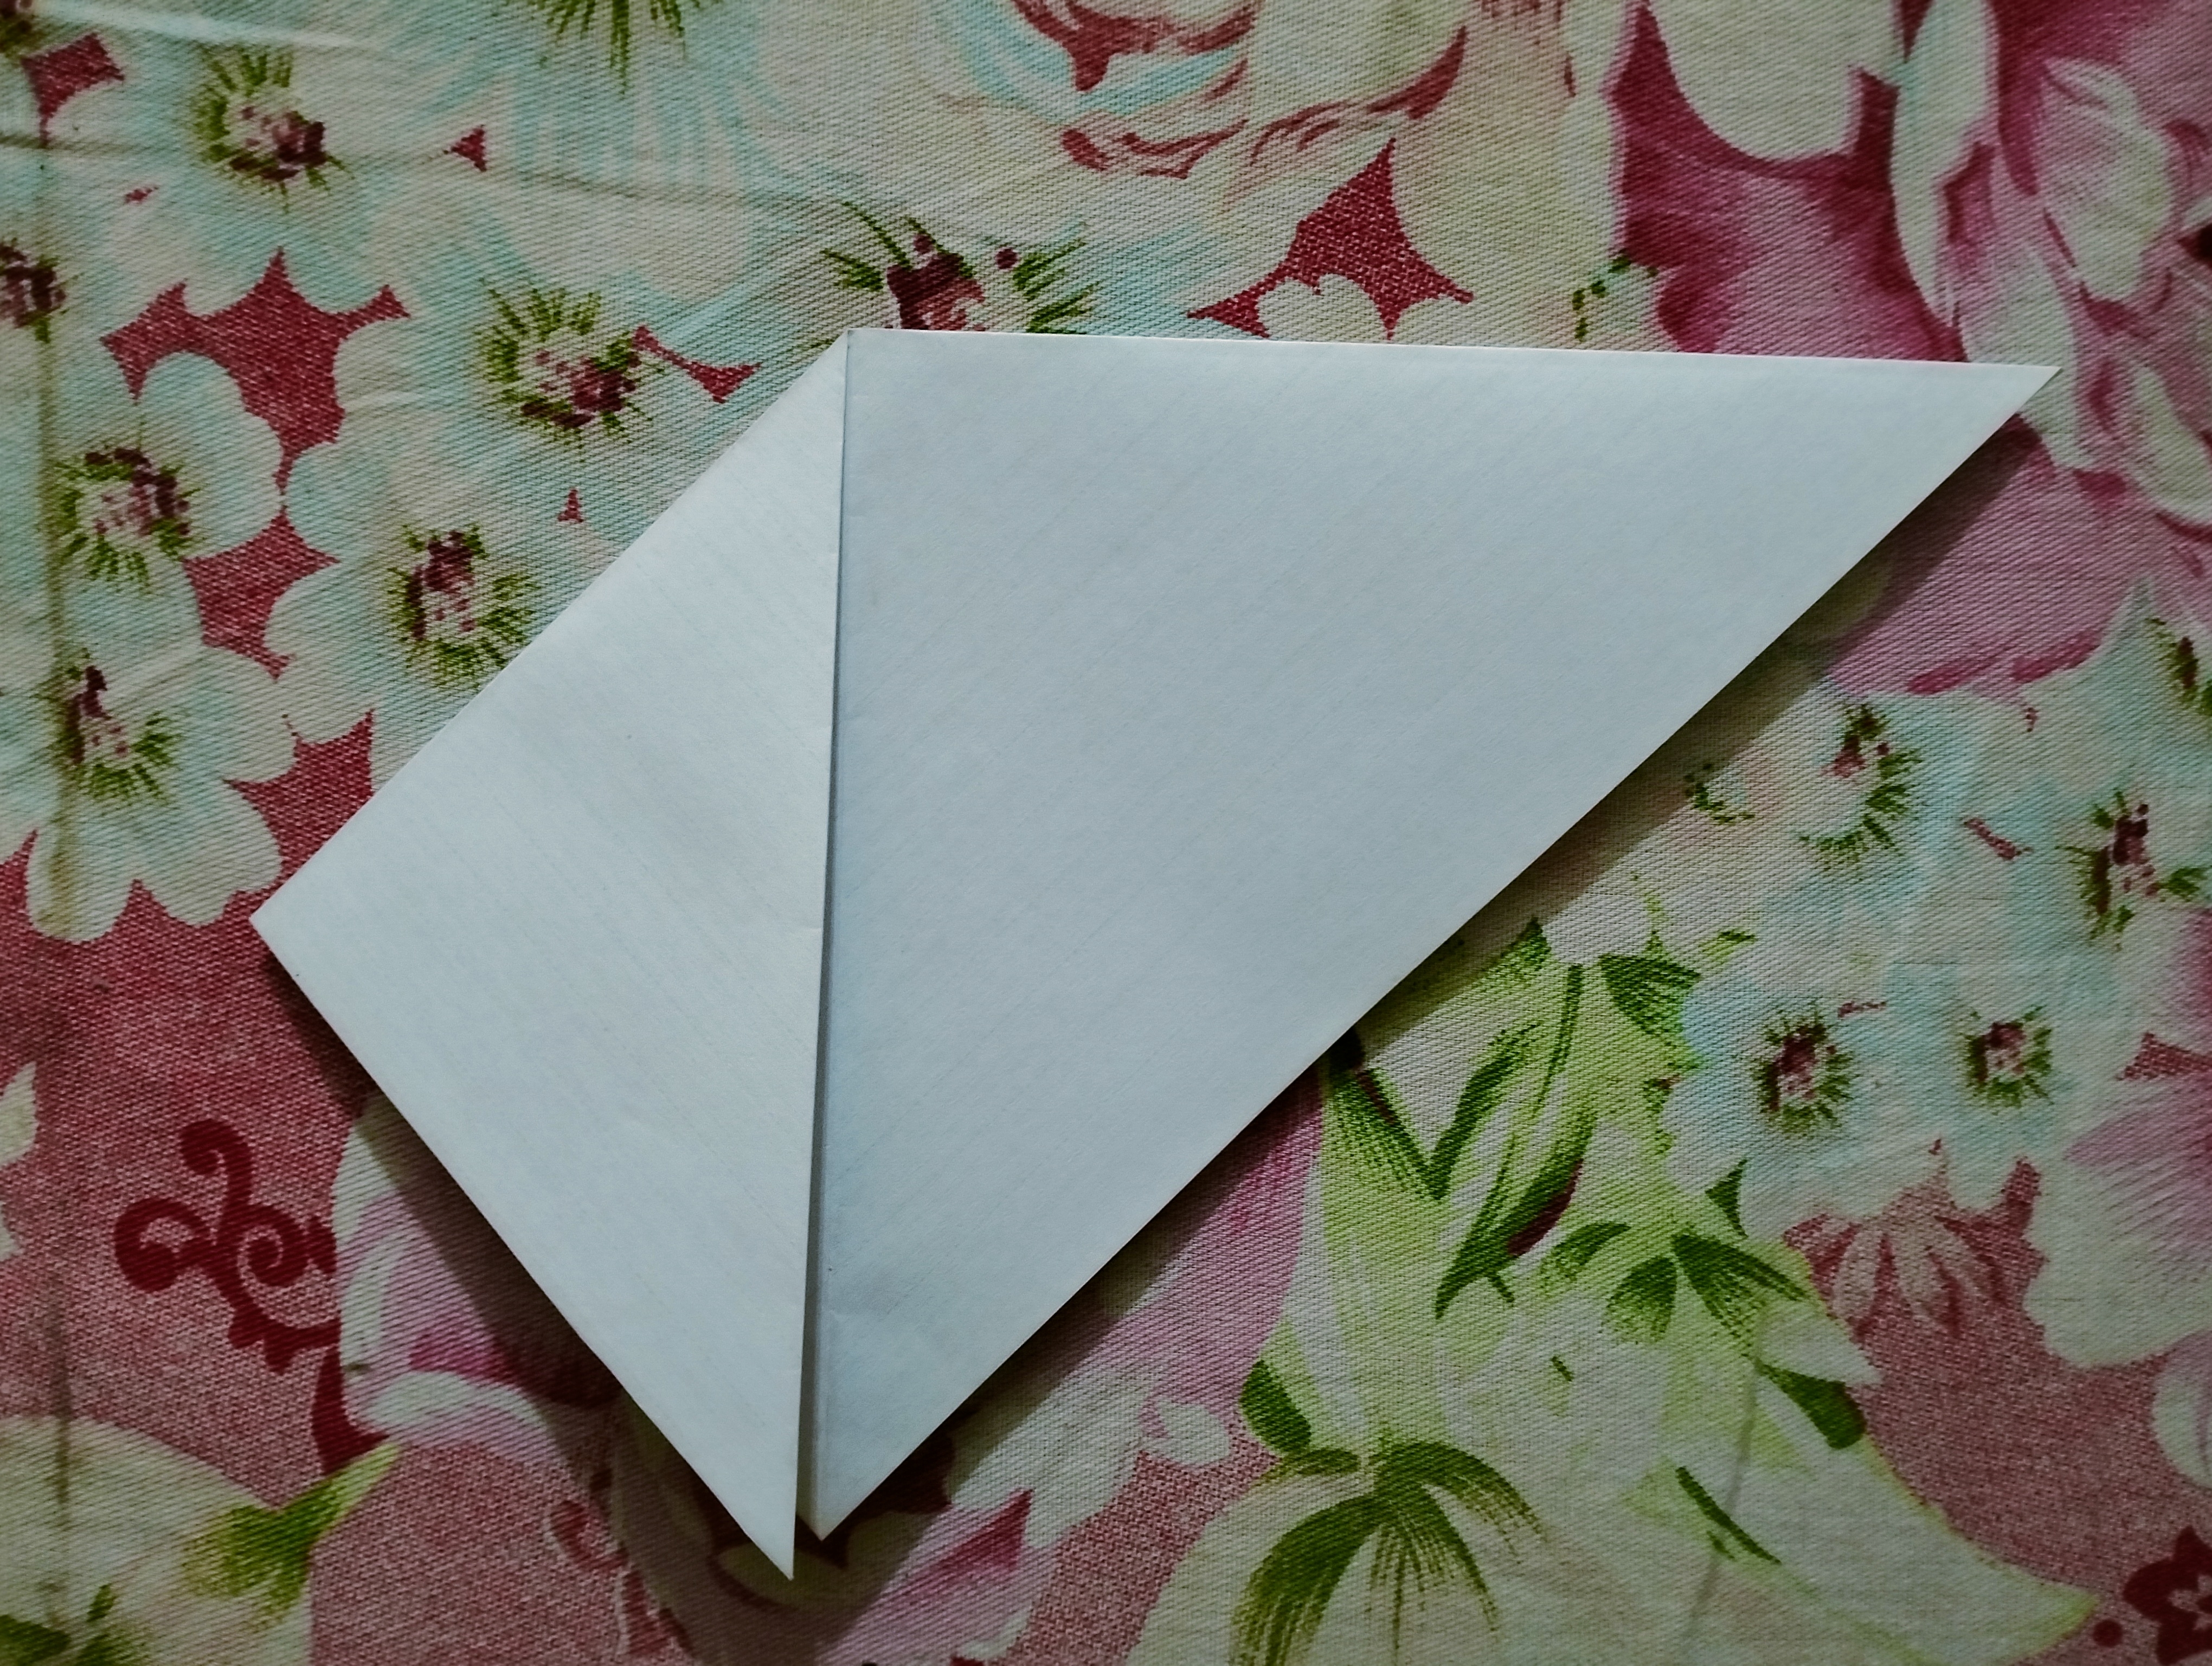
First we will take a paper.
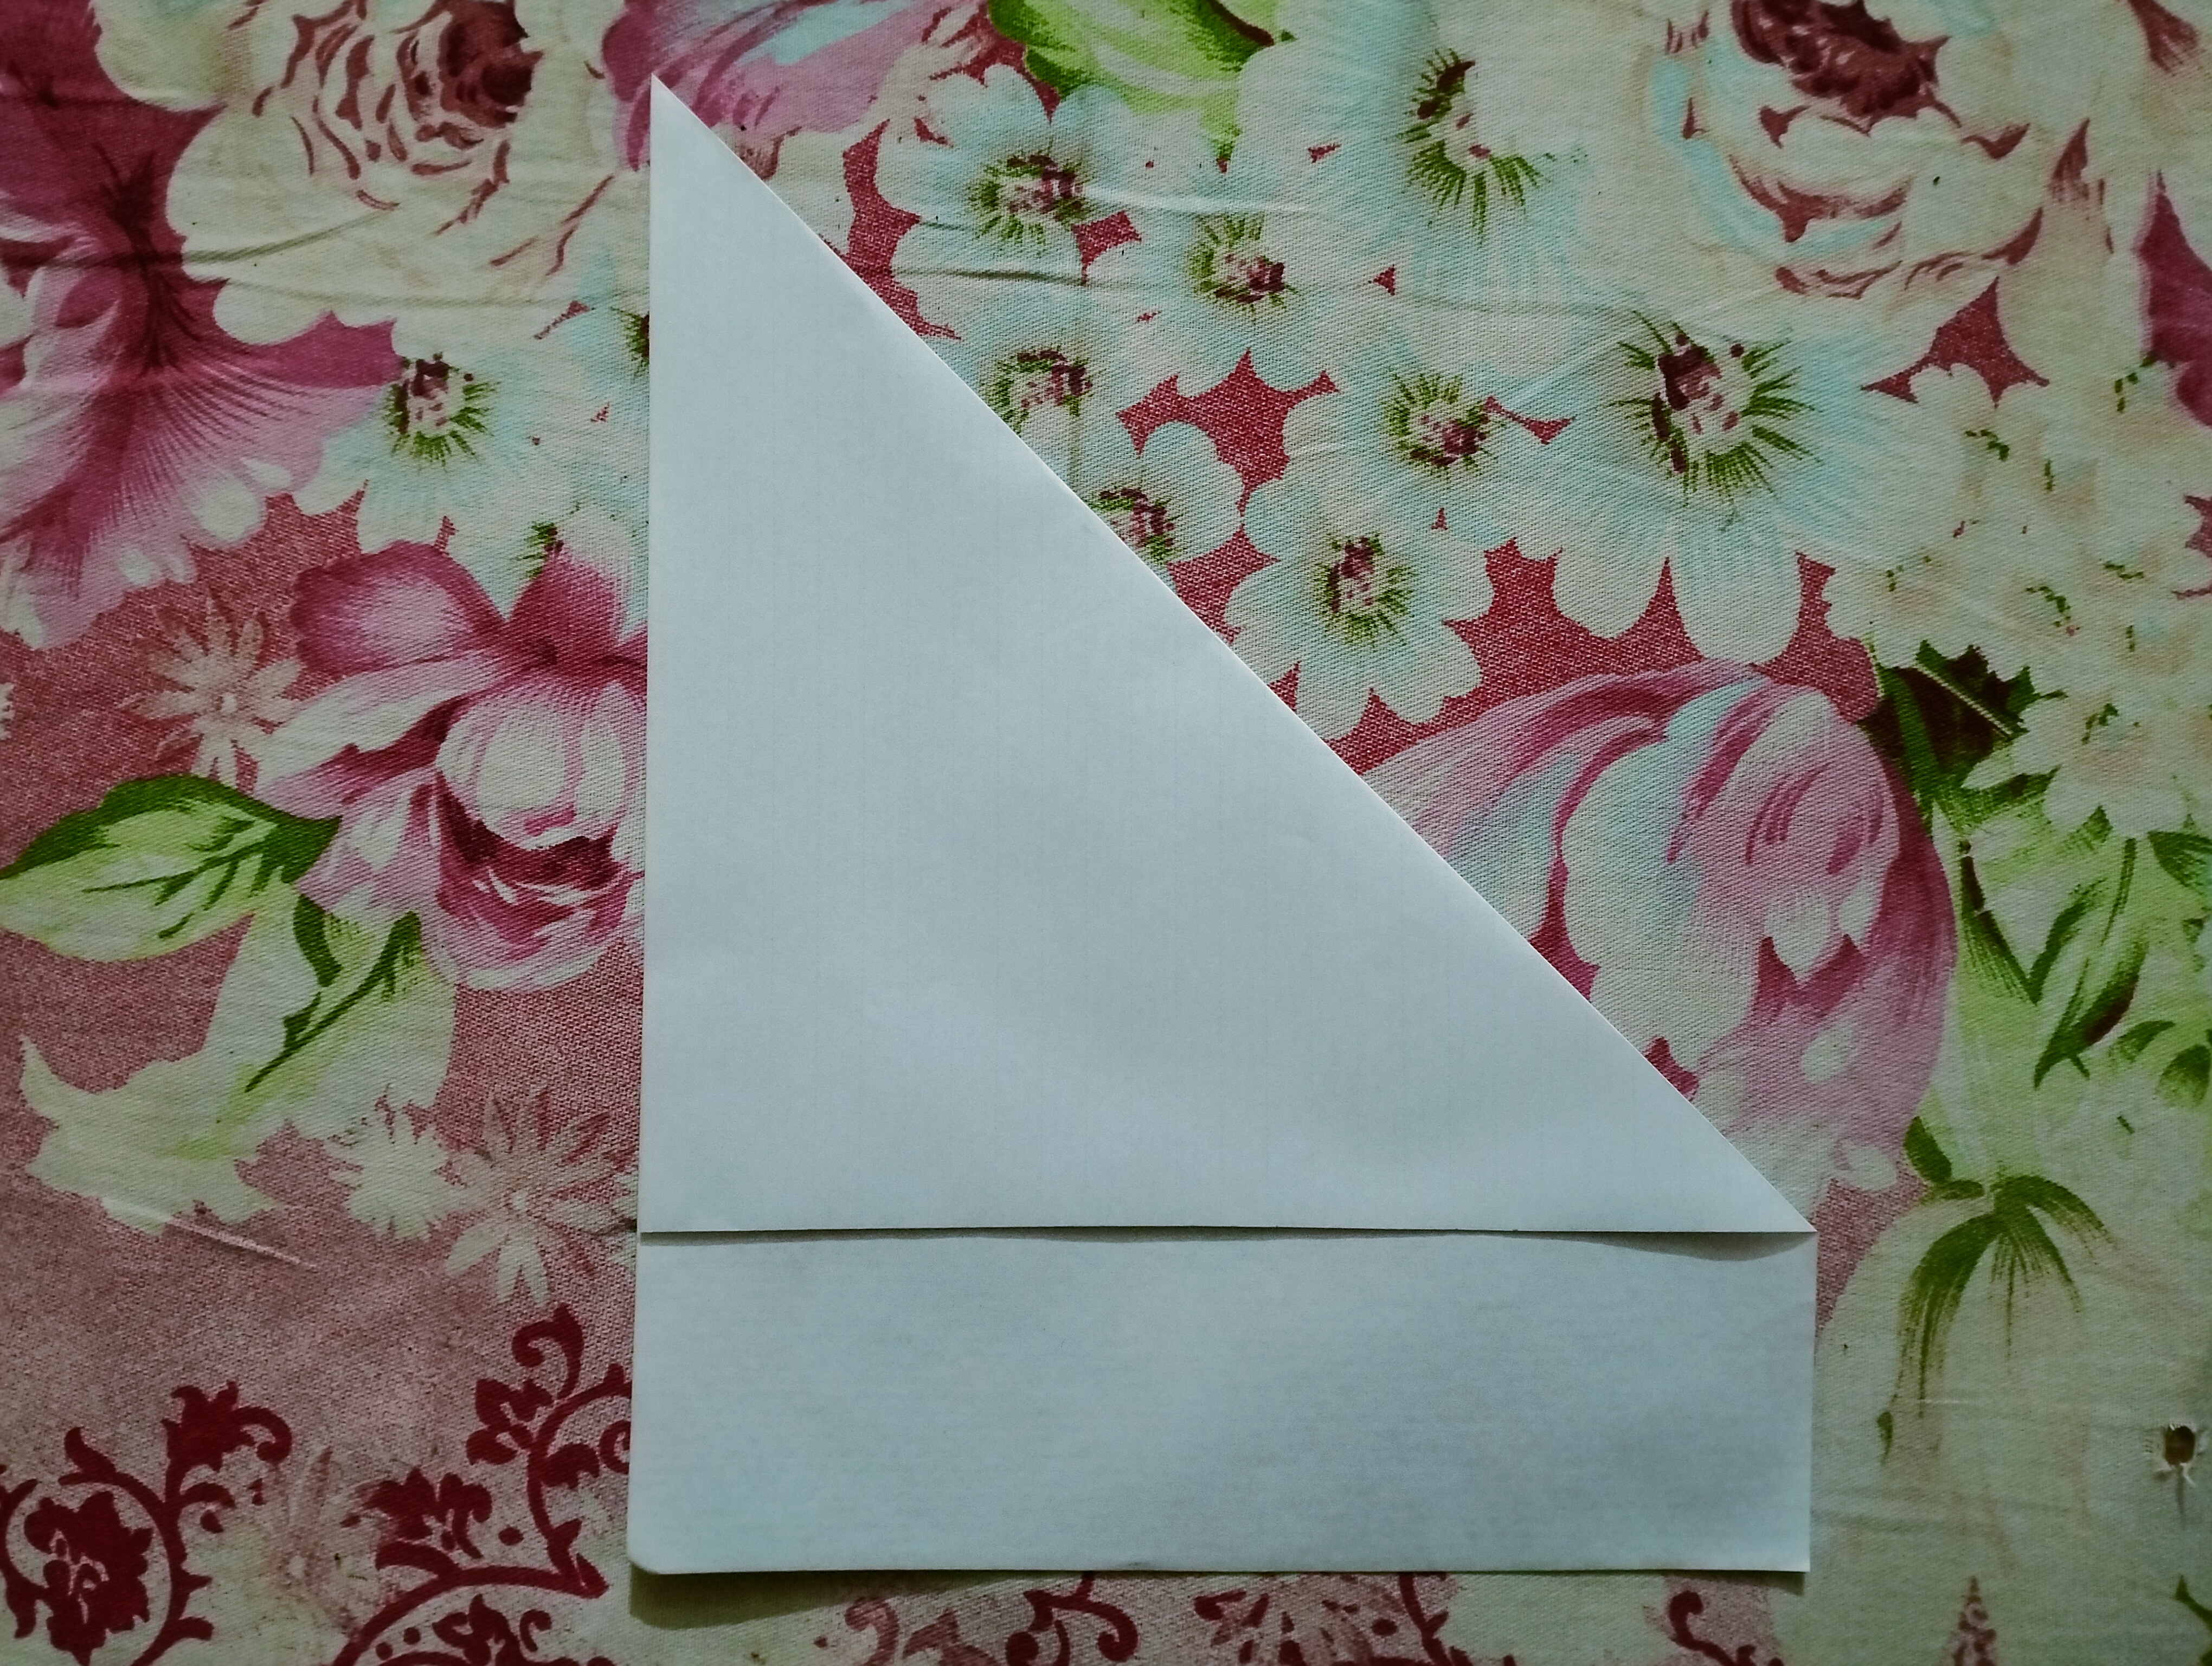
Then fold the paper as shown in the picture.
Step- 2
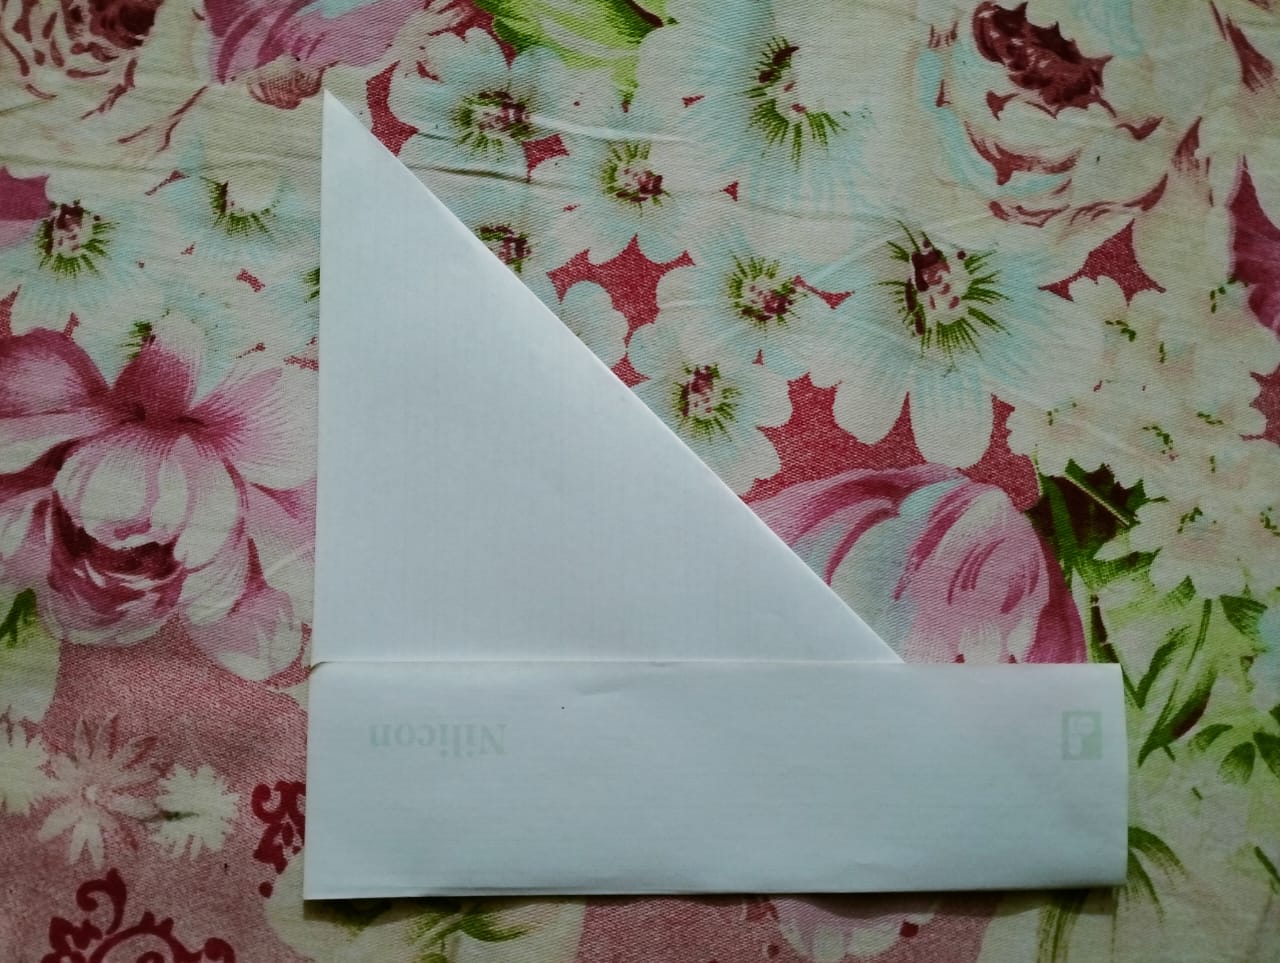
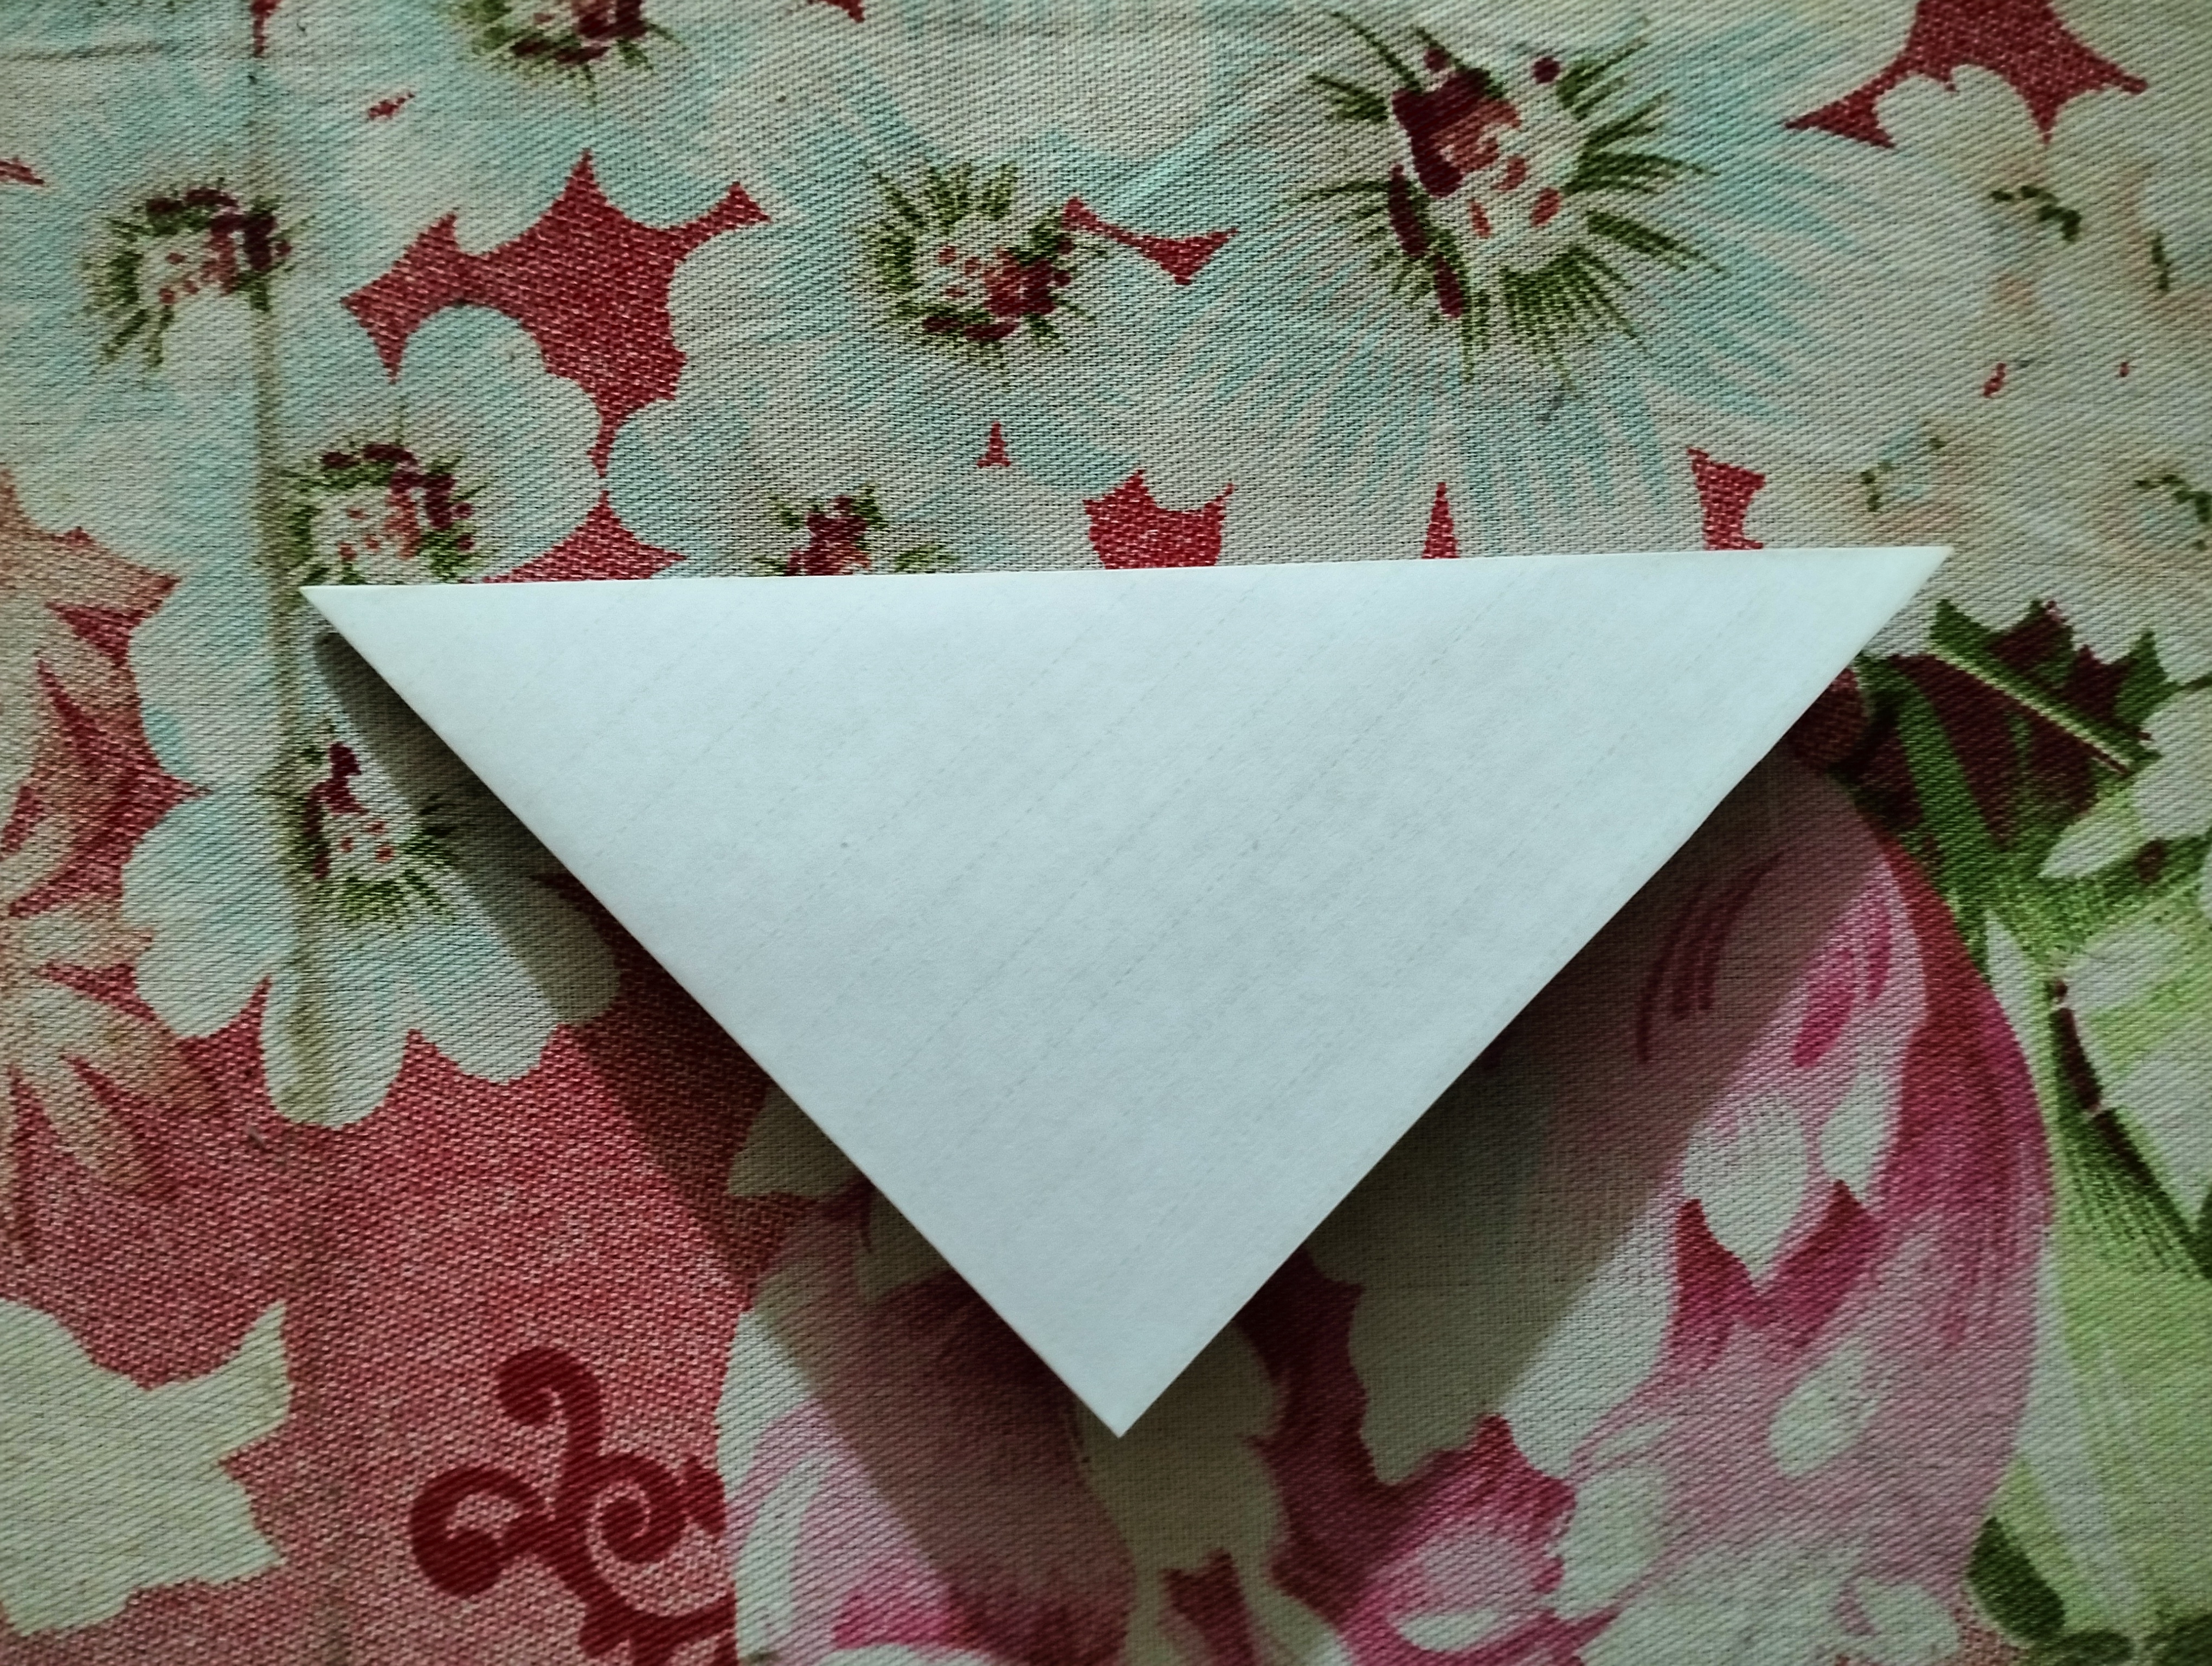
Then we will fold the bottom side of the paper as shown in the picture.
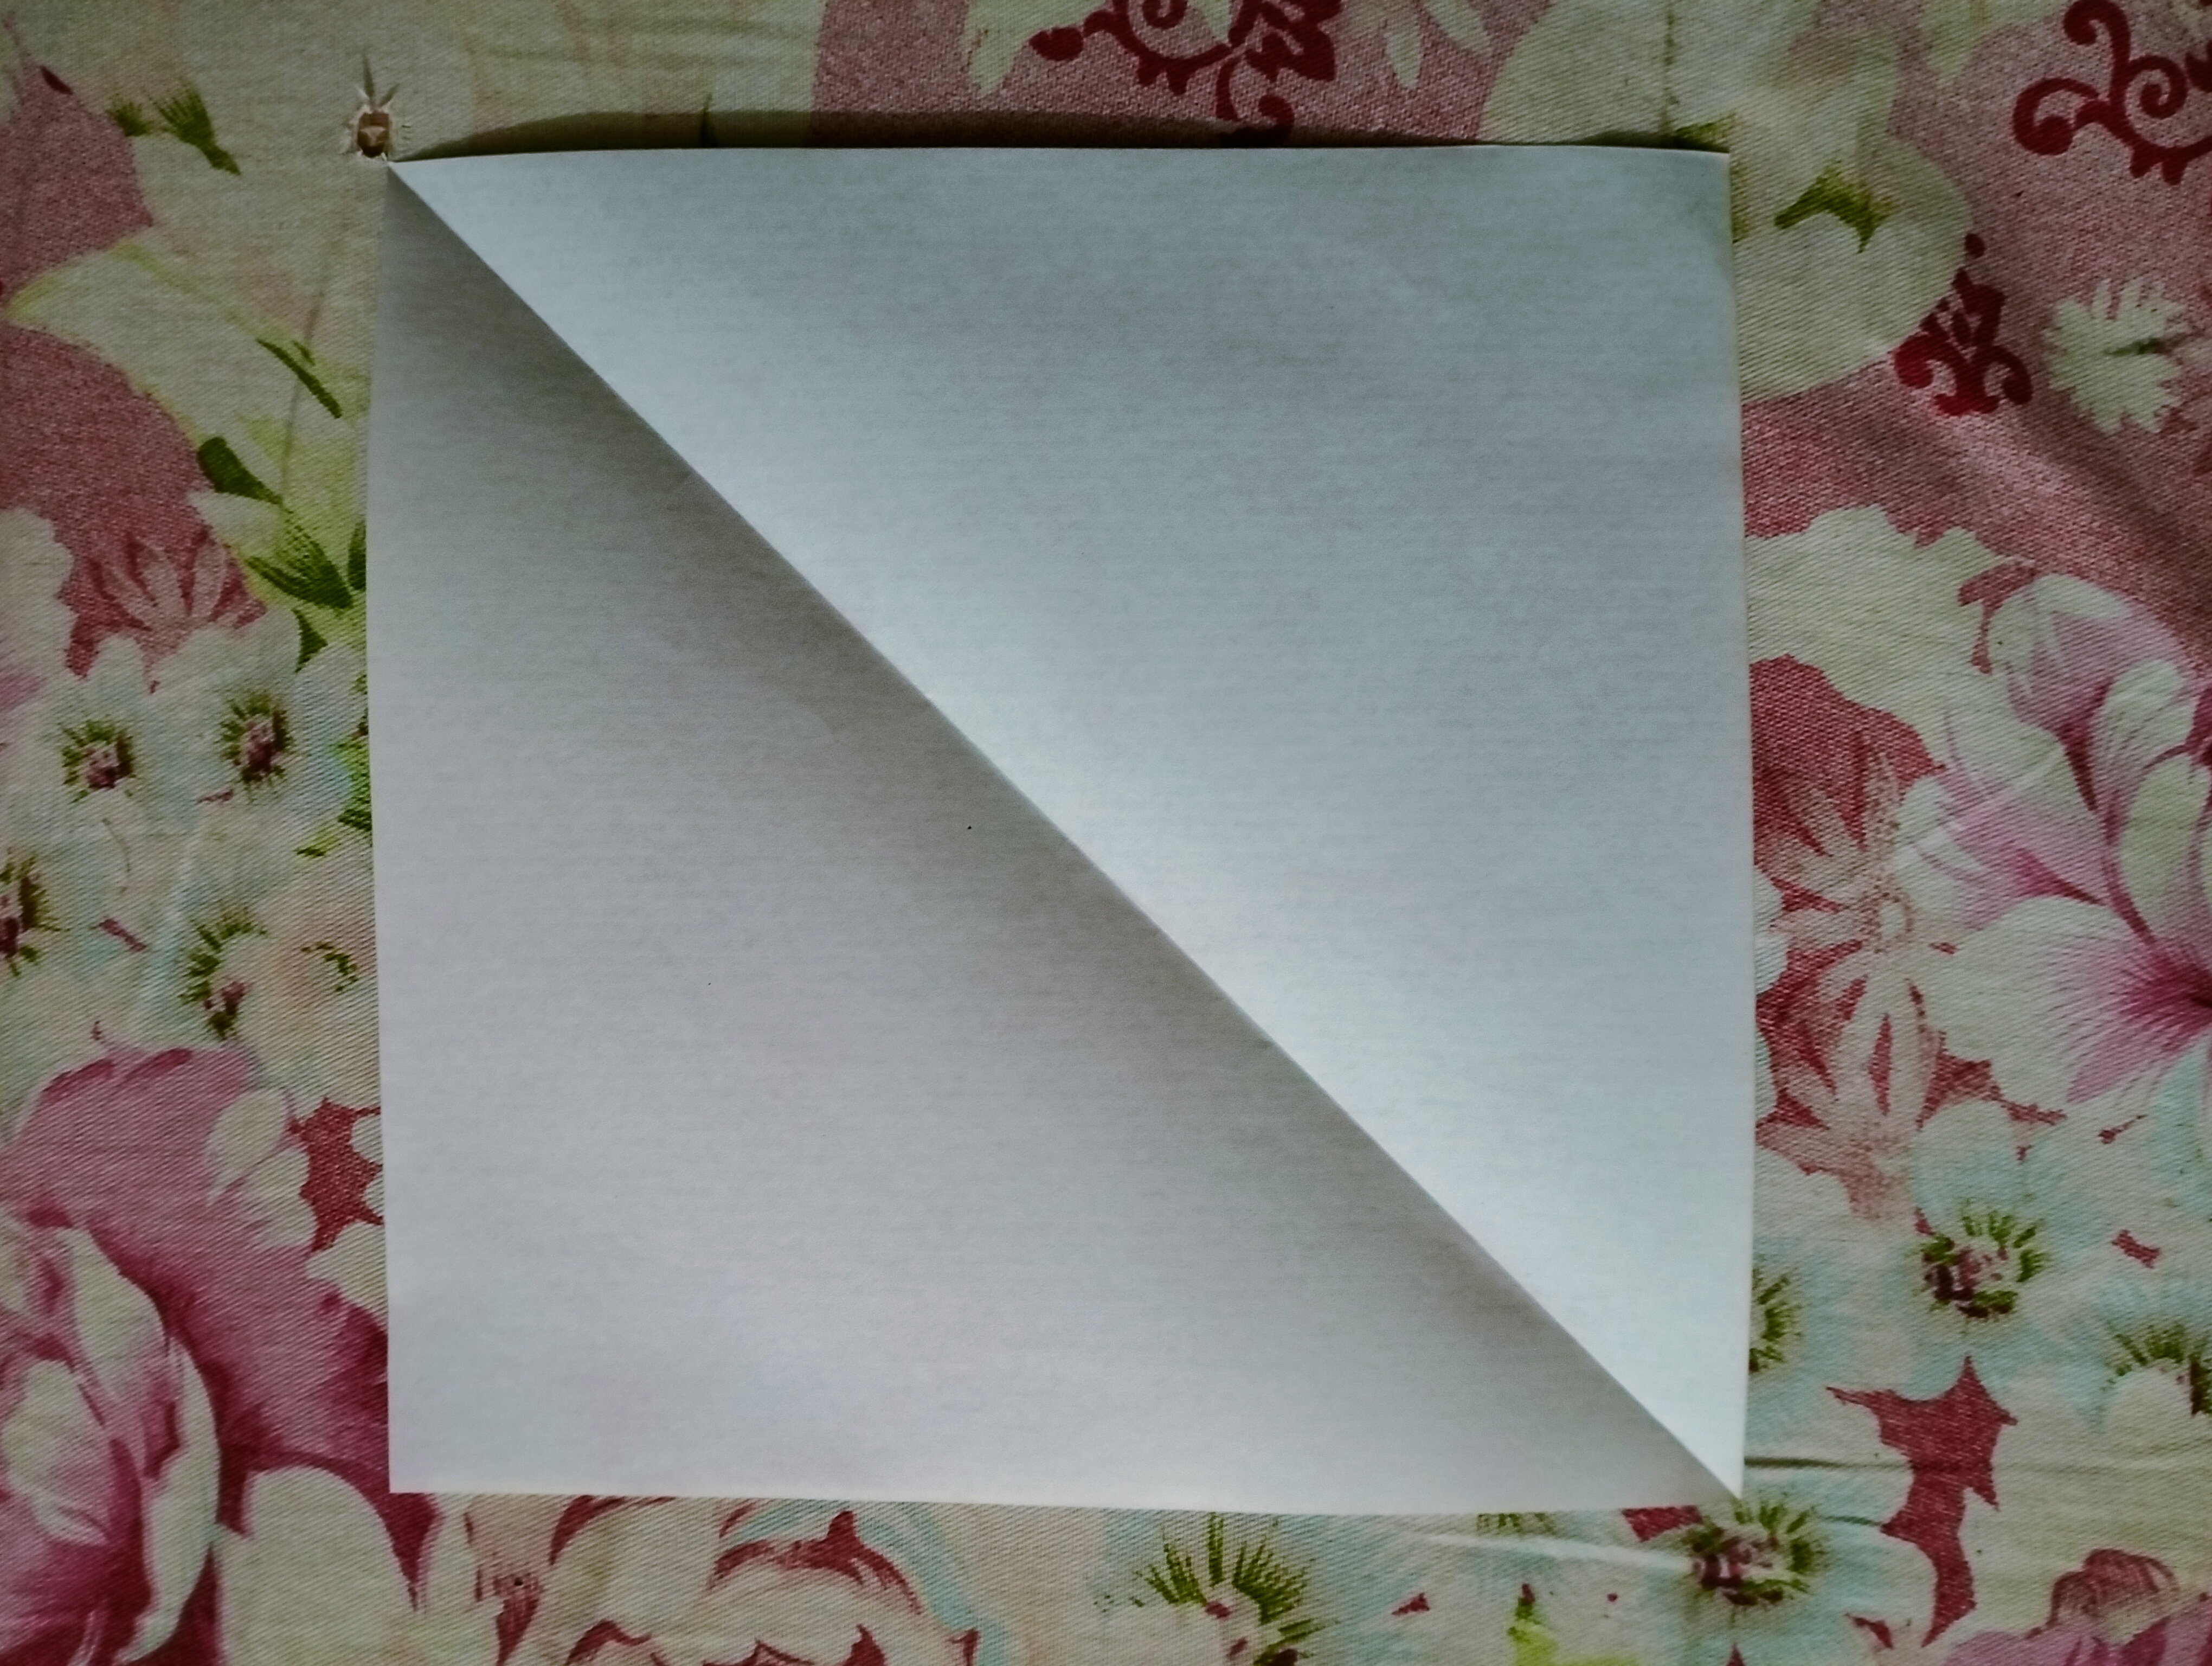
Now open the fold of the paper and cut the bottom side with scissors.
Now we get one such piece of paper.
Step- 3
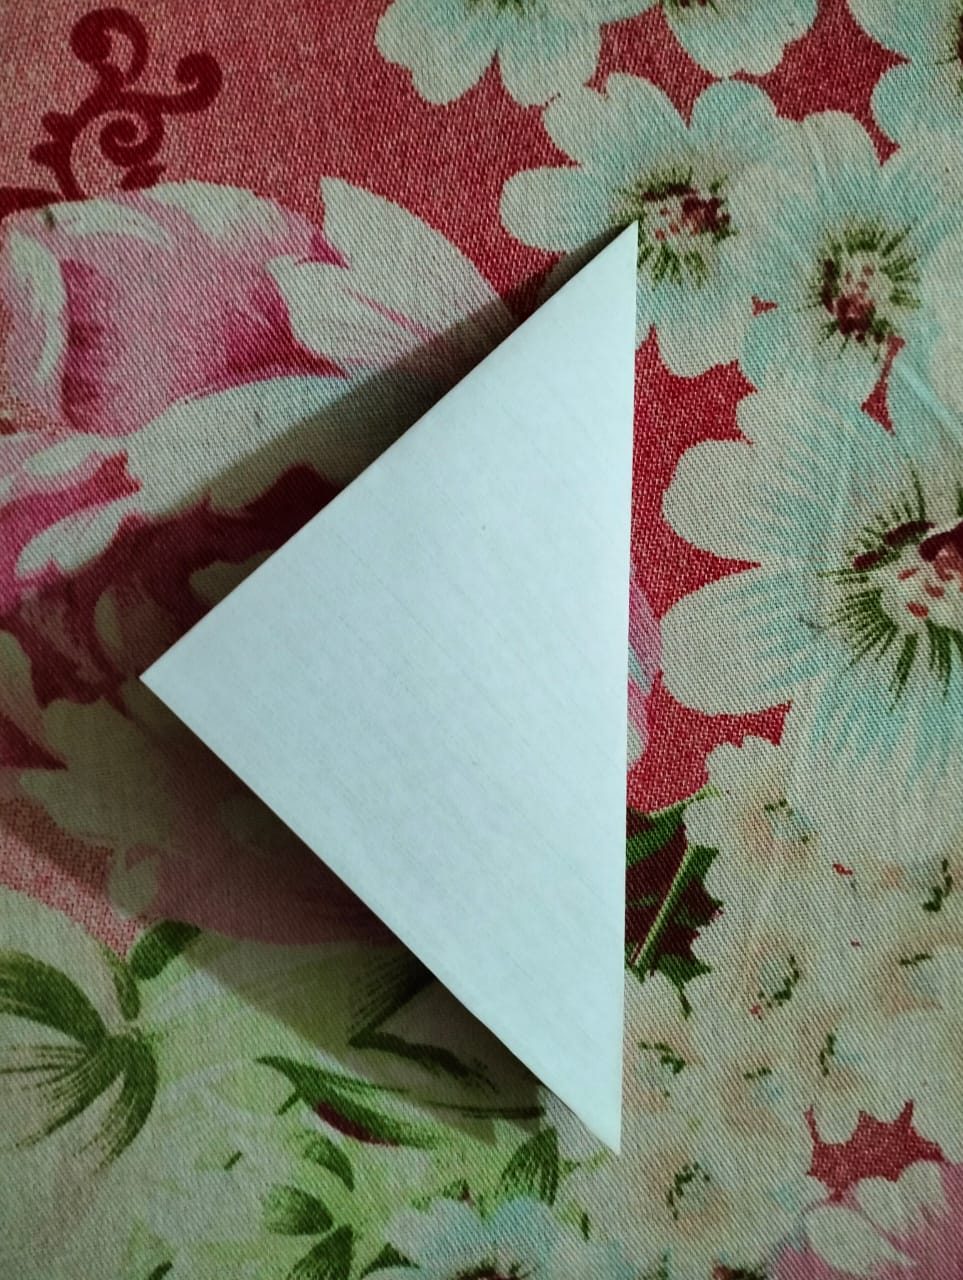
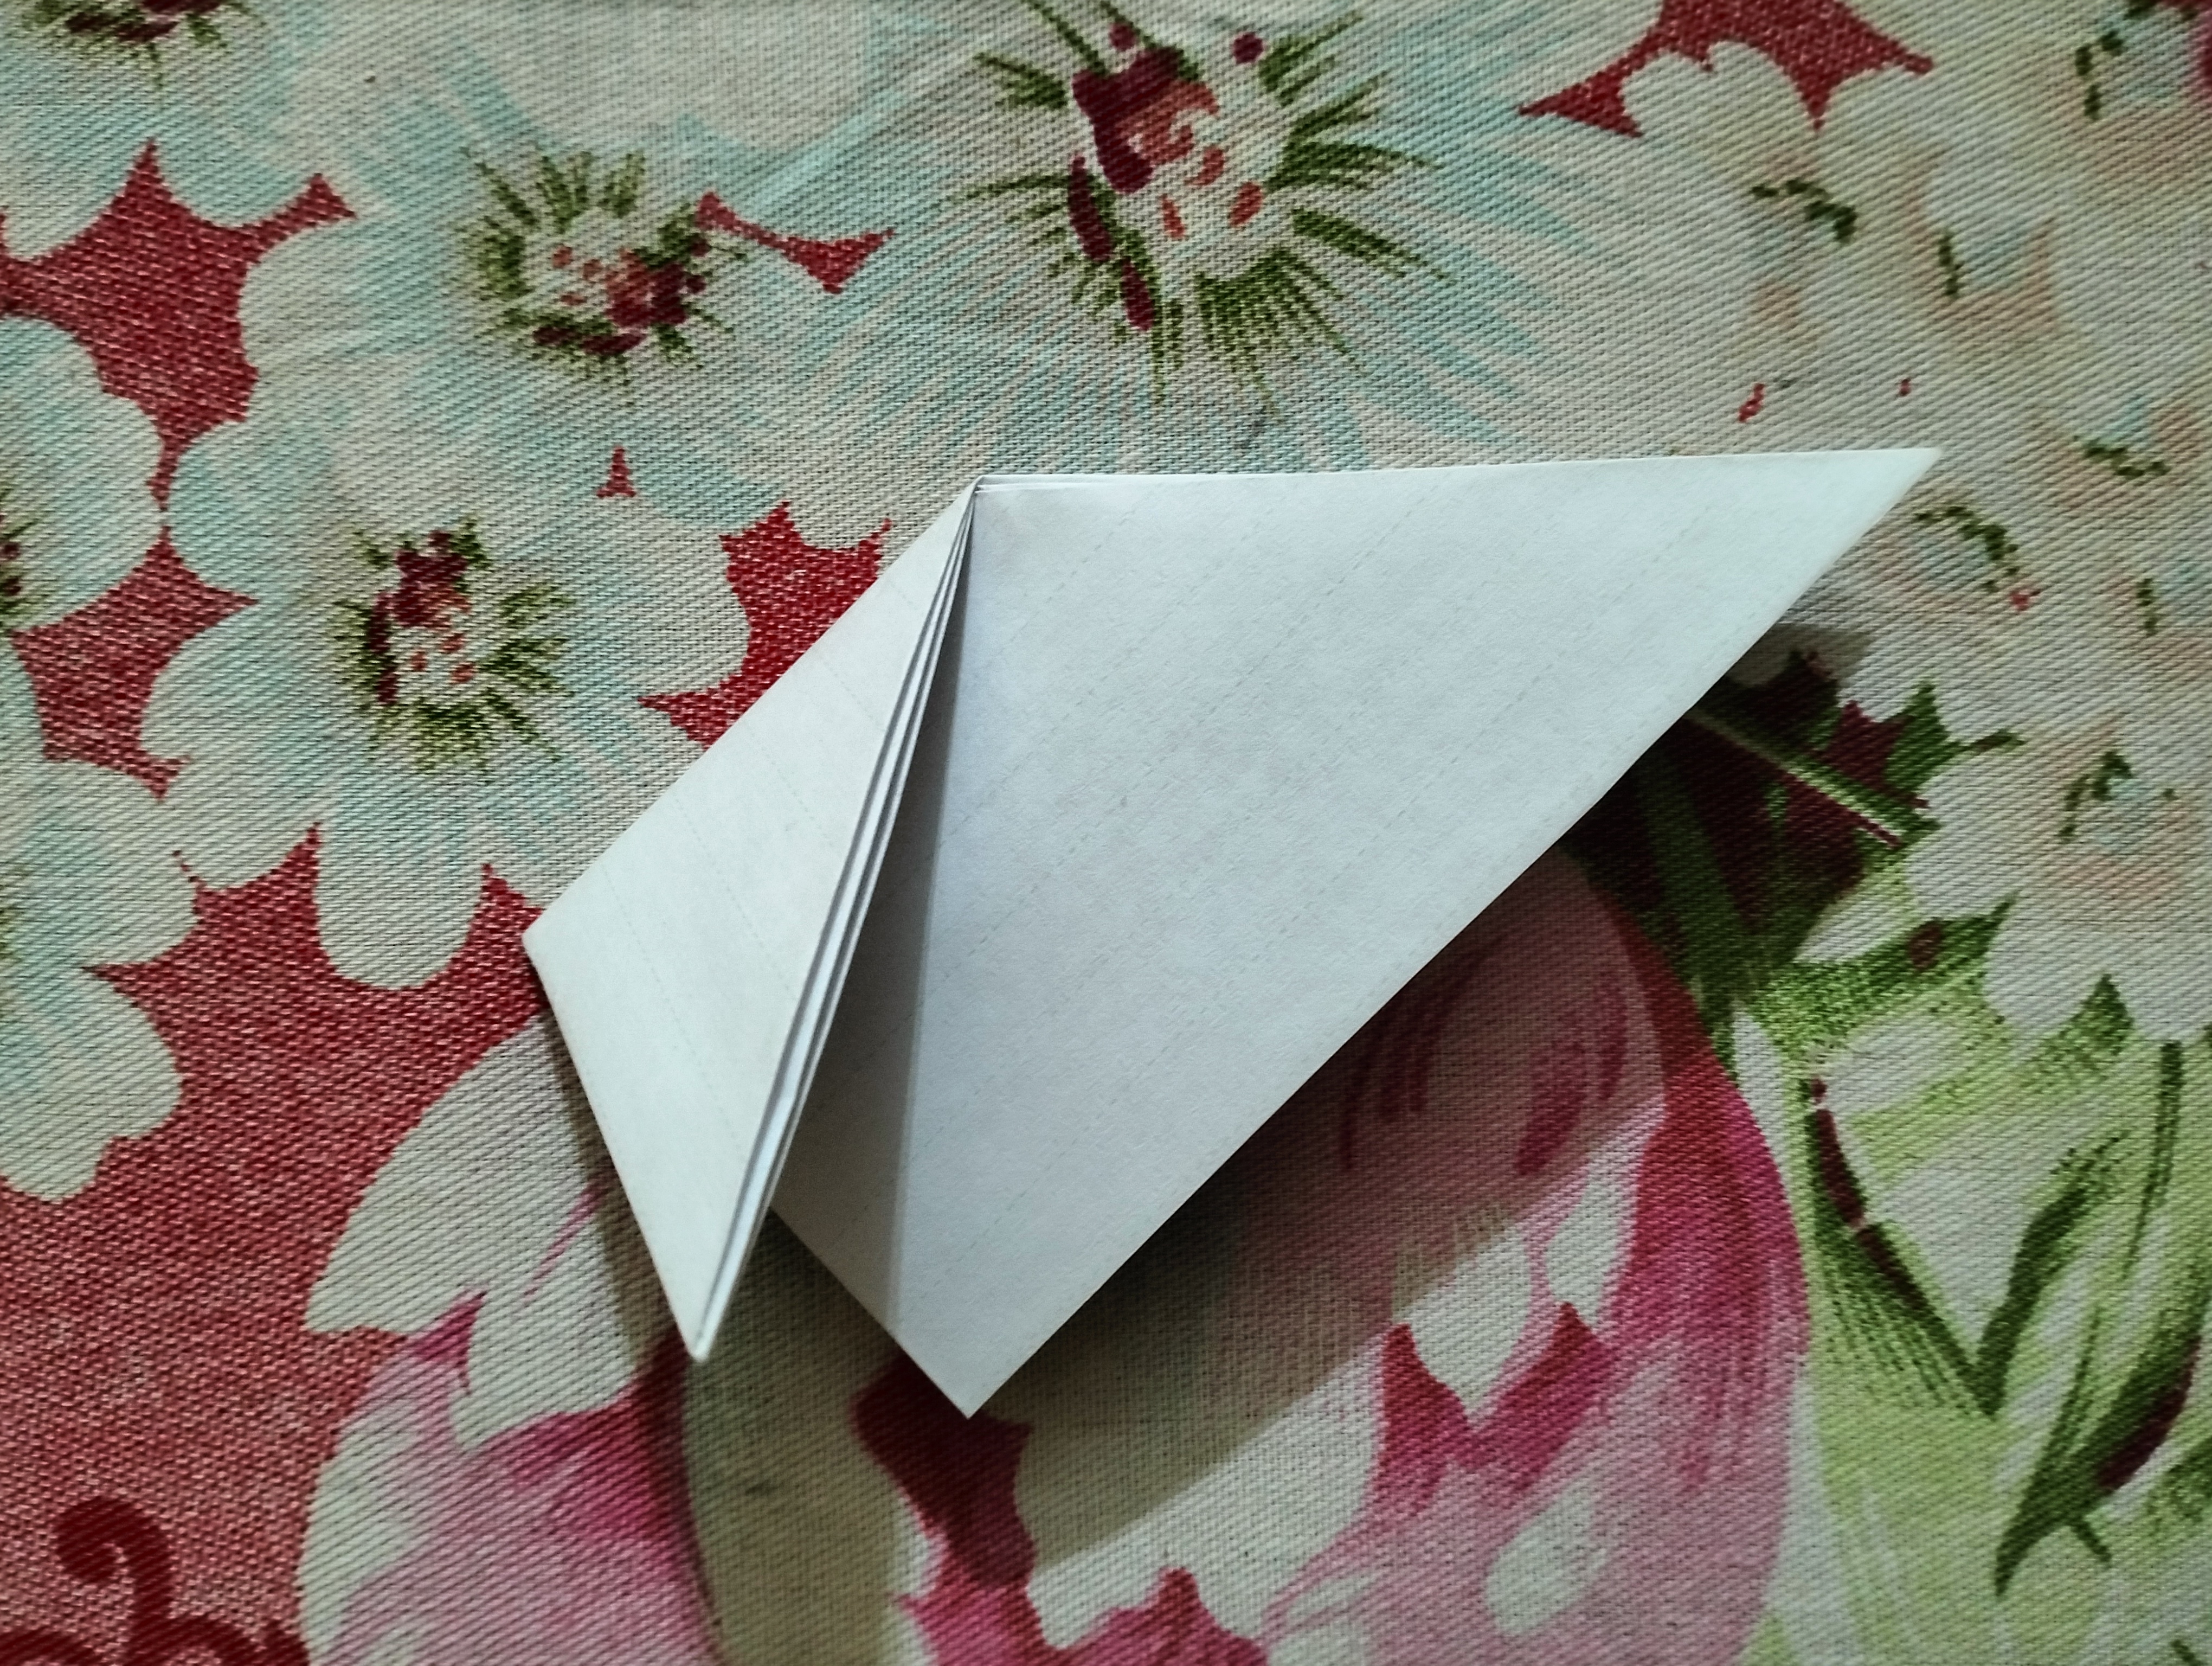
Now fold the paper in the middle as shown in the picture.
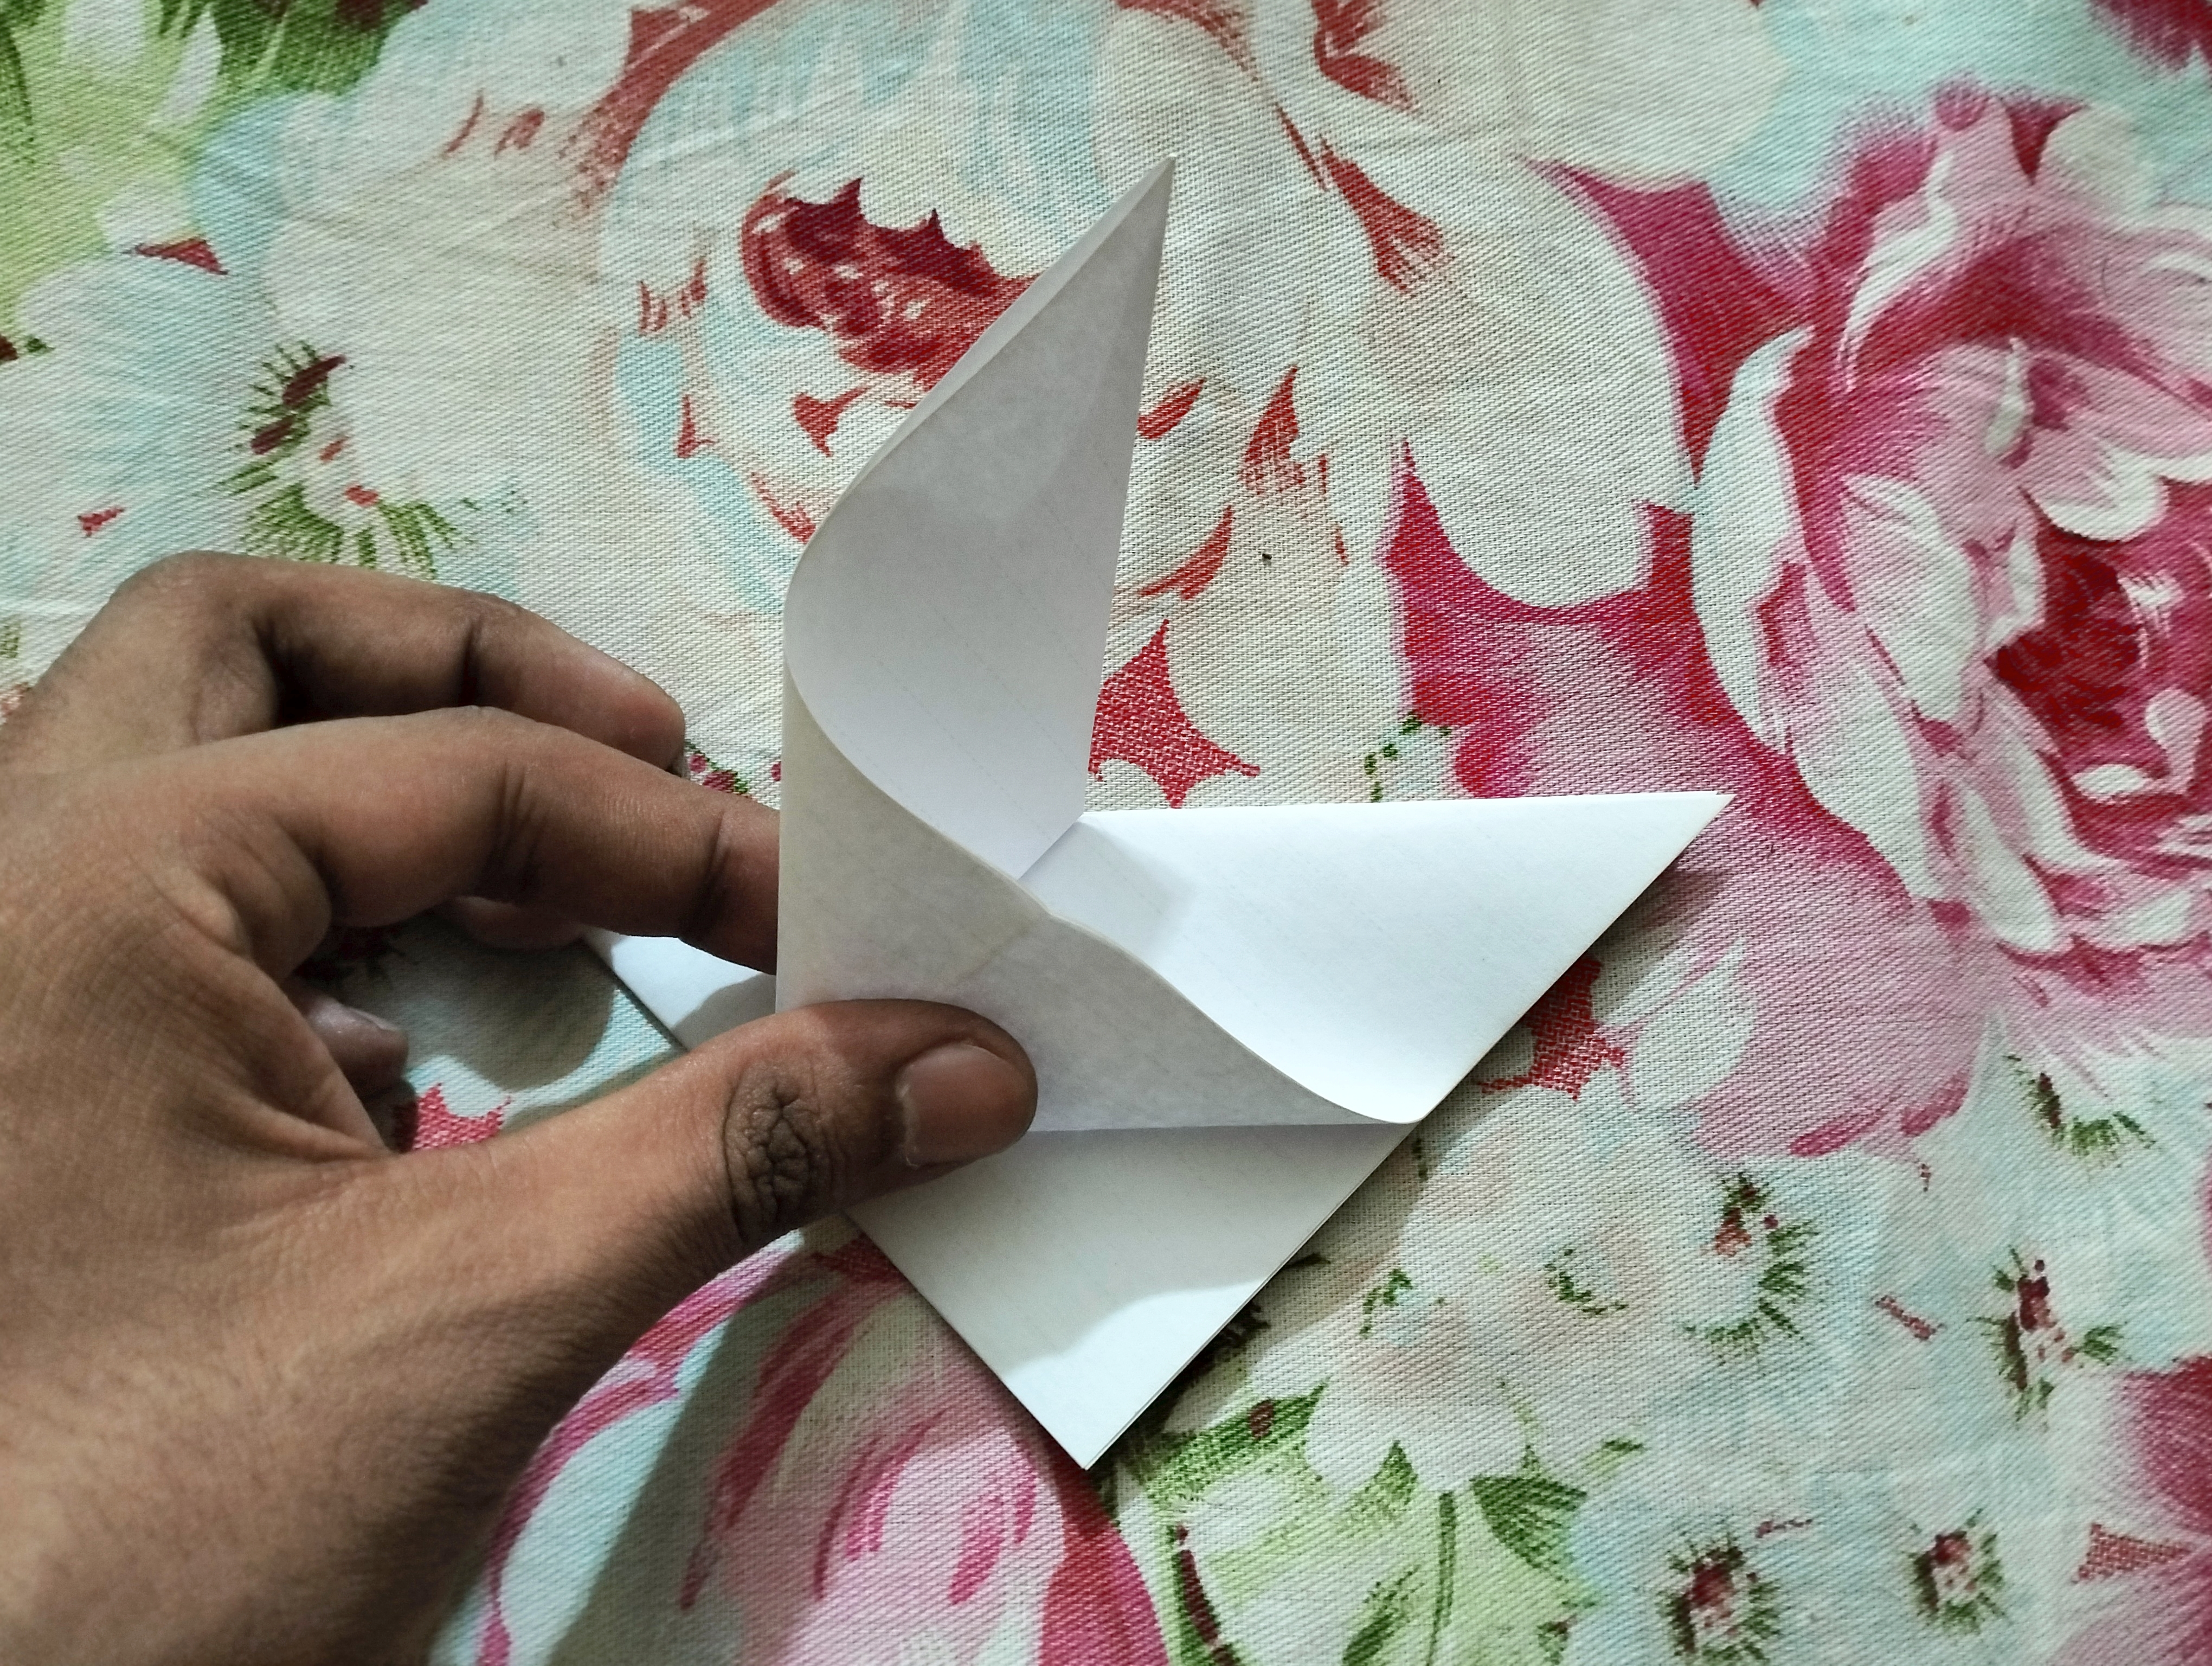
Step- 4
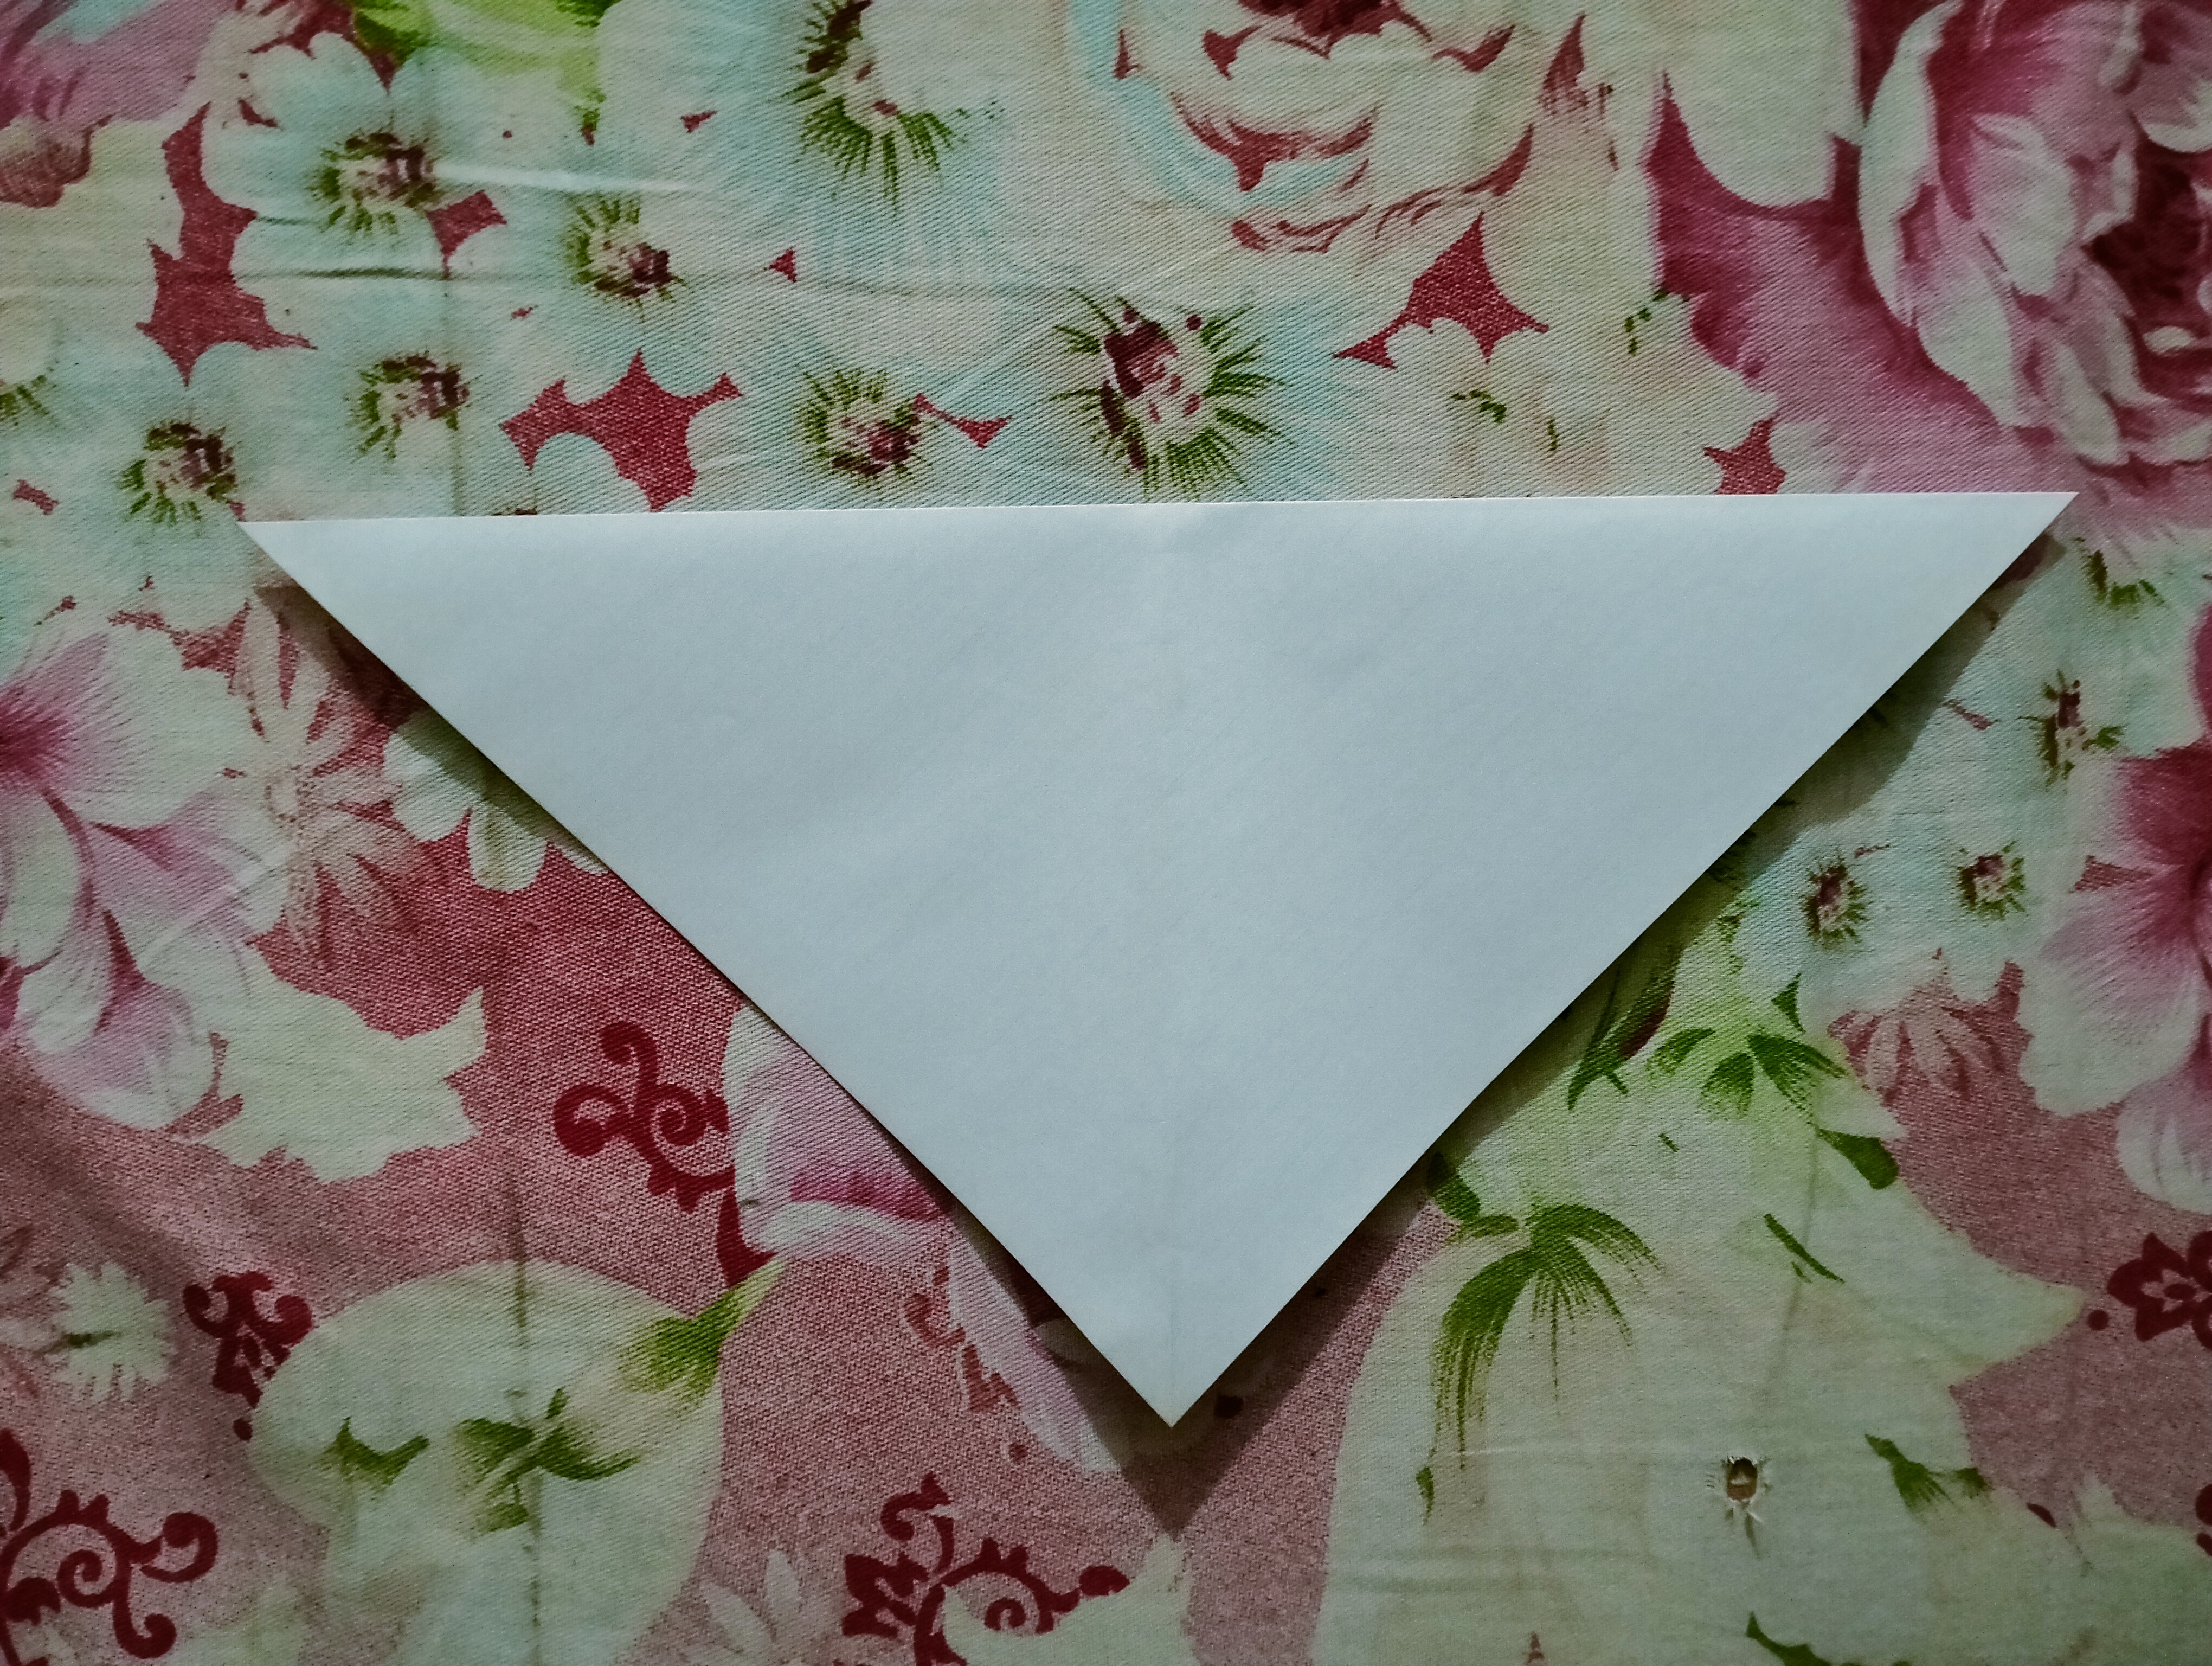
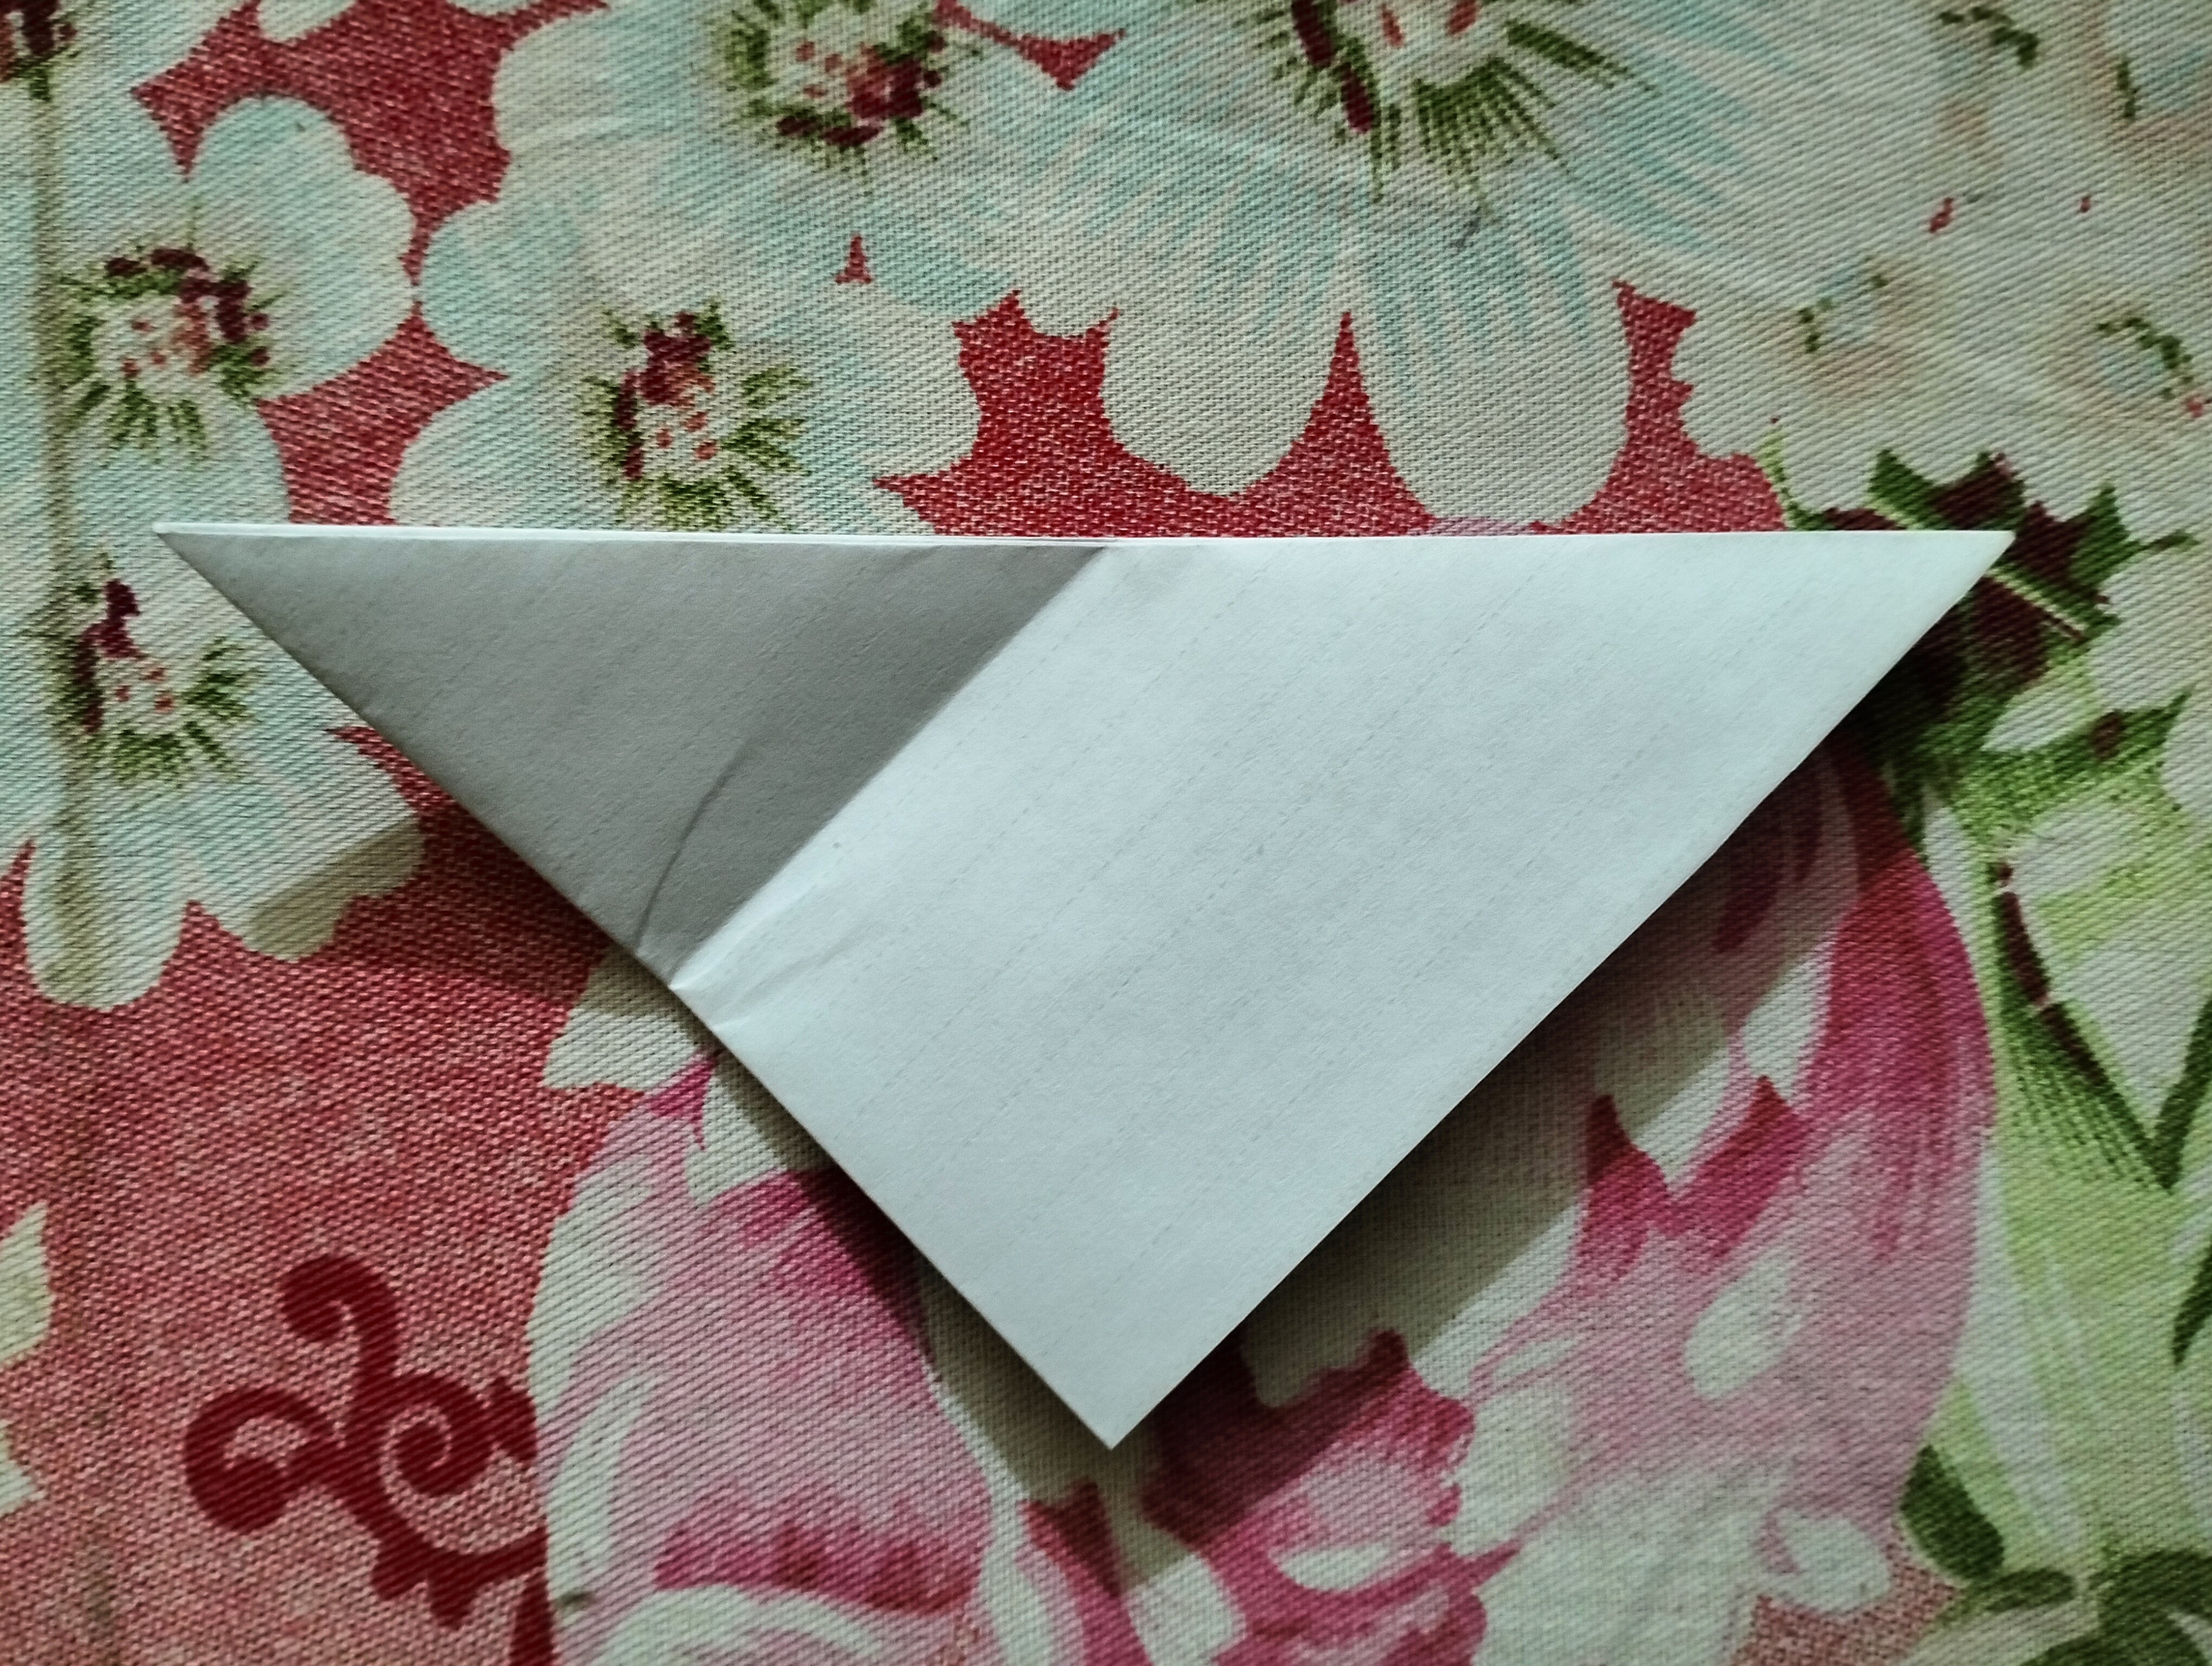
Now turn the paper as shown in the picture.
Now fold the left side of the paper downwards.
Similarly, fold the right side of the paper downwards.
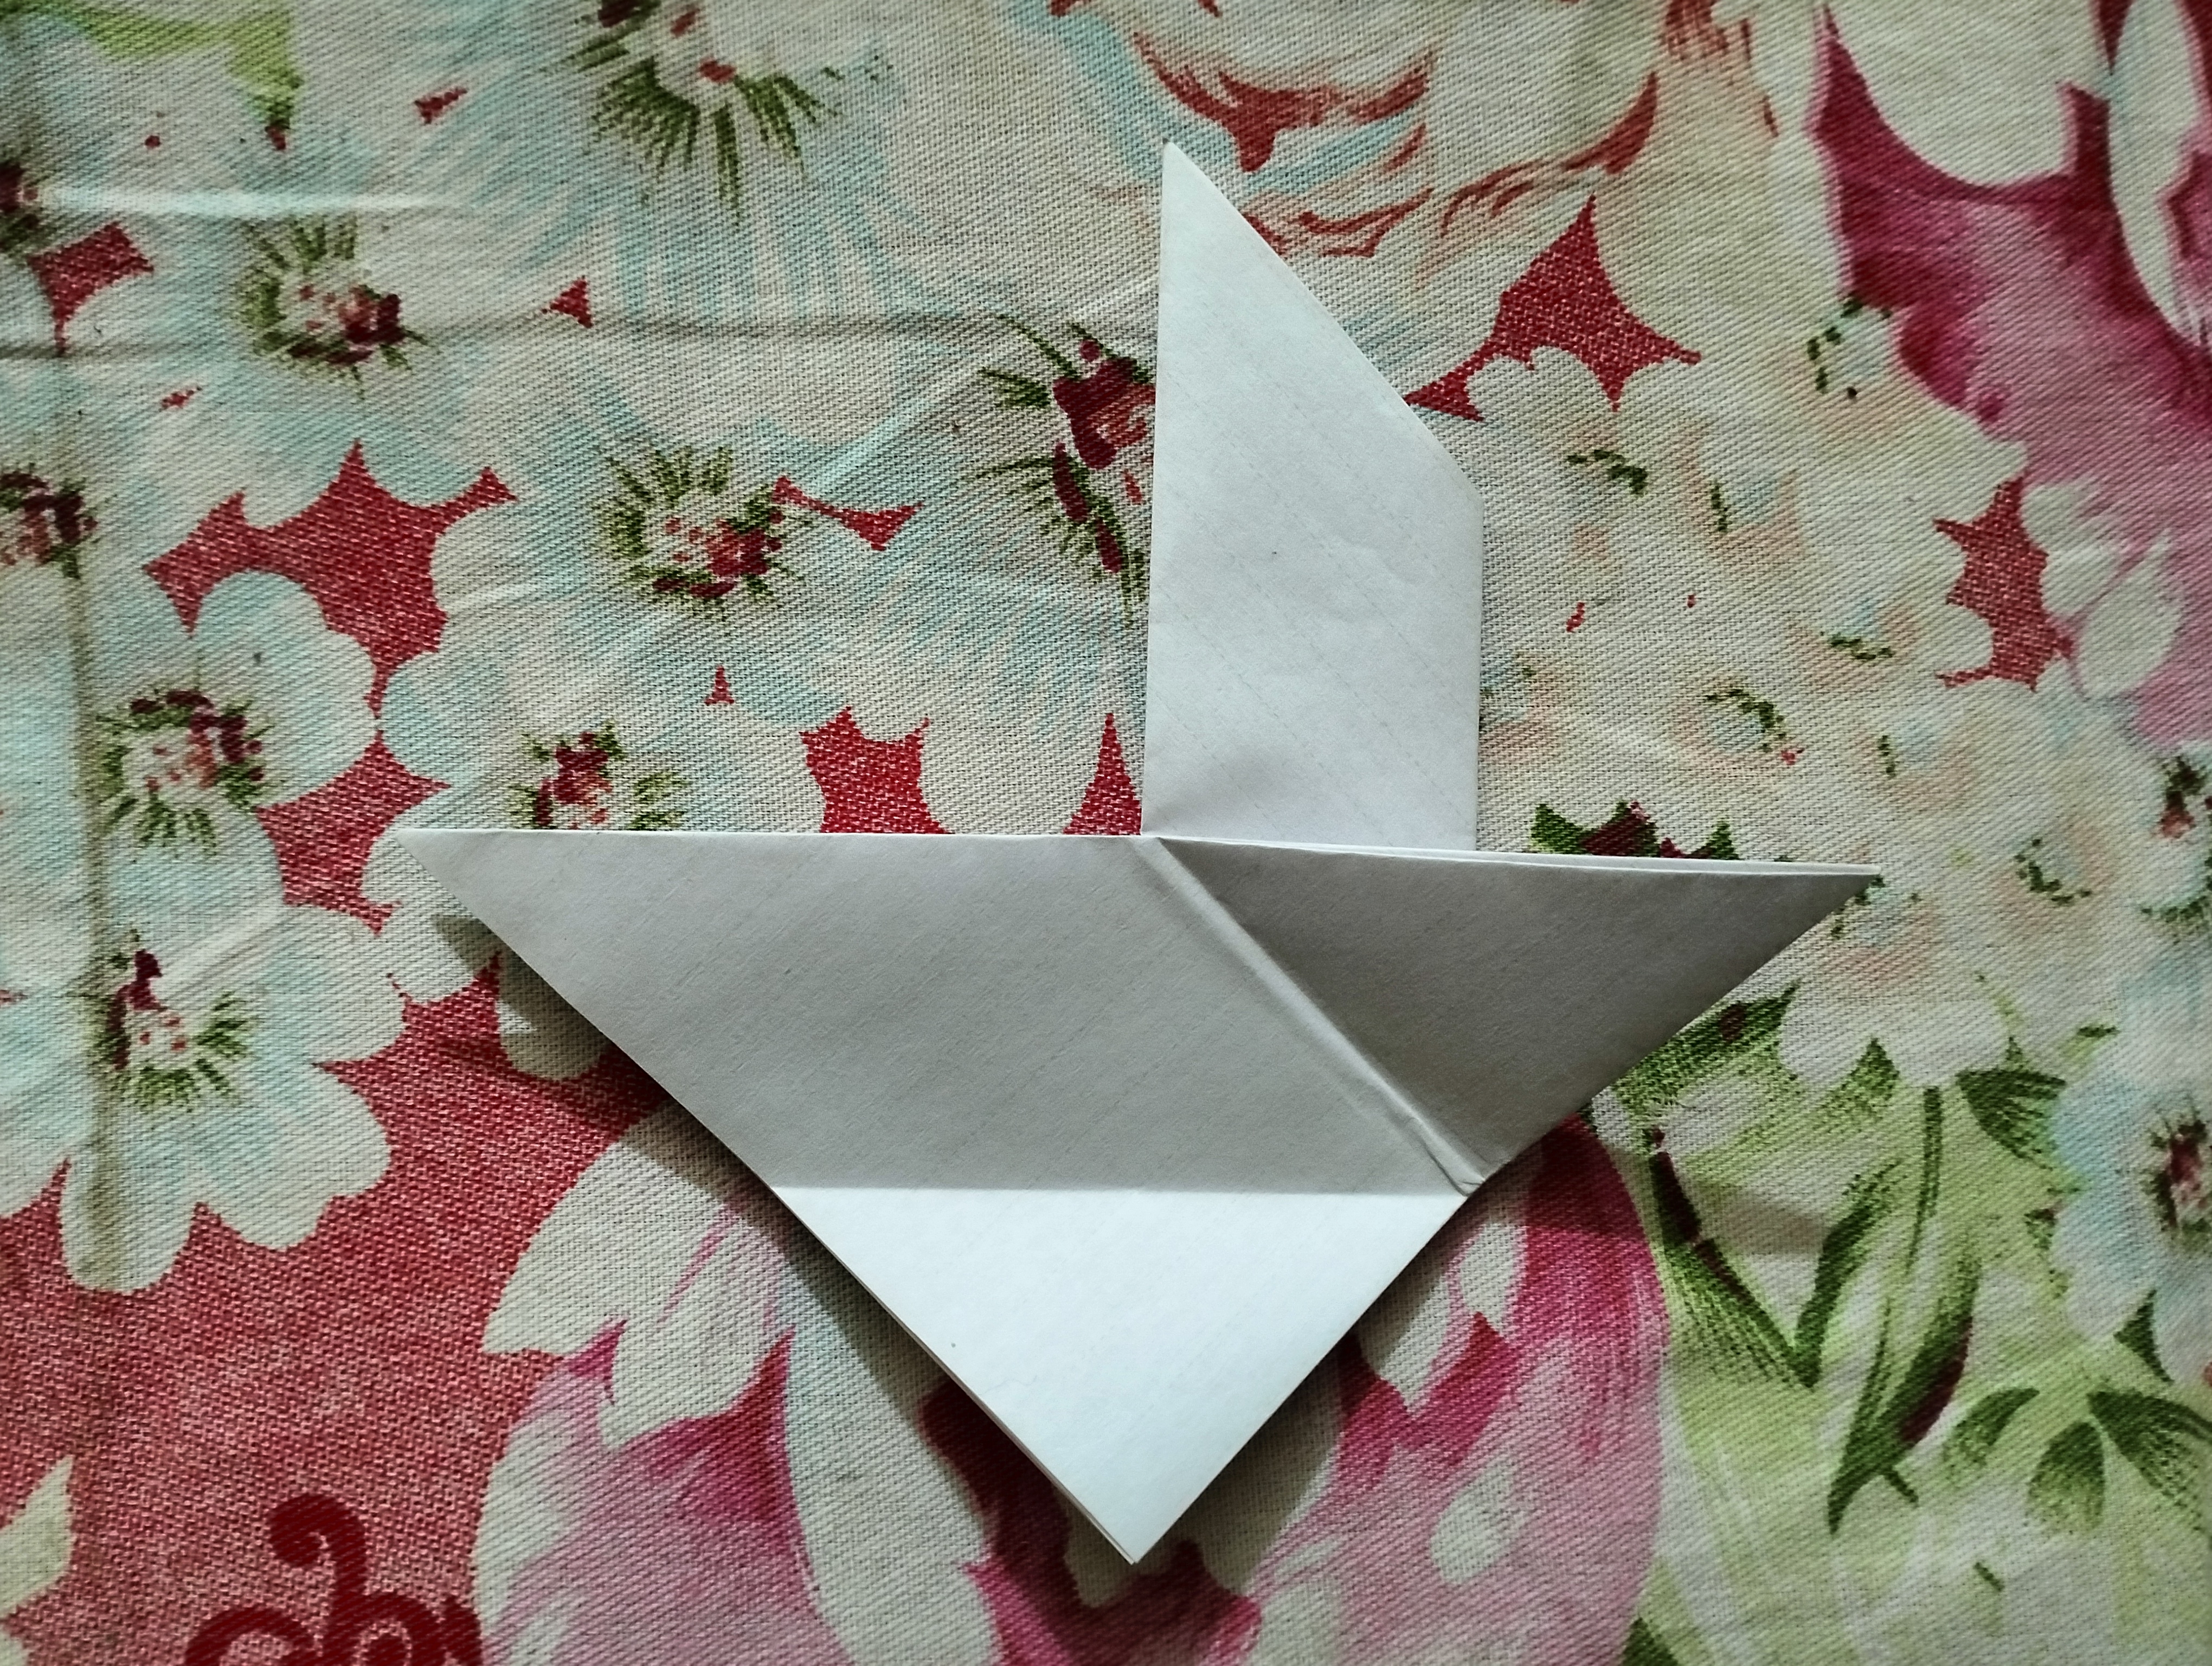
Step- 5
Now fold the paper right in the middle.
Step- 6
Then fold the paper once to the left and once from the bottom and remove the folds.
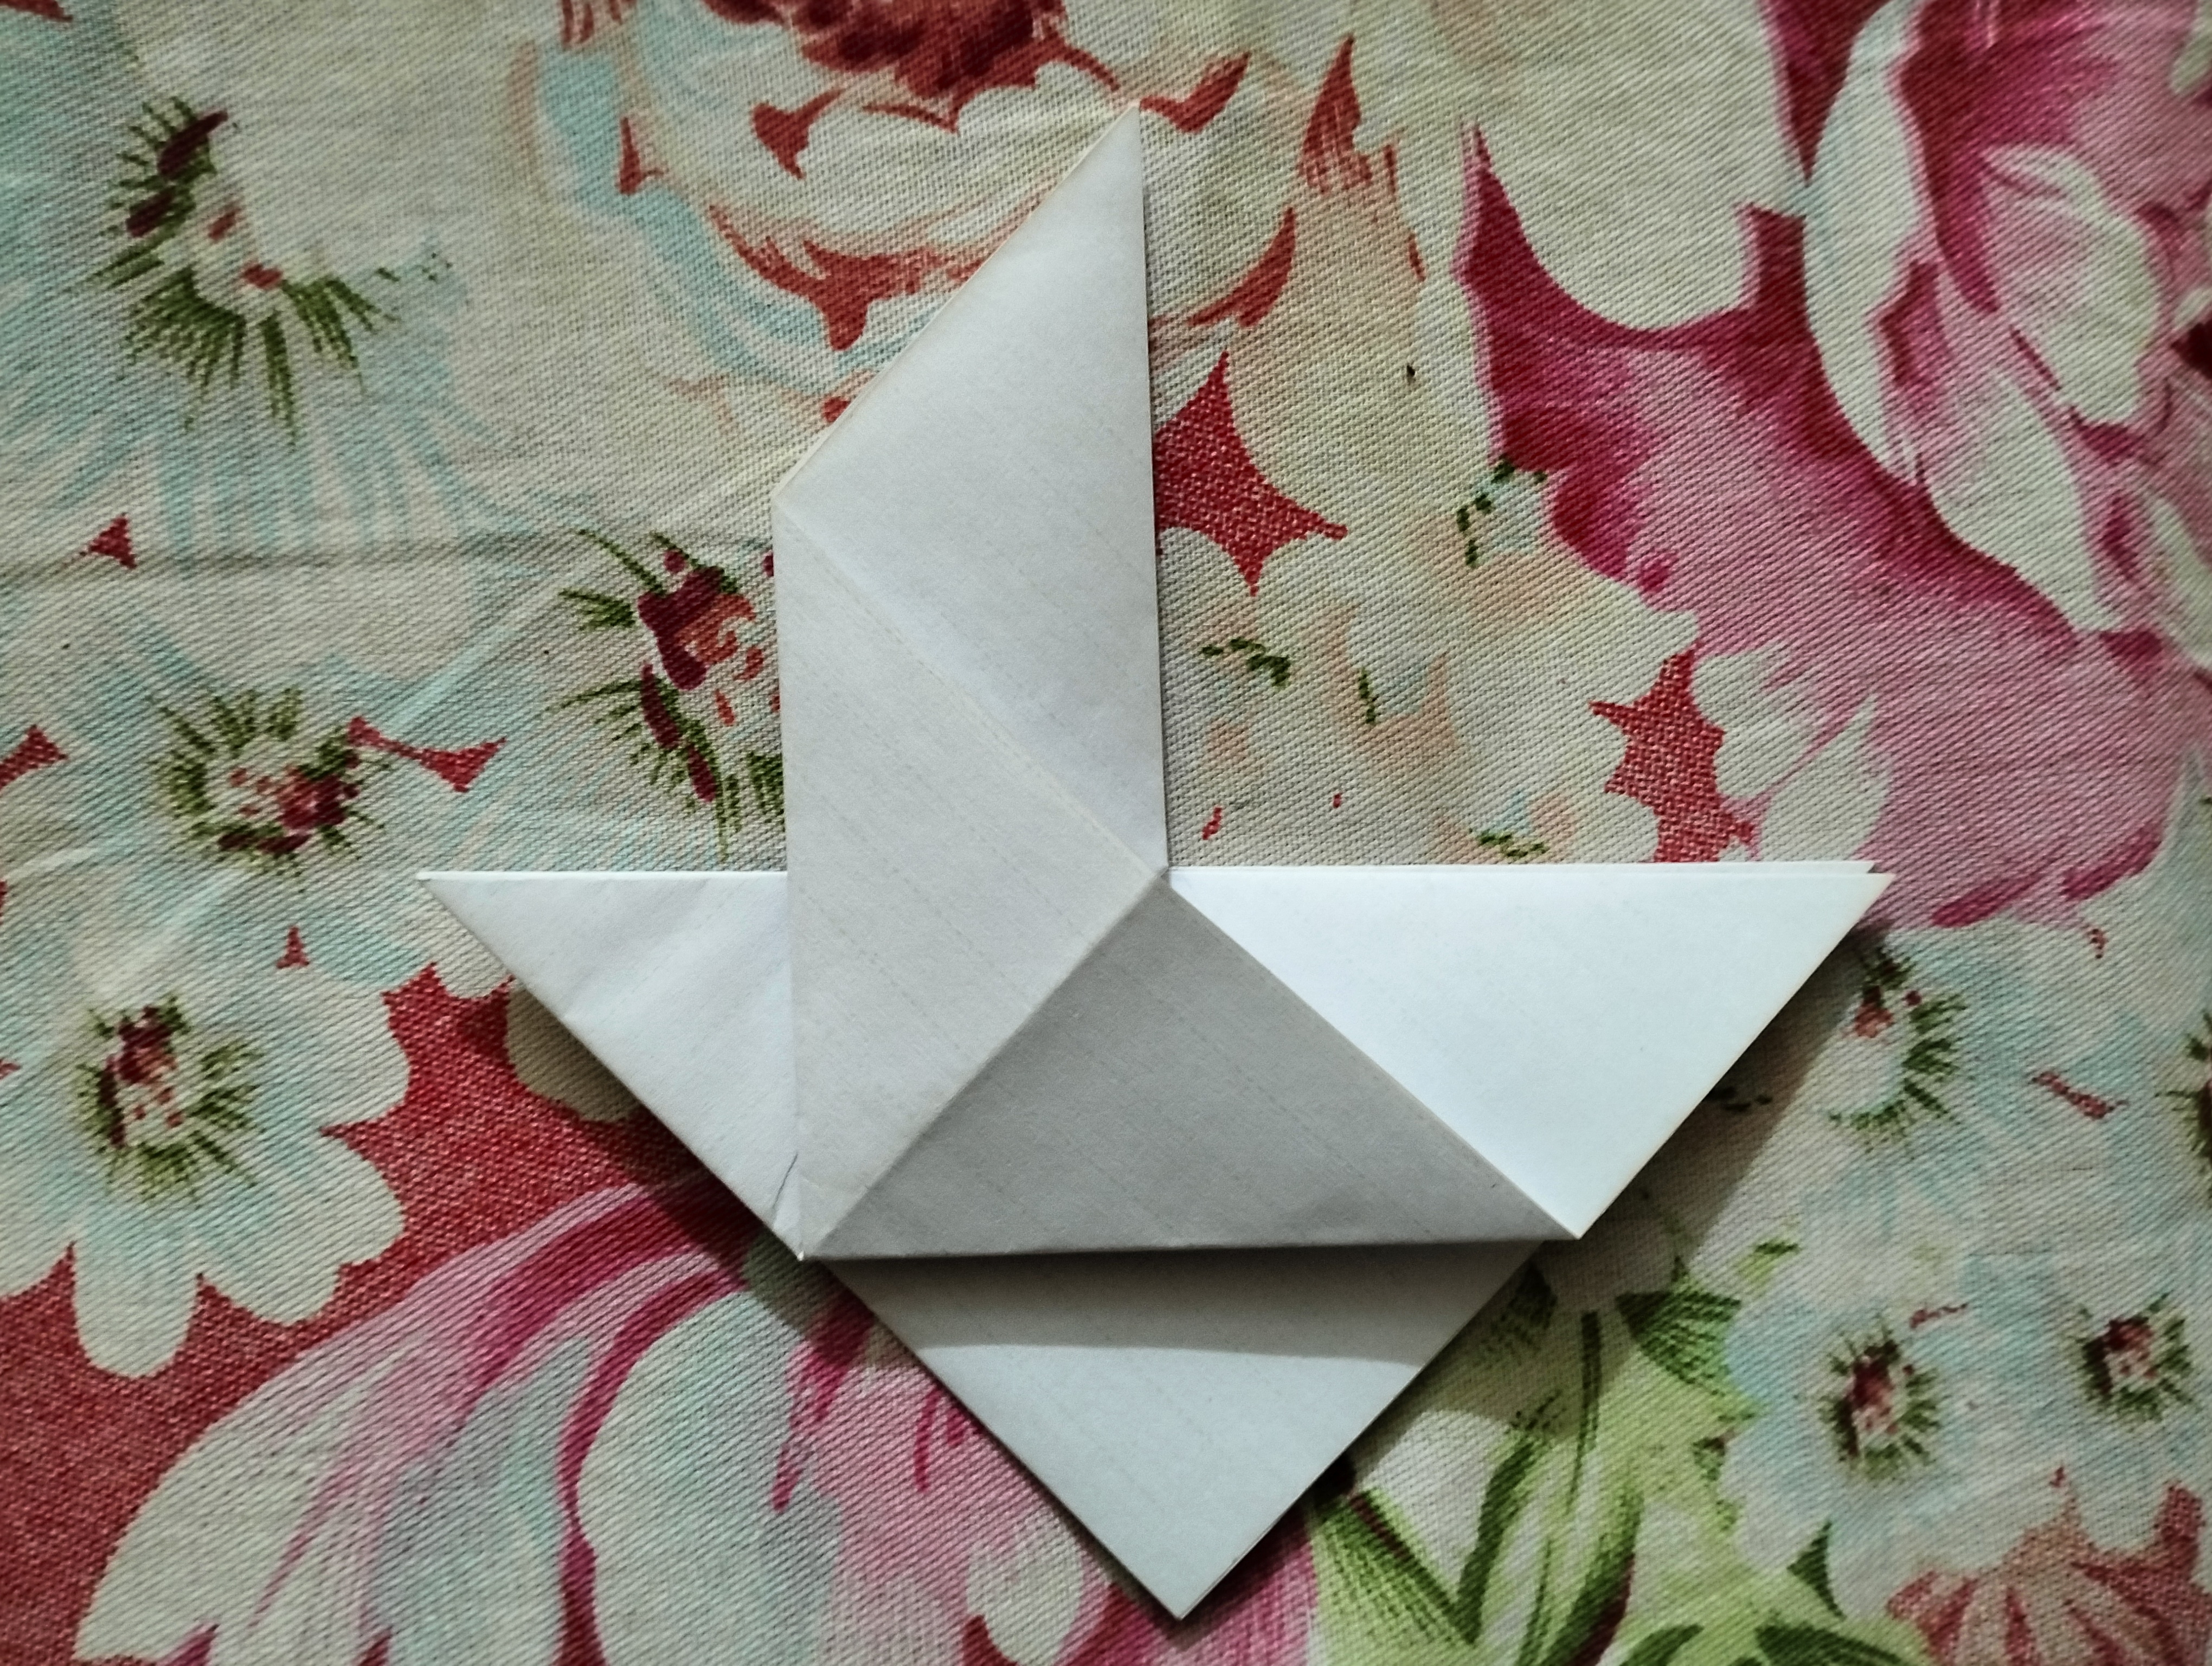
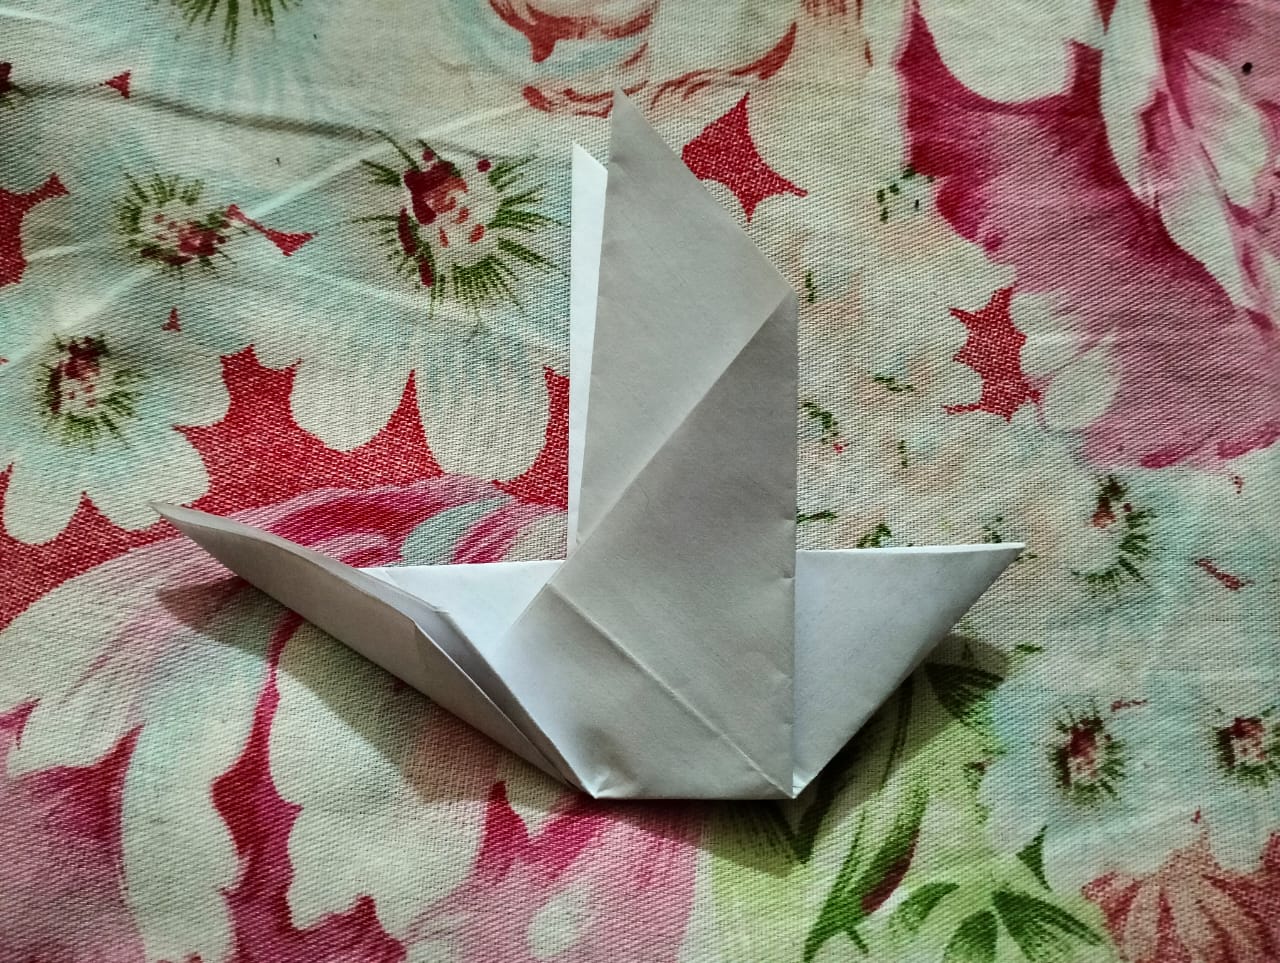
Step- 7
We have folded the papers in step 6, now those folds should be folded upwards as shown in the picture.
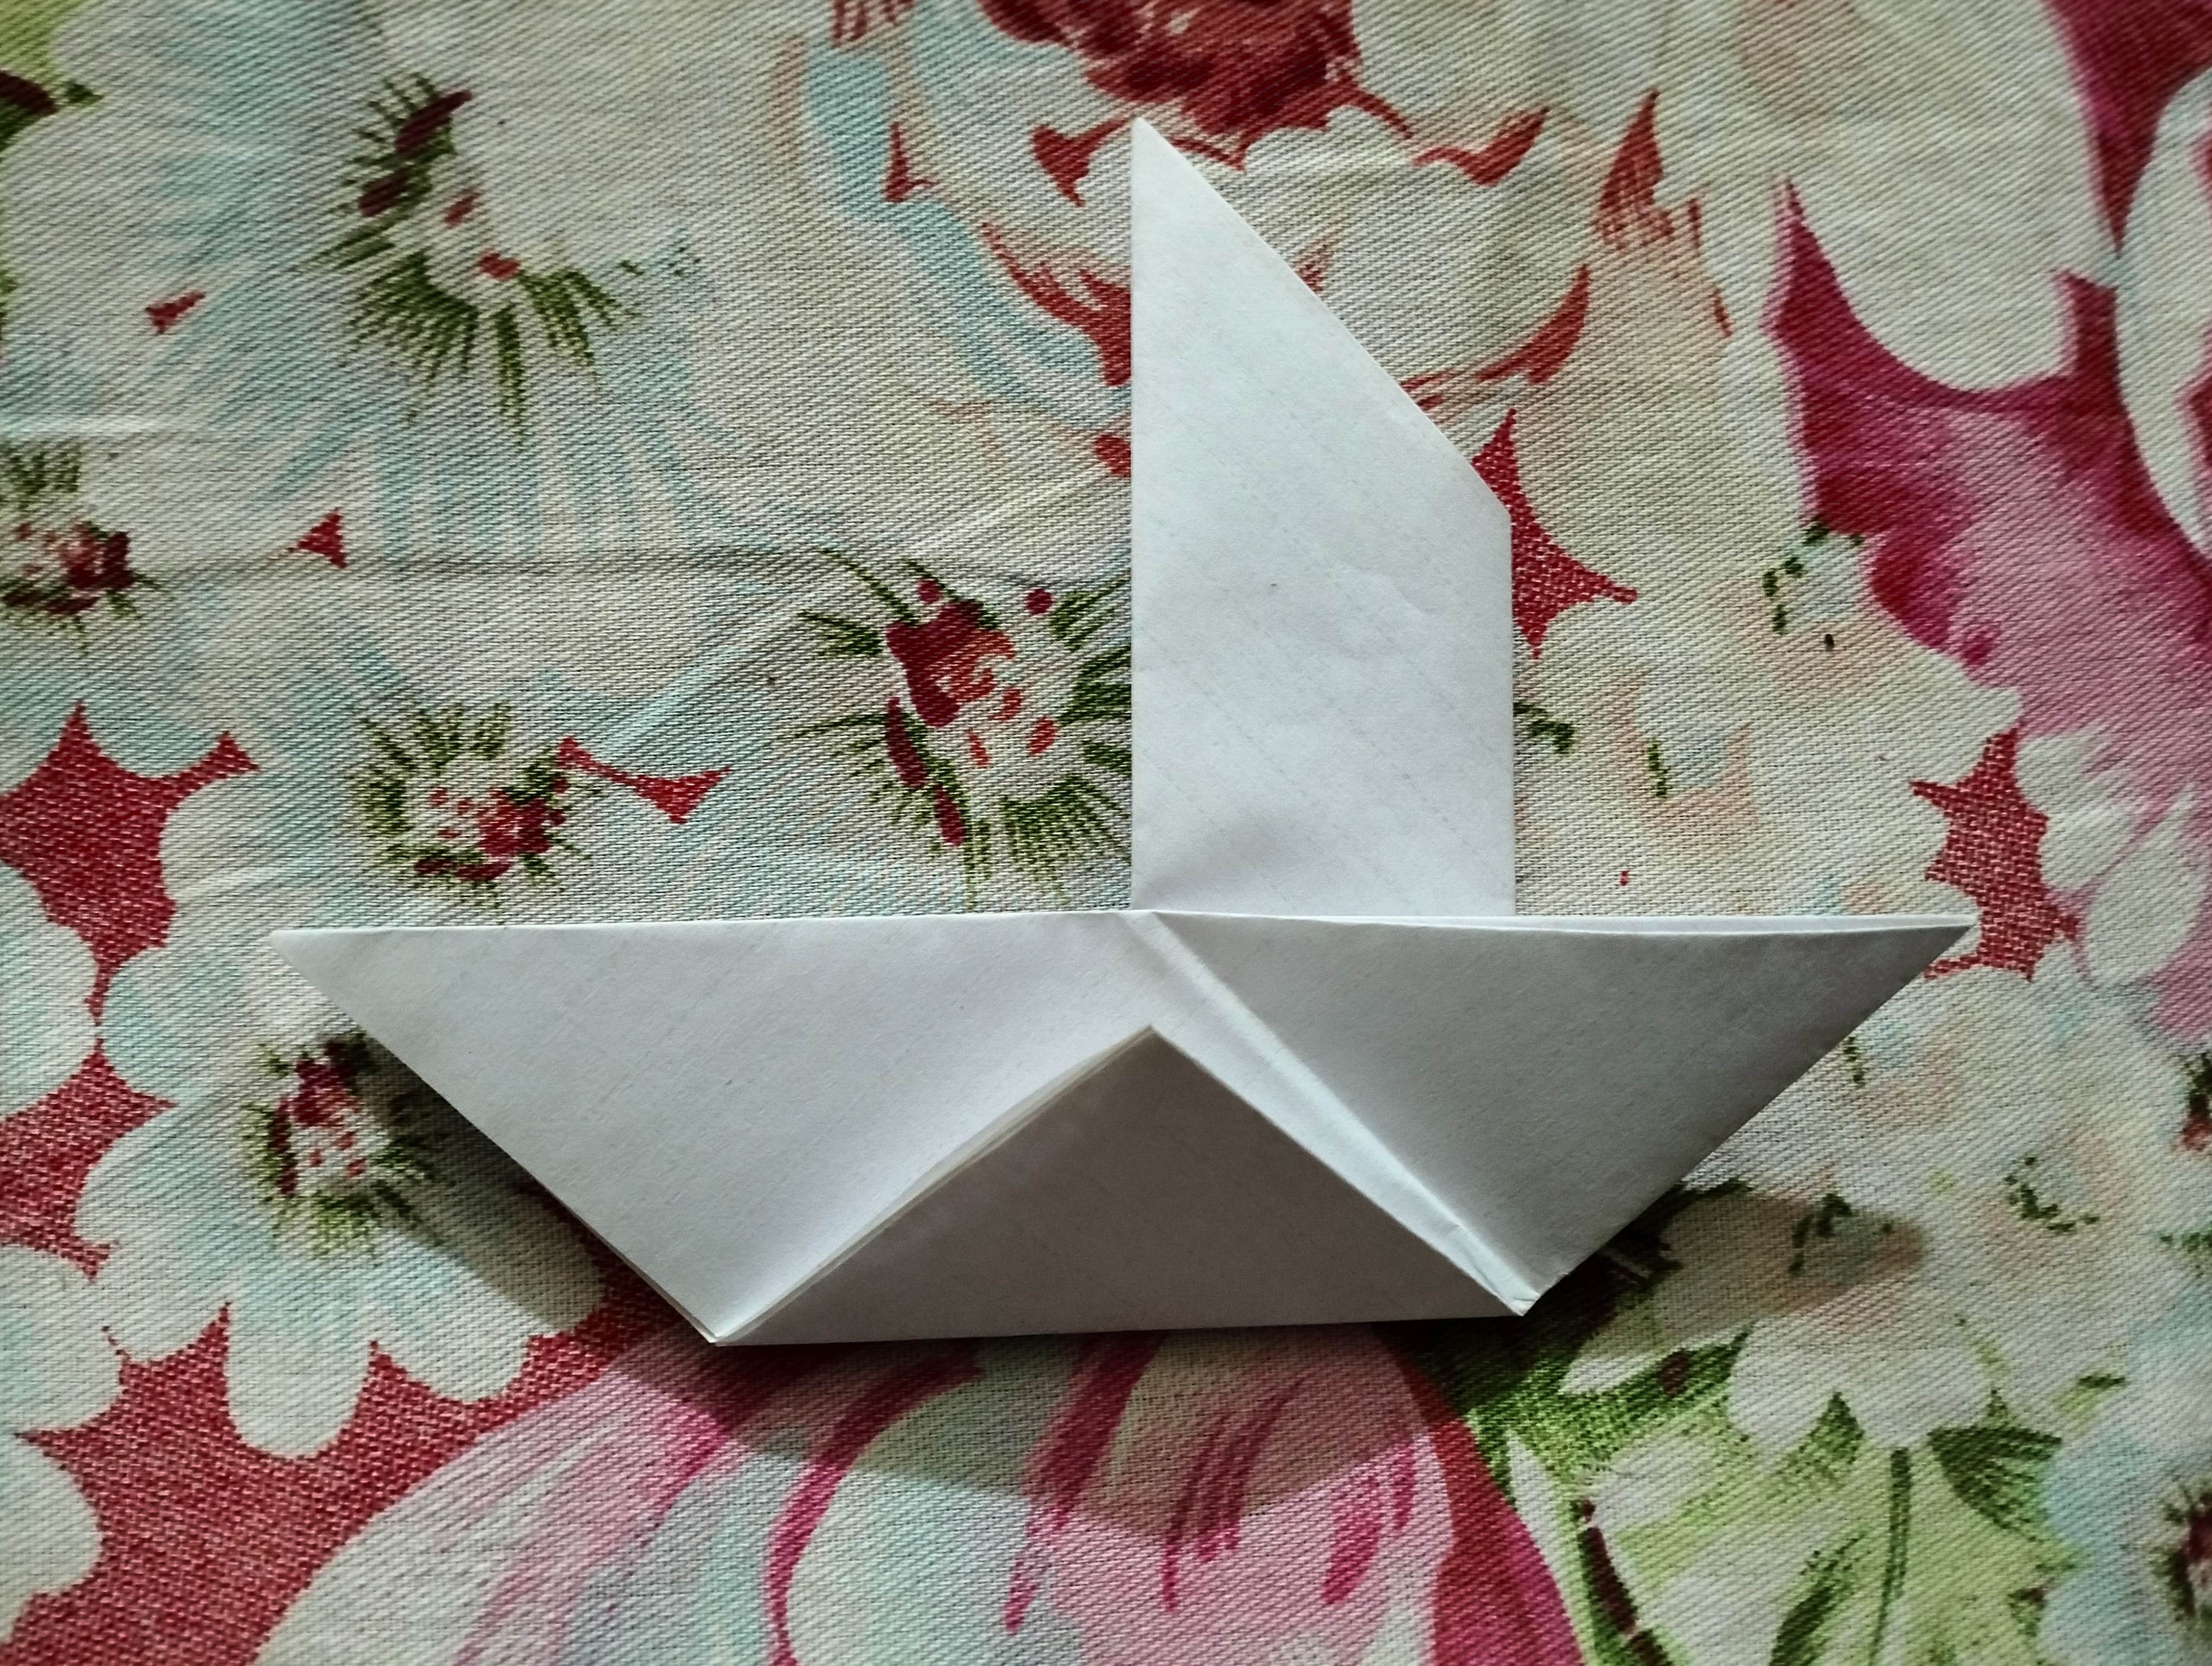
Step- 8
Now turn the paper to the other side.
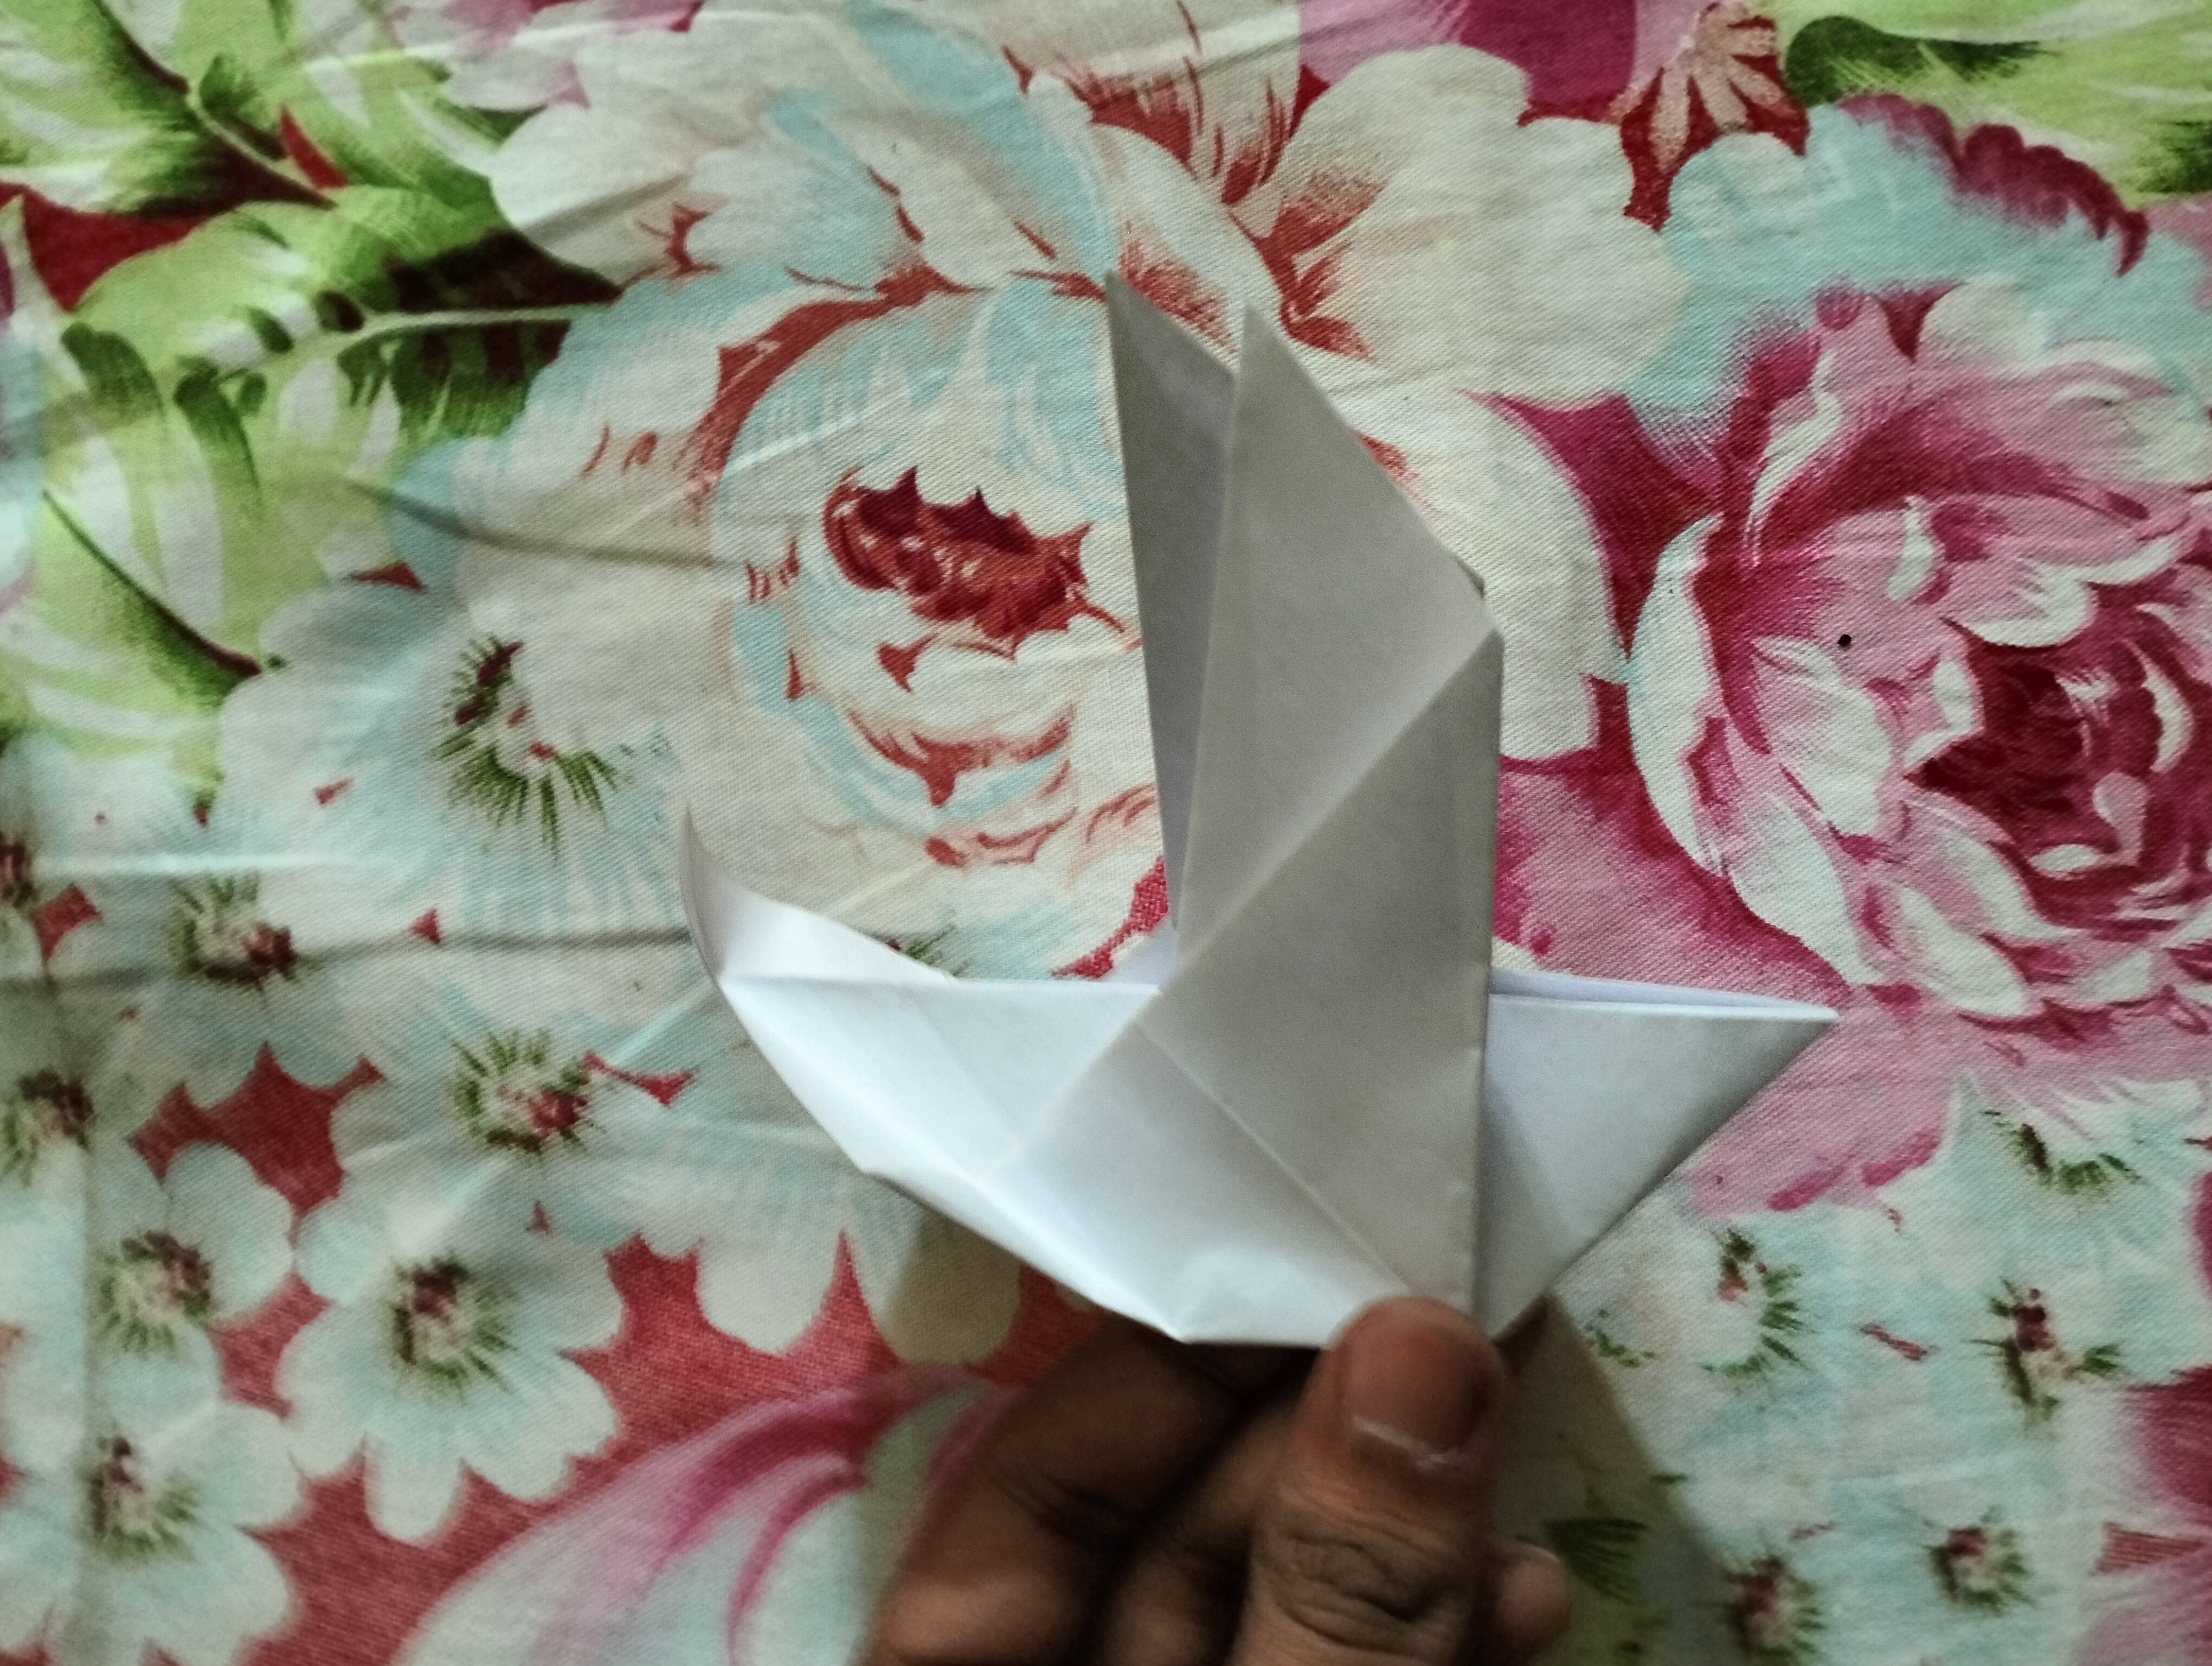
Now we will complete step 8 in the same way as step 7. By doing this, two wings of the bird will be made.
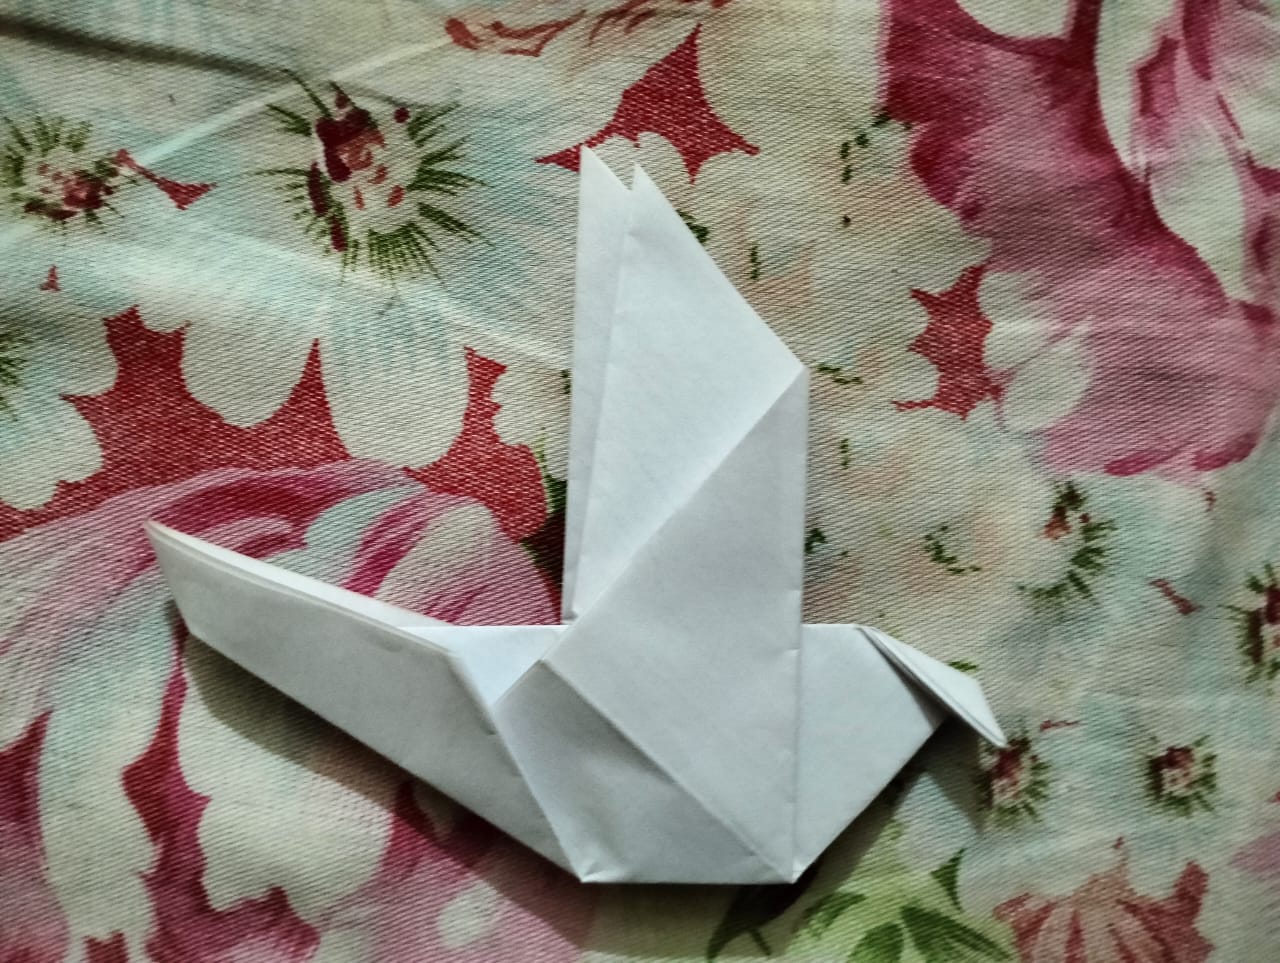
Step- 9
Now fold the back part of the paper exactly as shown in the picture and open the fold and insert the paper inside, then the back part of the bird will be made.
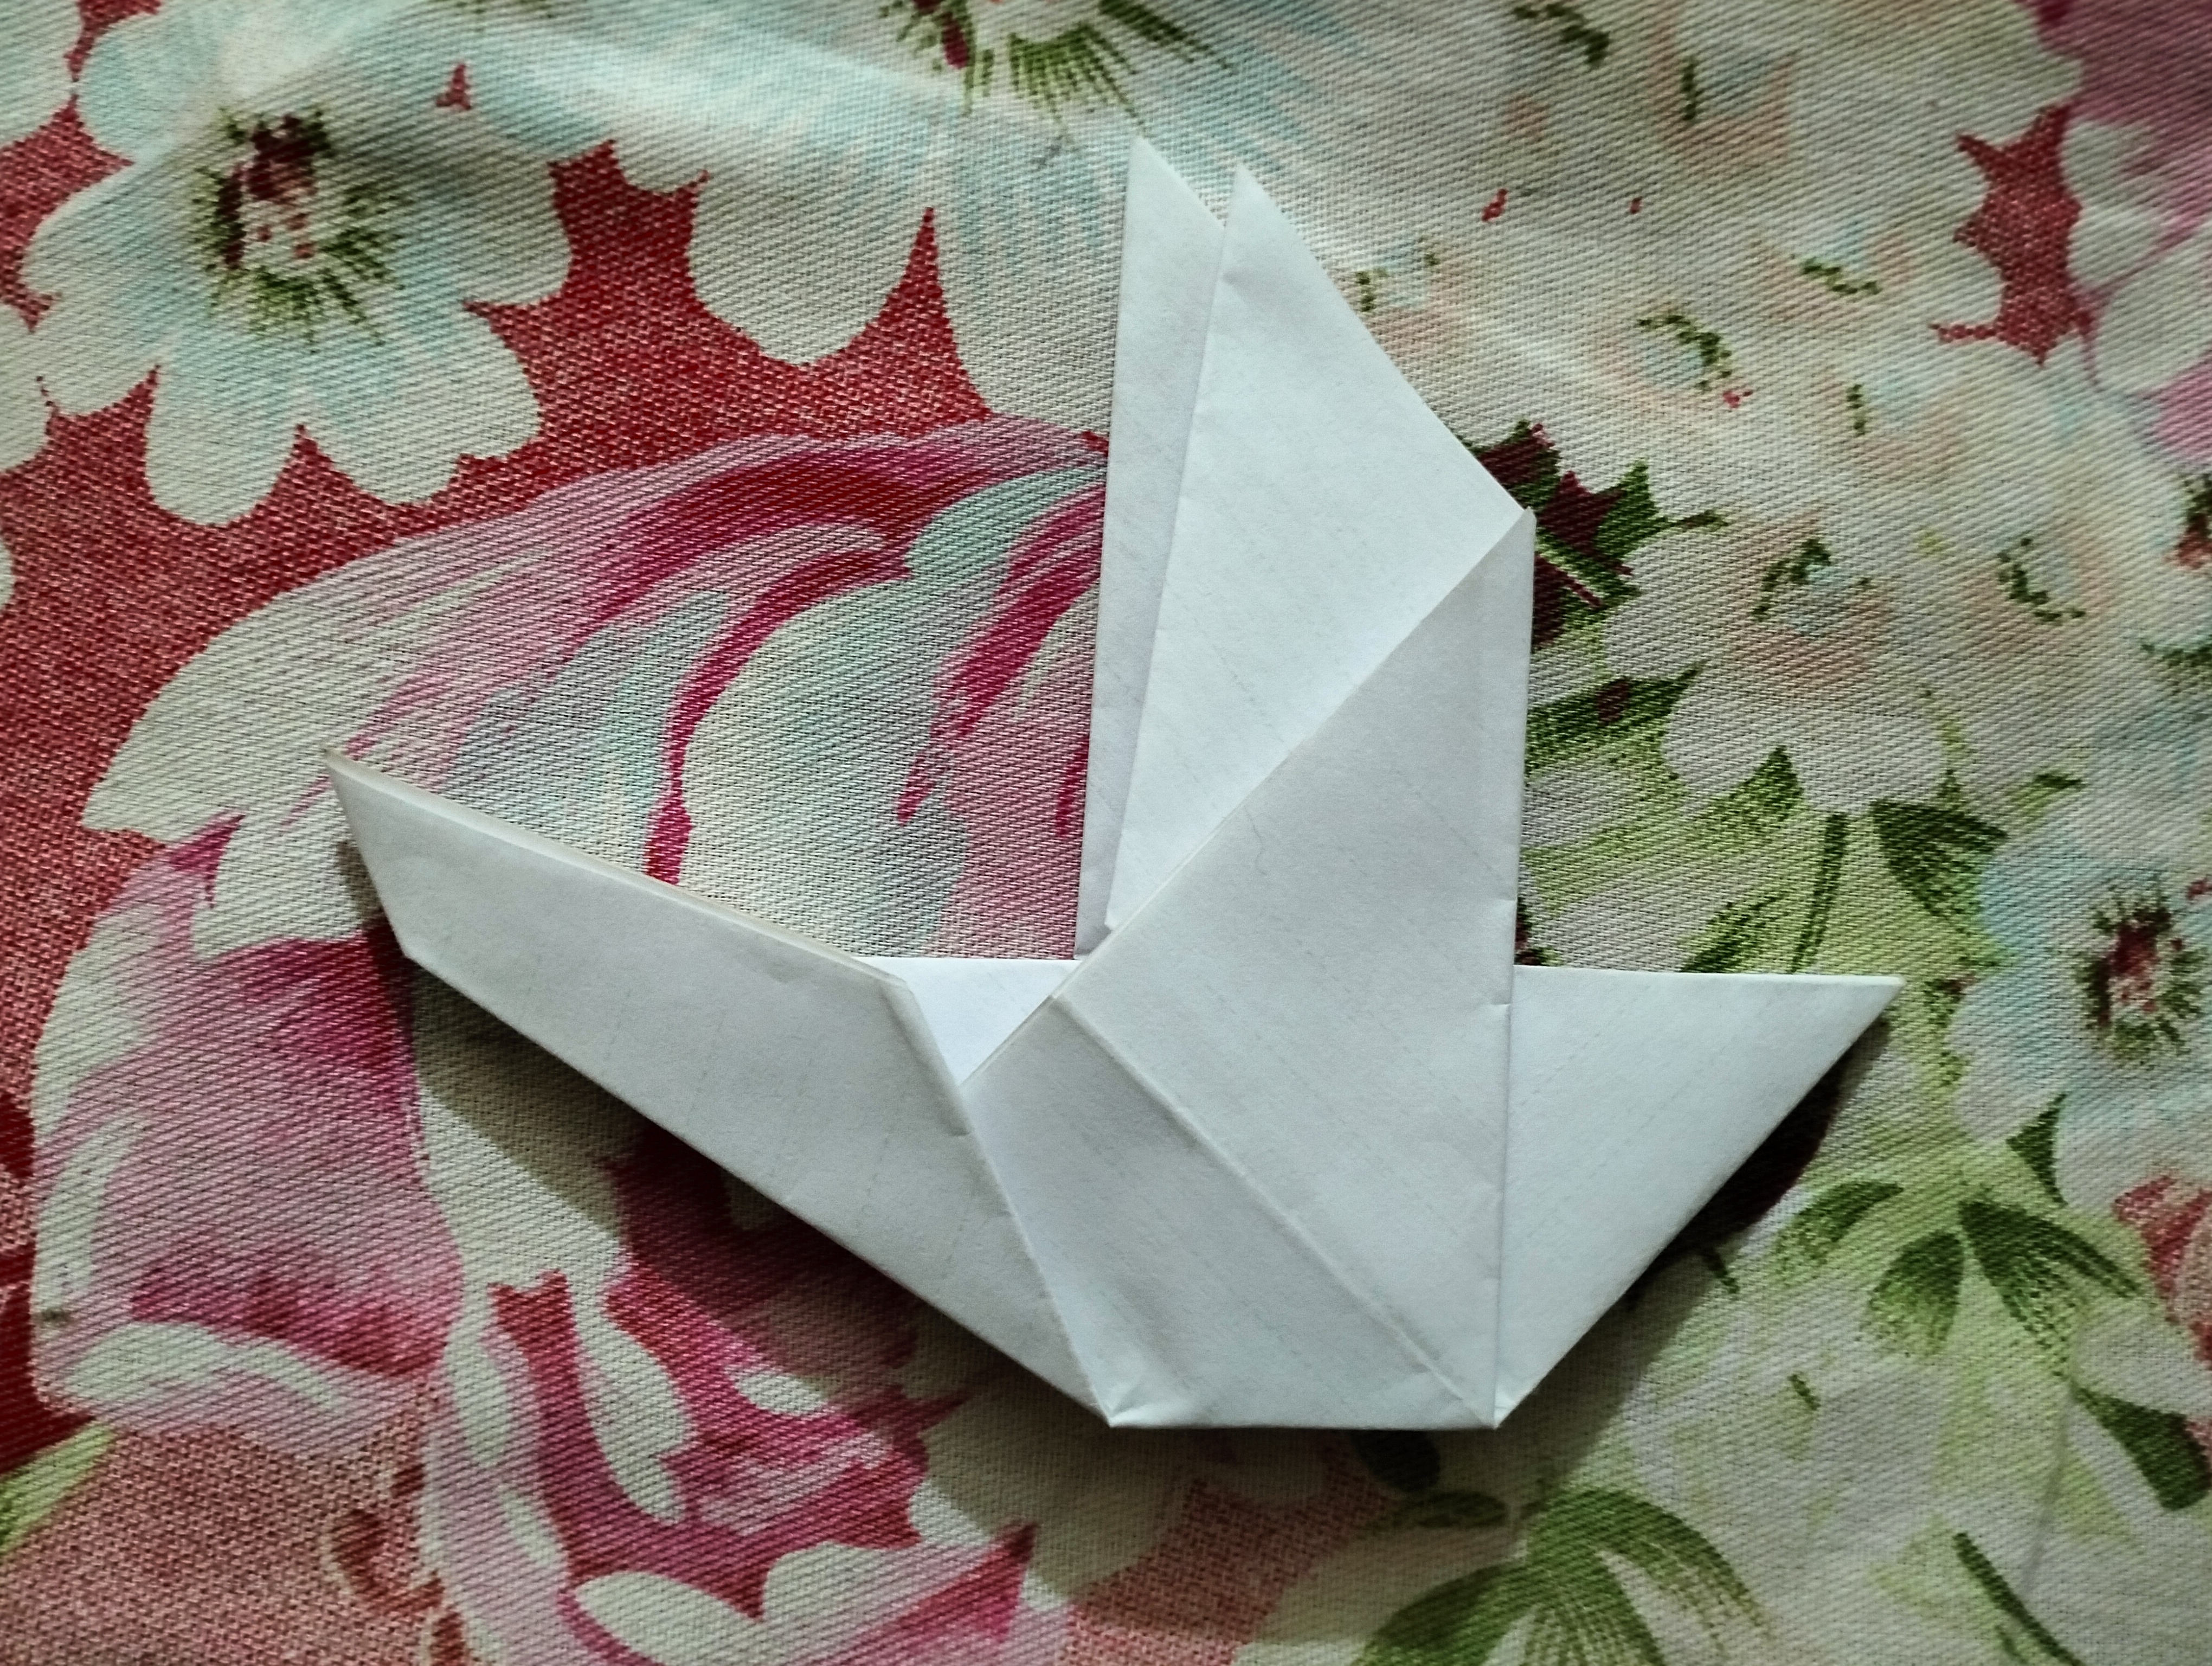
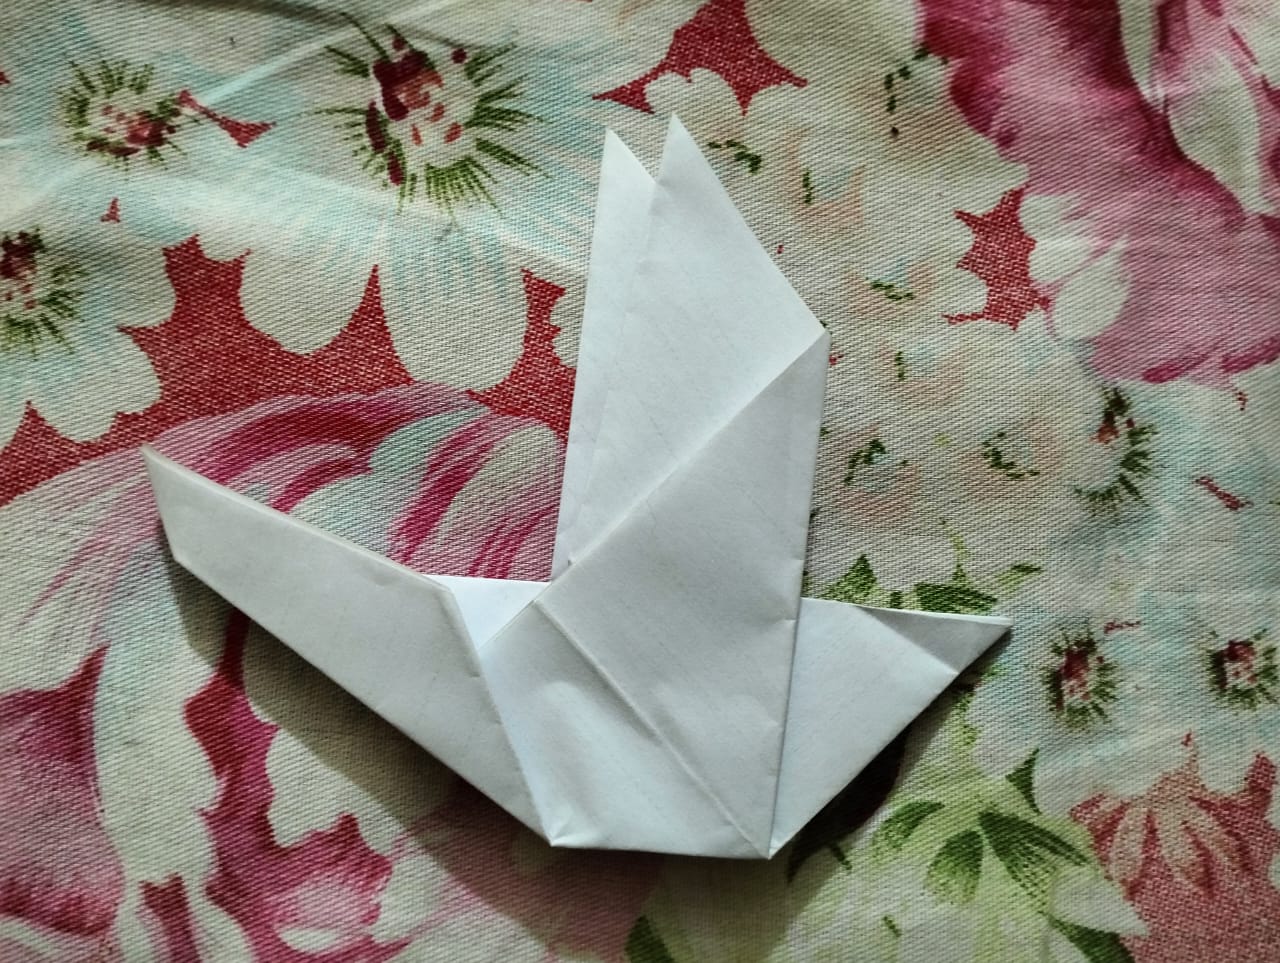
Step- 10
Now fold the front side a little to make the bird's beak.
After opening the fold we will get a spot like the image.
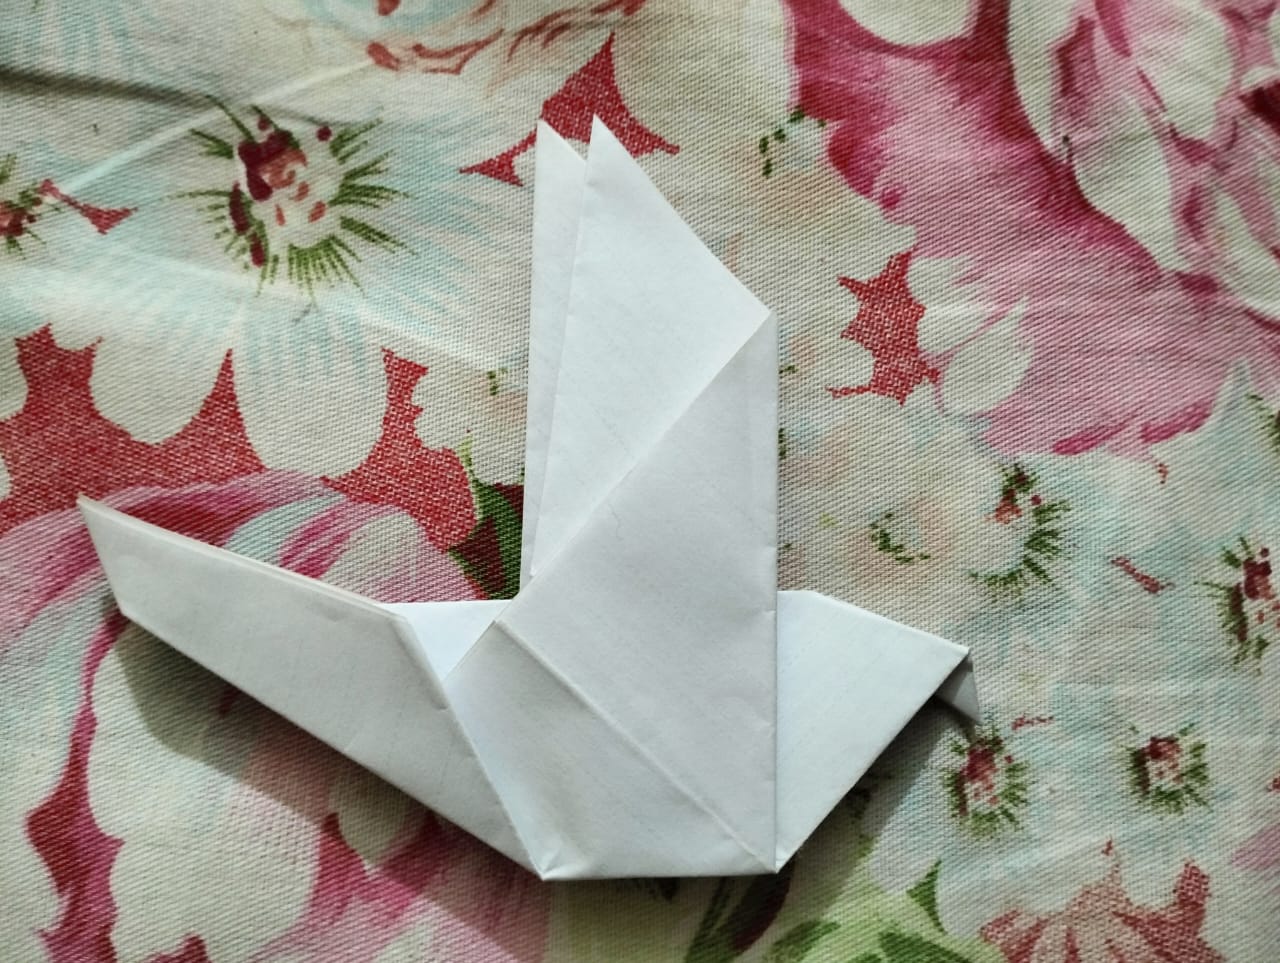
Now fold the front part as shown in the picture and the beak of the bird will be made.
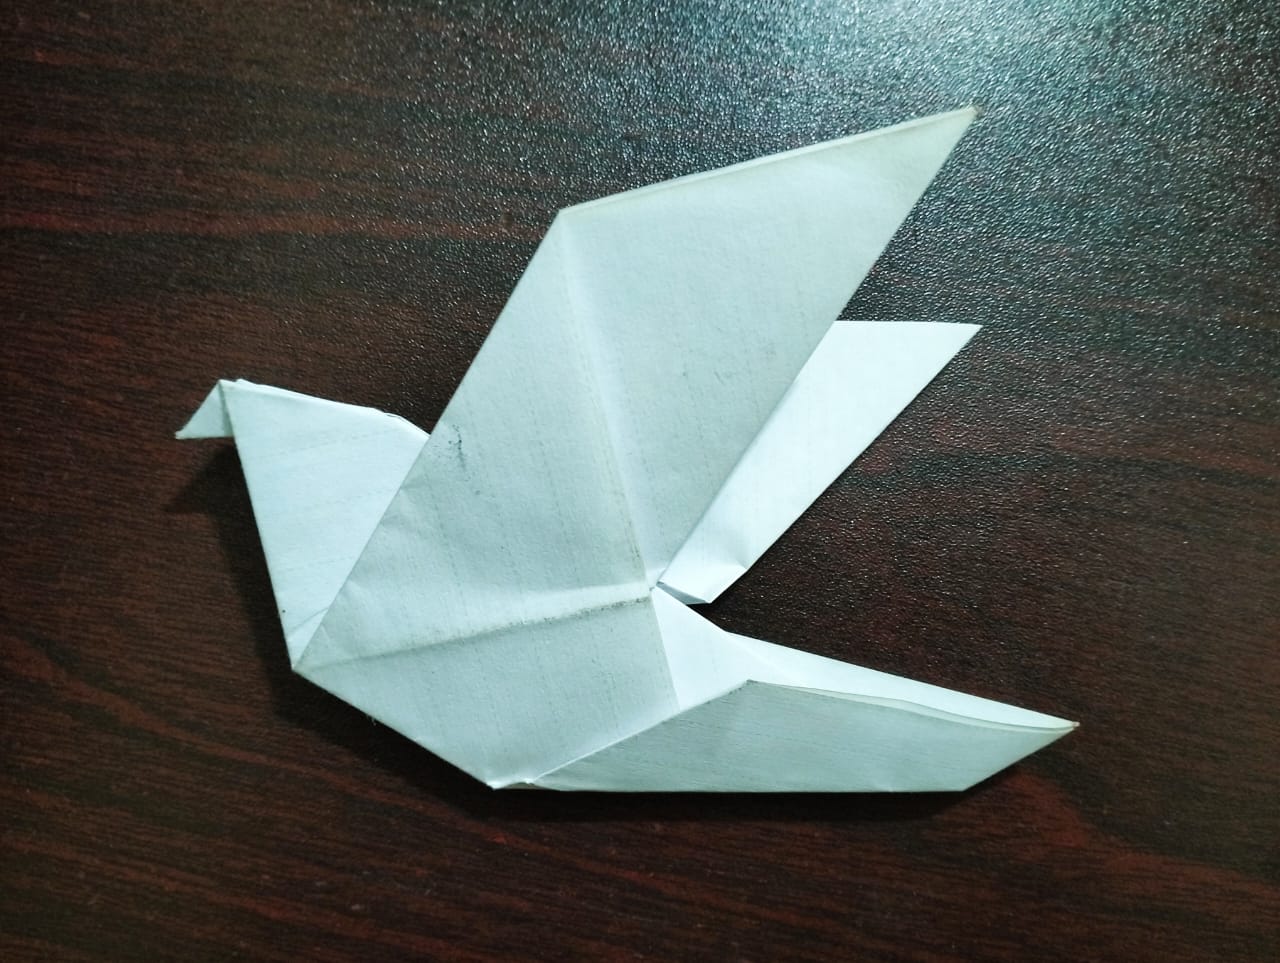
After fixing the bird's wings, our bird's origami will be made. In this way, if you follow all the steps, you can easily make this bird origami.
Thank you all so much for visiting my post. You must share your valuable opinion through comments.
See you again in a new post until then everyone stay well and stay healthy. Best wishes to everyone.


It looks great. Good to see how you made it with paper. Nice work! Keep it up!
Thanks a lot for encouraging me with your valuable feedback. Best wishes to you.