HOW THIS WINDOW DESIGN WAS MADE
Good day friends in diyhub and all in hive Blockchain,hope we are having a great time wherever we are.
Today i want to share what i have been walking on for some weeks now , WINDOWHOOD design.
I will show you how i made it and things that are needed to get the design done .

This is the fully completed window 👍
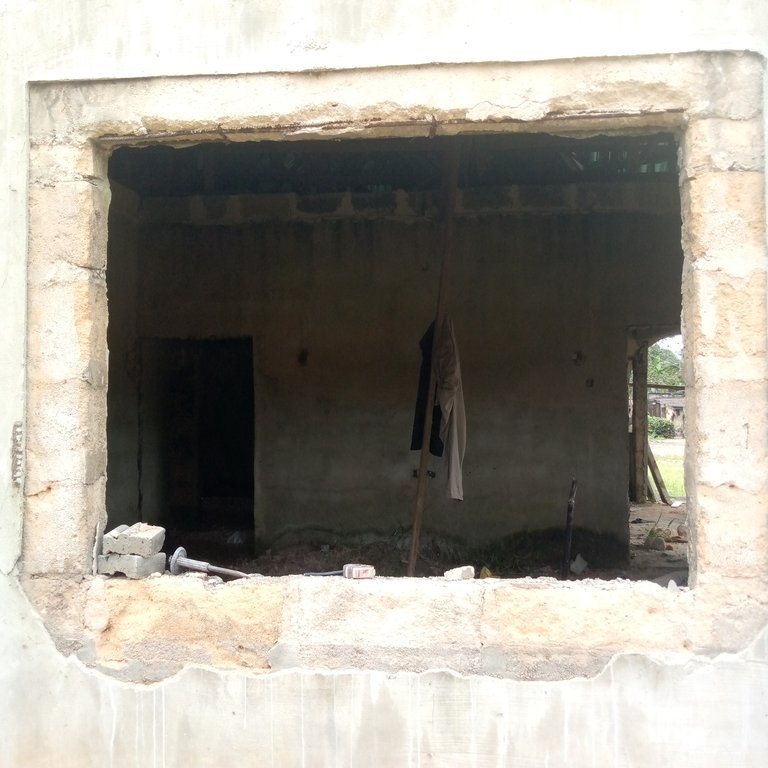
And this is the look of it before 👇
Now let see how it was made and tools used.
TOOLS:
Headpan
Shovel
Trowel
Hammer
Nail
Foam
Angle iron
Carved mould
Tape
Scraper
First step ;
The first thing to do is moulding and to do this i need sand and cement,i will measure the amount of sand that is going to be enough for me then u will pour some cement and mix them together.

Then i will put down the angle iron and use the mould to get the size of what am going to mould after i will pour sand at the middle of it.
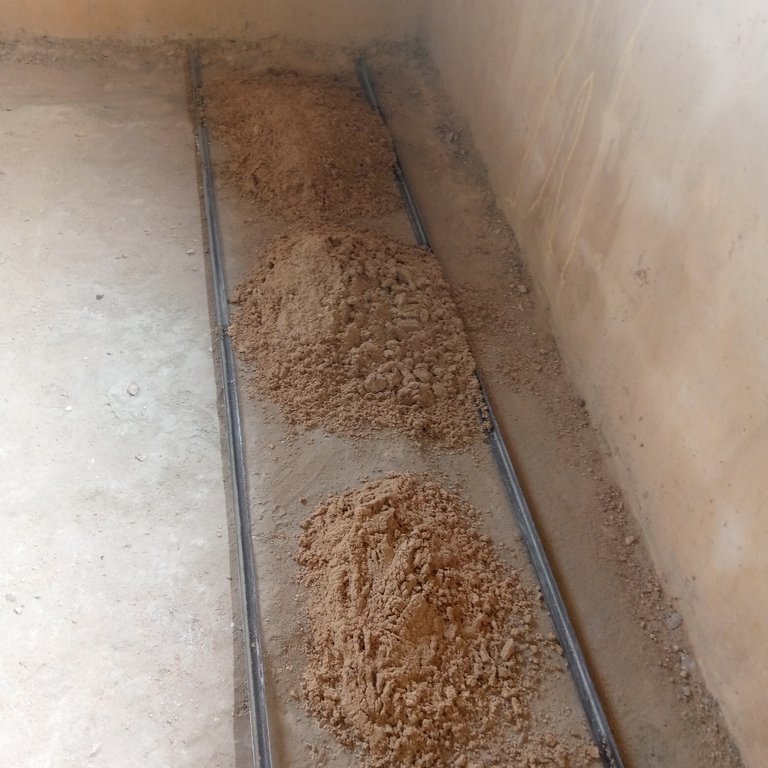
After pouring the sand i will now spread it
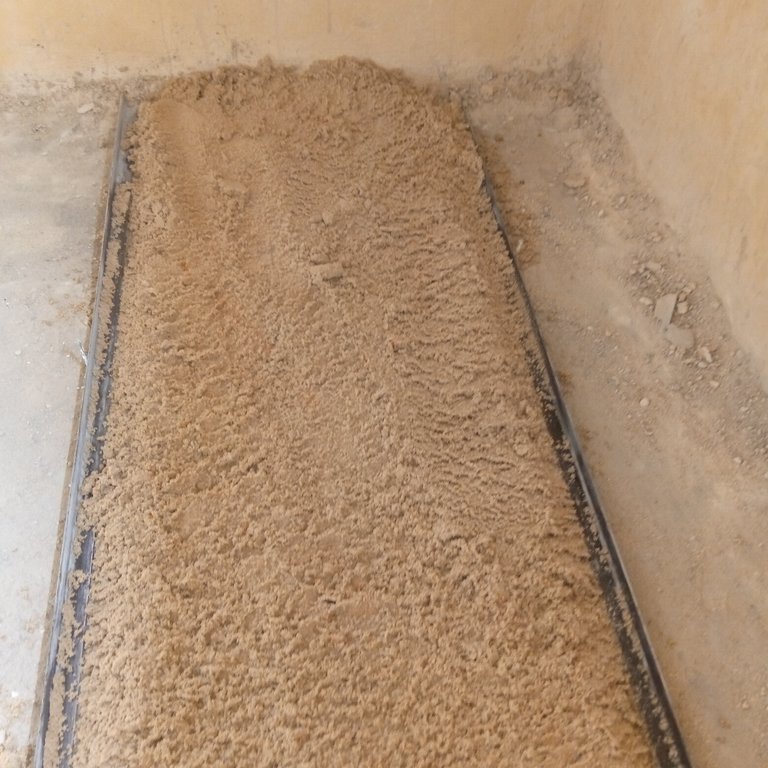
Using the same mould I will now get the shape
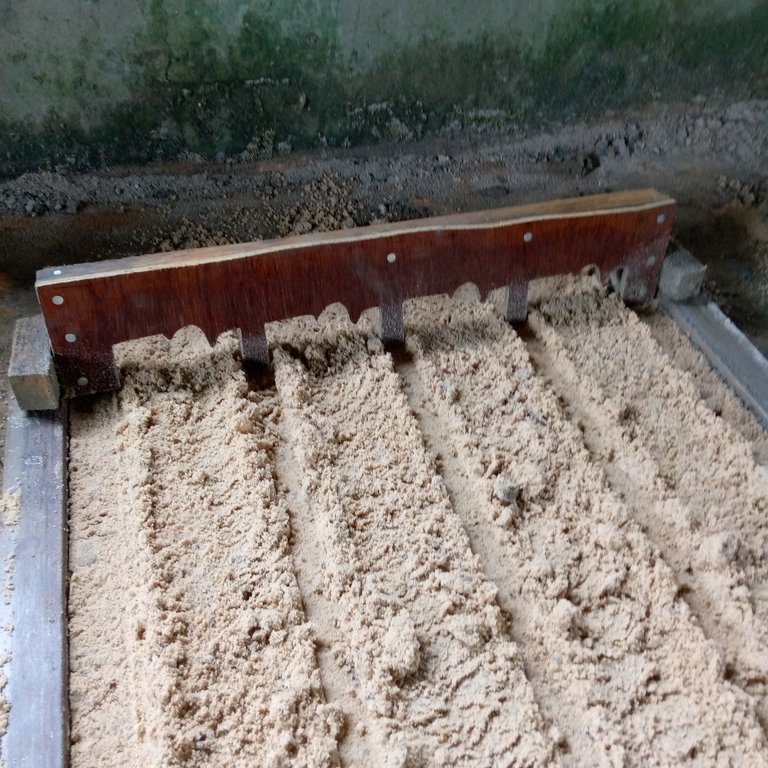
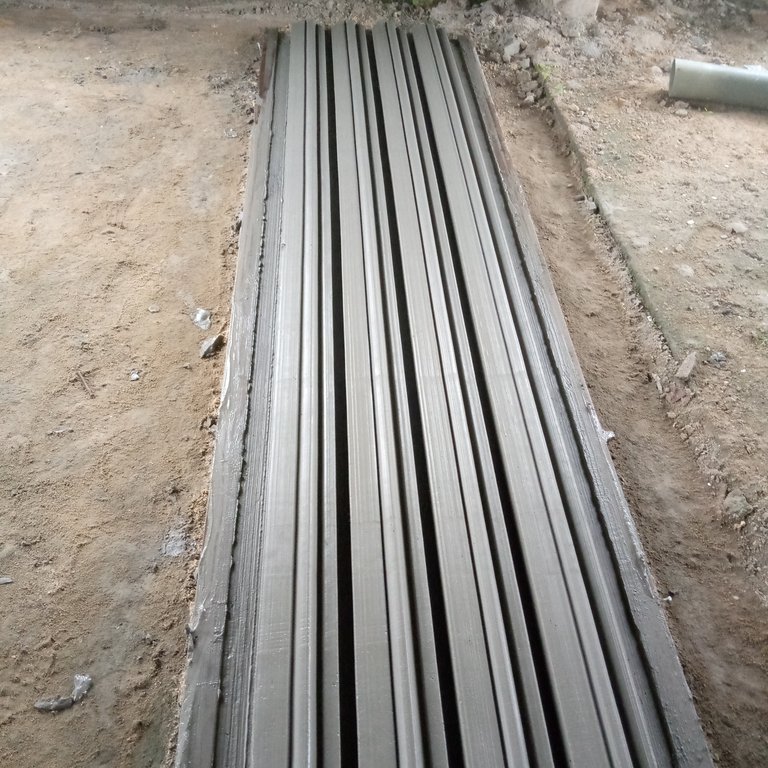
After doing all this the mixed cement will now be poured on top of tha sand now the moulding have started
This is how it will be when am through.
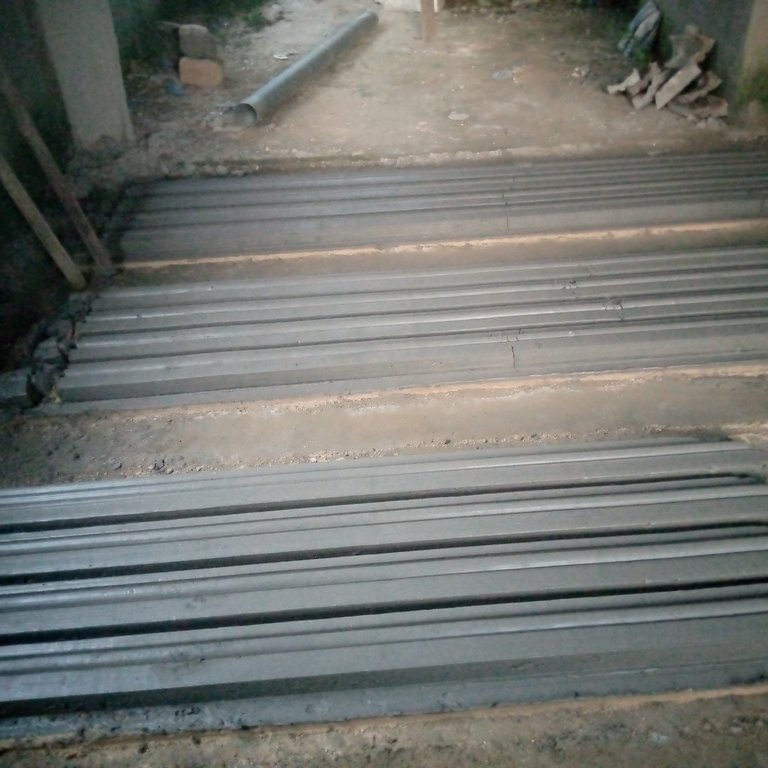
They have to be cut to sizes when it becomes strong enough it will be time for fixing.
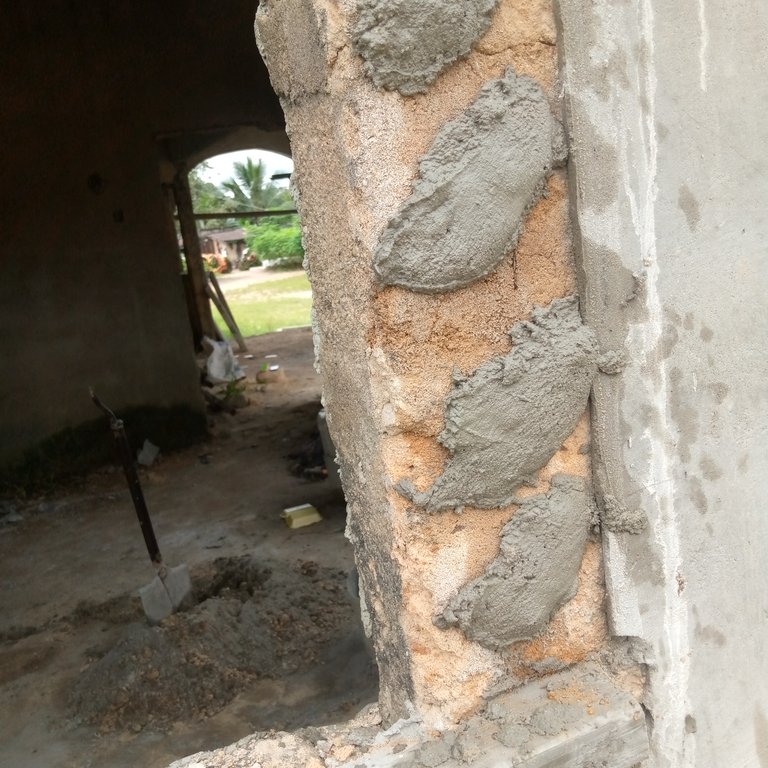
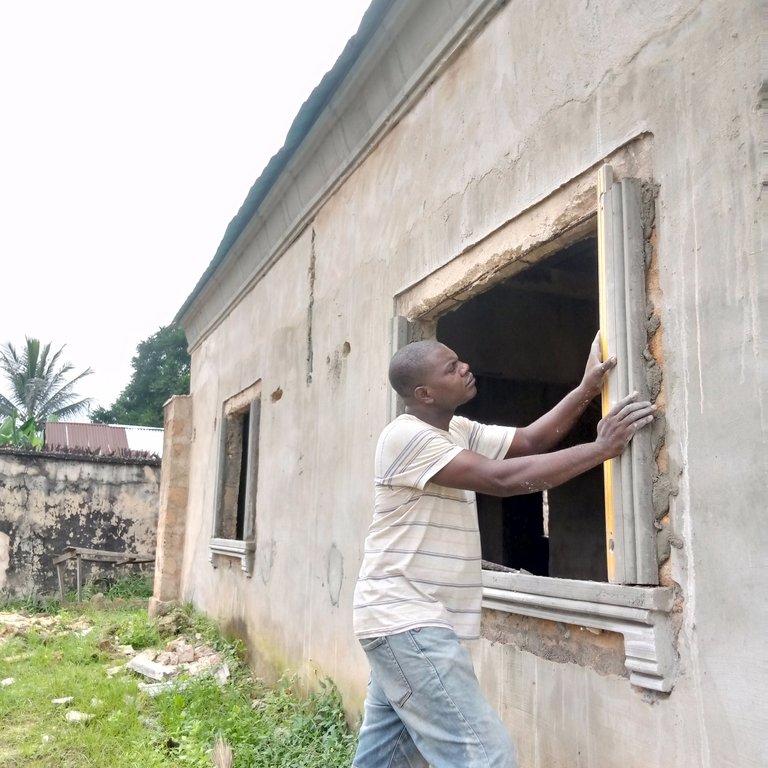
To fix this the first one to be placed is the base .

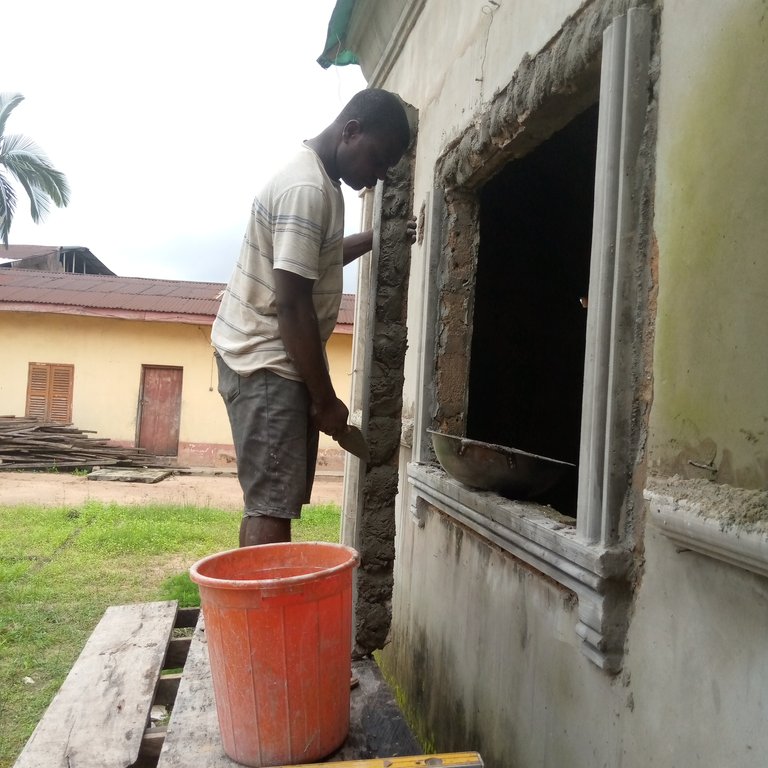
Followed by the hands to do this i have to throw some of the cement on the wall and add some on the moulded design the place it on the wall using nail as additional support.
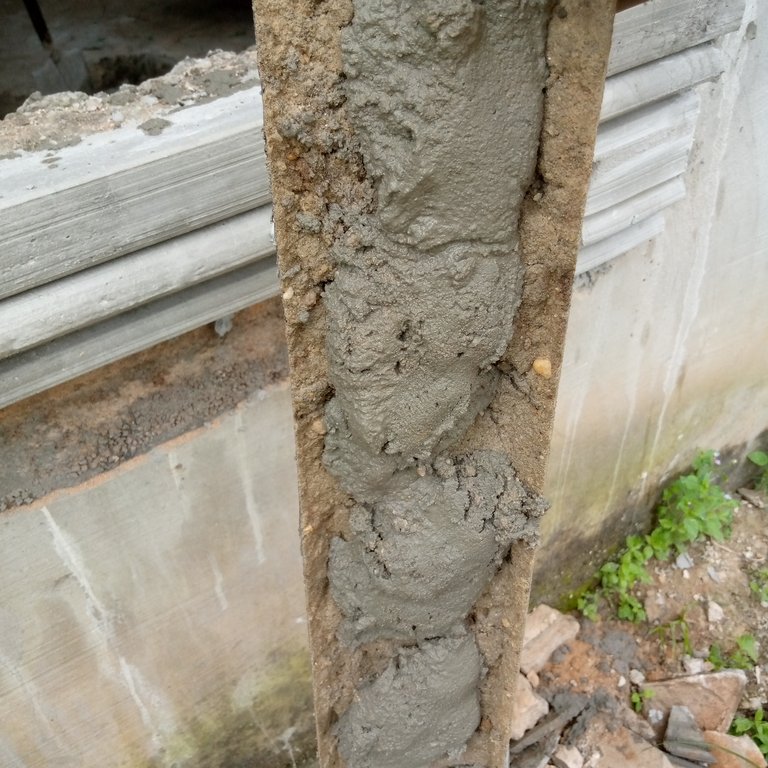
After the hands the top will now follow thus completing the whole design
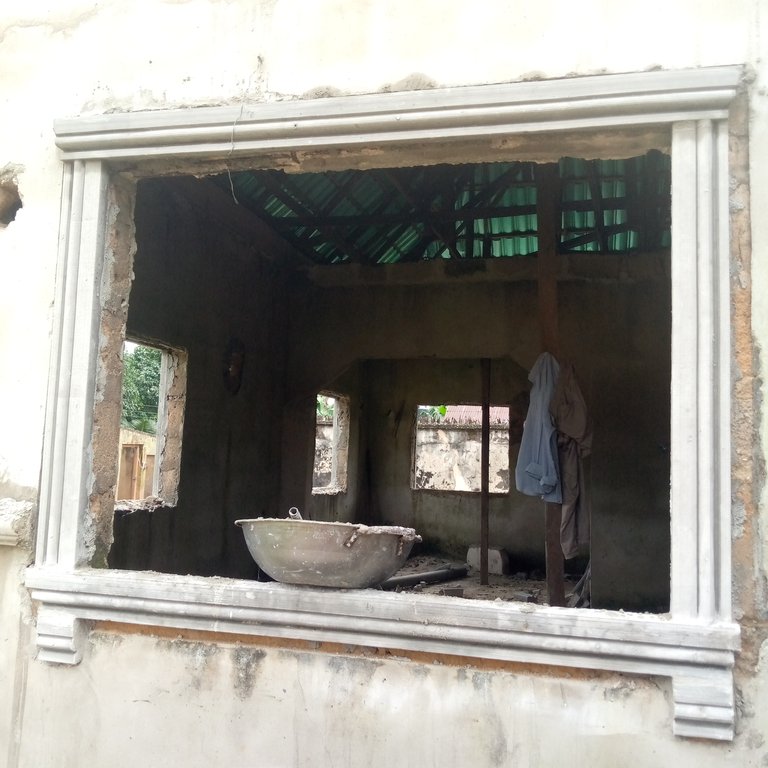
This is how i made the window design.
THANKS 🙏 FOR VIEWING THIS POST AND I HOPE MY EFFORT WILL BE REWARDED 🌹