DIY: Kitty topper Marie - For cute children's theme [ESP/ENG]


Hola amigos de Hive ❤️ les doy la bienvenida a mi blog para compartírles un nuevo tutorial artístico, ésta vez les mostraré una idea para decorar una torta o cualquier objeto decorativo que les pueda servir, con temática sobre un personaje en particular, en éste caso se trata de una simpática gatita llamada Marie, de la película animada "Los Aristogatos".
Hace poco les compartí una parte de esta fiesta realizando un estampado sobre tela del mismo personaje, pues justamente se trata de la fiesta pero ahora les compartire un pequeño paso a paso de como realice un Topper muy lindo con un objeto decorativo que me pareció hermoso y que combinaría súper bien con la temática, rosa, brillante y muy coqueto.

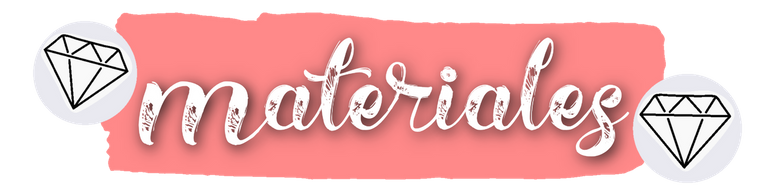
- Hoja de cartulina blanca
- Foami o goma Eva (rosada, fucsia y dorada)
- Cartulina holográfica dorada
- pintura acrílicas
- pincel liner
- tijera
- Lápiz
- Papel carbón
- silicón líquido
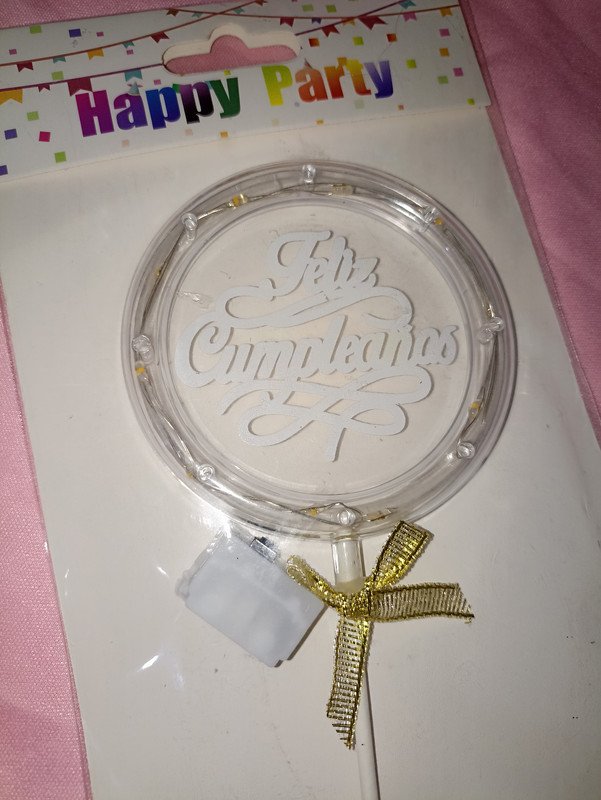
- Soporte luminoso (feliz cumpleaños)
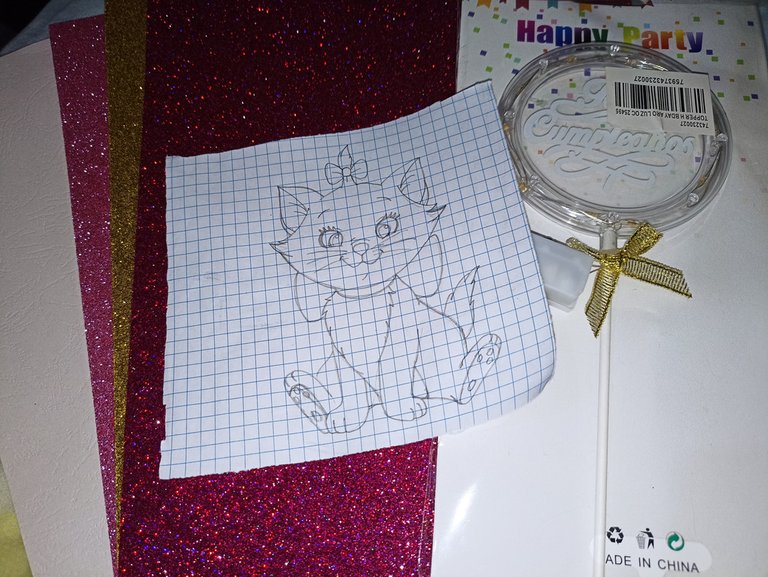

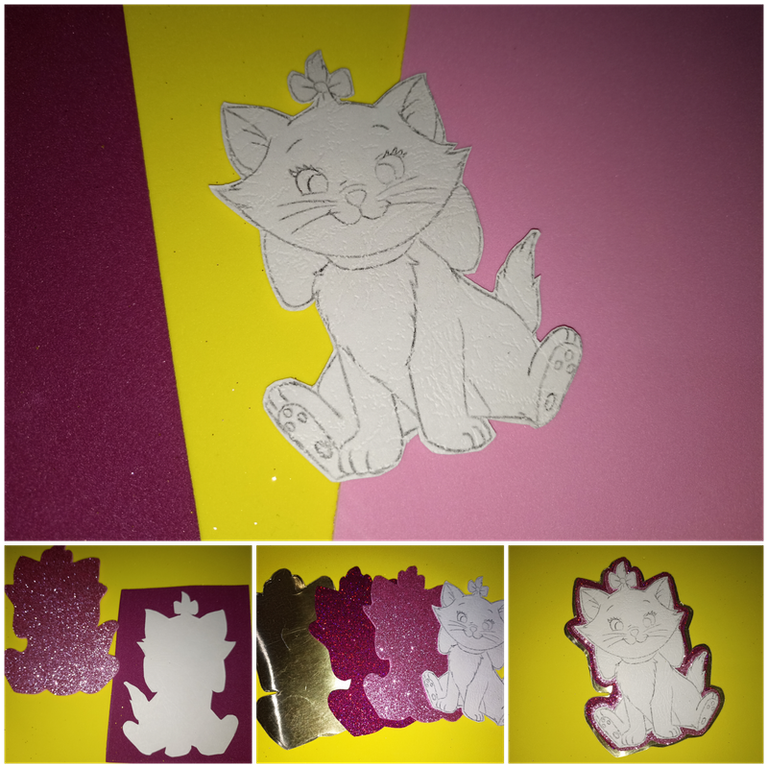
Voy a empezar usando la hoja de cartulina blanca, ésta me gusta mucho y es que no se si se logra apreciar que tiene una lectura como corrugada muy linda, eso me llamo mucho la atención en la tienda, así que la compré y pensé en que allí sobre ella dibujaría a la gatita Marie. Y con ayuda del papel carbón ésta tarea de calcar es mucho más fácil, solo debes colocarla sobre la cartulina y sobre ésta el dibujo guía, repasando las líneas de los bordes ya tendríamos nuestro boceto listo para pasar al siguiente paso.
Ahora, una vez tenga el dibujo en la cartulina ya recortada, la voy a usar como guía para sacar las otras piezas en los foamis, tratando que cada pieza sea un poco mas grande que la anterior para que cada color (escarchado) resalte en nuestro Topper.
Ésto lo podemos hacer de la misma forma como calcamos sobre la cartulina, ya con nuestra pieza guía, la colocamos sobre los foamis, marcamos los bordes y después cortamos unos centímetros más grande, siempre por el revés en el caso de ser un foami escarchado, puedes sacar las piezas que quieras con los materiales que quieras.
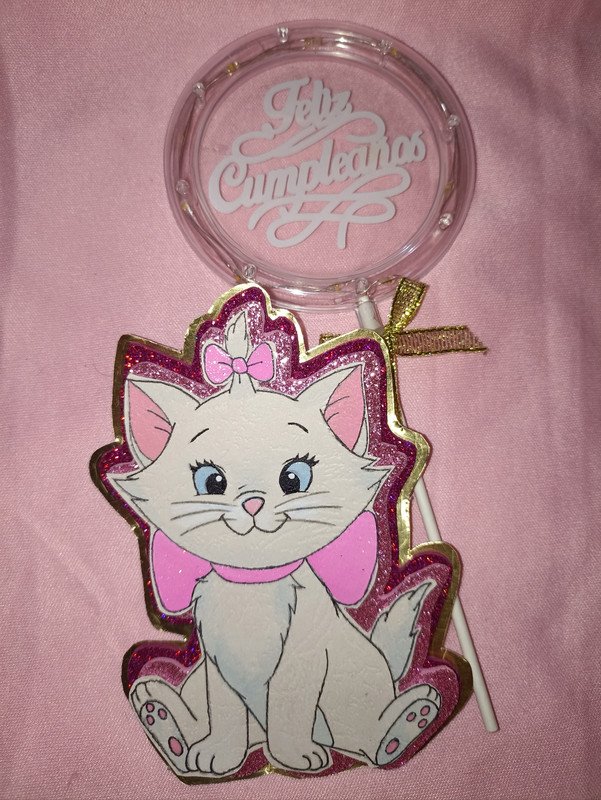
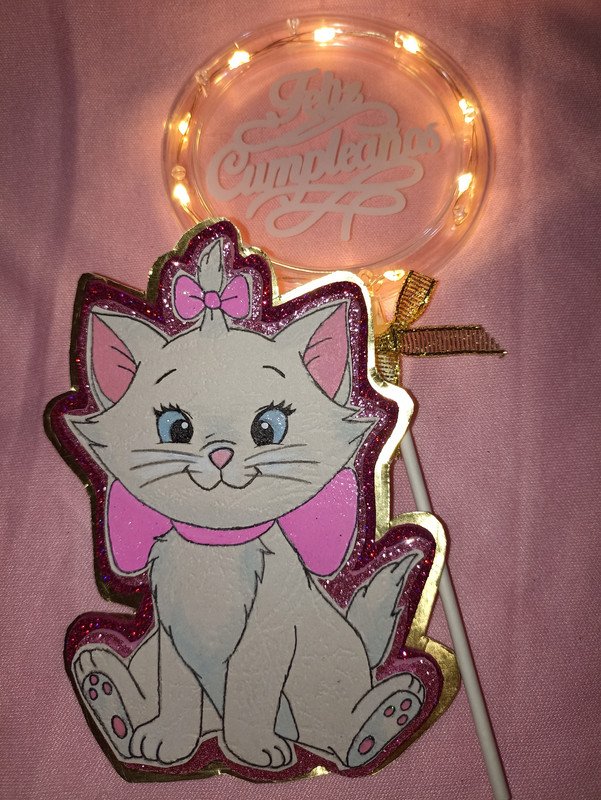
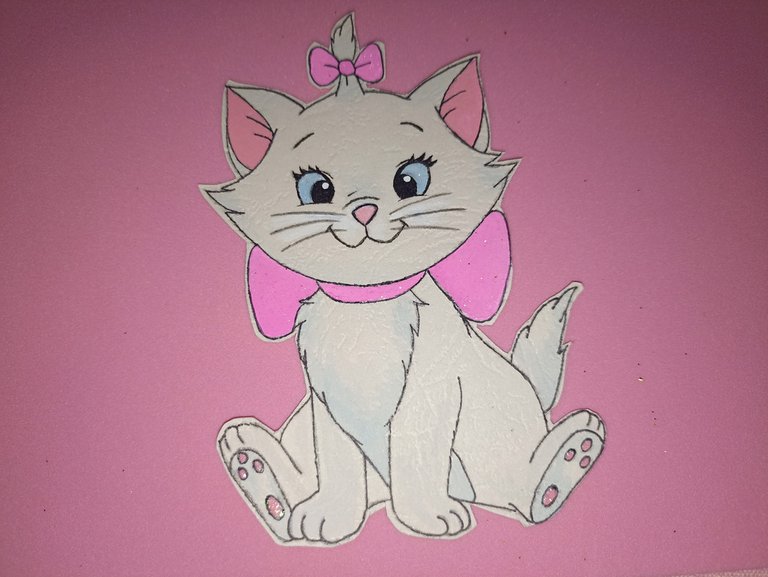
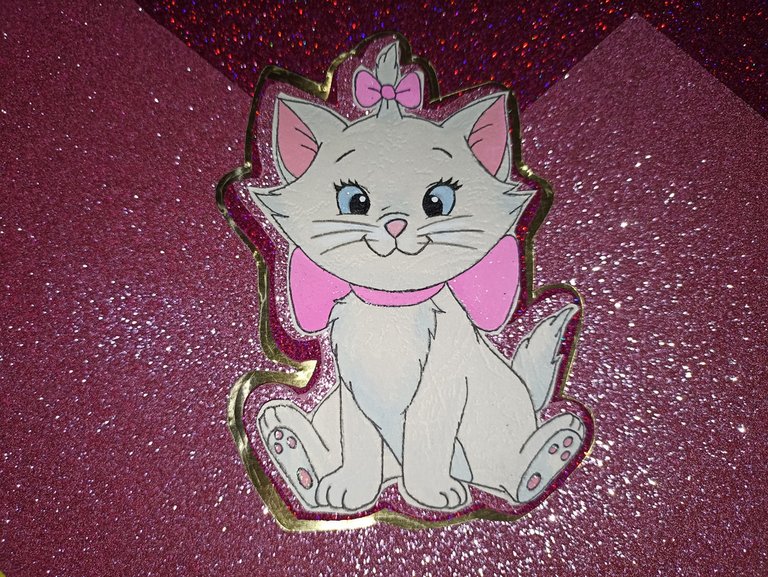
Finalmente pintaremos y le daremos vida a la gatita, y después para delinear y agregarle los pequeños detalles como la nariz y los ojos, podemos usar un pincel liner o un marcador punta fina. También podemos darle detalles de sombras usando pintura diluida en agua. Ya cuando tengamos ésto hecho solo nos queda pegar todas las piezas en el orden de color que queramos. Si deseas podemos pegarlo junto al soporte luminoso (este lo conseguí en una papelería), pero yo decidí dejarlo separado, solo le agregué unos palillos de madera por la parte interna o simplemente dejarlo así y ya solo se coloca sobre el merengue ddl pastel.

Y aquí les muestro el trabajo terminado, con un lindo diseño para sumar a nuestra decoración y hacer lucir muy hermosa nuestras fiestas 🩷...sobre todo la de los más pequeños de la casa!!...espero compartirles muy pronto nuevos trabajos como este que vaya creando, con mucho cariño me despido y será hasta la próxima!!💕


Hello friends of Hive ❤️ I welcome you to my blog to share with you a new artistic tutorial, this time I will show you an idea to decorate a cake or any decorative object that can serve you, with a theme on a particular character, in this case it is a nice kitten named Marie, from the animated film "The Aristocats".
Recently I shared with you a part of this party making a print on fabric of the same character, because it is just about the party but now I will share with you a small step by step of how to make a very cute Topper with a decorative object that I found beautiful and that would combine super well with the theme, pink, bright and very flirtatious.
- Sheet of white cardboard
- Foami or Eva rubber (pink, fuchsia and gold)
- Gold holographic cardboard
- acrylic paint
- liner brush
- scissors
- pencil
- carbon paper
- liquid silicone
- Luminous support (happy birthday)

I'm going to start using the white cardboard sheet, I really like this one and I don't know if you can appreciate that it has a very nice corrugated reading, that caught my attention in the store, so I bought it and I thought that there on it I would draw the kitty Marie. And with the help of the carbon paper this tracing task is much easier, you only have to place it on the cardboard and on this the drawing guide, going over the lines of the edges and we would have our sketch ready to go to the next step.
Now, once I have the drawing on the cardboard already cut out, I will use it as a guide to draw the other pieces on the foamis, trying to make each piece a little bigger than the previous one so that each color (frosting) stands out on our Topper.
This can be done in the same way as we traced on the cardboard, and with our guide piece, we place it on the foamis, mark the edges and then cut a few centimeters larger, always on the reverse side in the case of being a frosted foami, you can get the pieces you want with the materials you want.
Finally we will paint and give life to the kitten, and then to outline and add the small details like the nose and eyes, we can use a liner brush or a fine tip marker. We can also give her shadow details using paint diluted in water. Once this is done we just need to glue all the pieces in the color order we want. If you want we can glue it together with the light support (I got it in a stationery store), but I decided to leave it separate, I just added some wooden sticks on the inside or just leave it like that and just place it on the meringue cake.
And here I show you the finished work, with a nice design to add to our decoration and make our parties look very beautiful 🩷...especially that of the smallest of the house!!!...I hope to share with you very soon new works like this that I am creating, with much love I say goodbye and will be until next time!!!💕
Todo el contenido es de mi autoría y las imágenes son de mi propiedad
Cámara: Redmi note 10s
Uso un aro de luz LED como base para mi teléfono y tomarme las fotos
All content is my own and images are my property
Camera: Redmi note 10s
I use an LED light ring as a base for my phone to take pictures of myself

Edición y Separador|Editing and Separator
App PicMonkey - App Picsart - App Canva
Traductor|Translator
DeepL
Fuente gatita Marie| Marie kitty Source


Te quedó hermoso!
Muchas gracias mi Mary 🤗🩷
Me encanto amiga se ve demasiado tierno.
Muchas gracias..me alegra mucho que te guste 🤗🩷 jeje el efecto que hacen los encantos de una bebé, sacando nuestro lado más artístico 🤭😁
👍💖😘
El dibujo te quedó como.si fuese impreso ya que quedó muy prolijo, muy buena tu técnica, me pareció genial hacer Topper así, excelente, saludos.
Asombroso trabajo, te ha quedado muy tierno, gracias por compartir
Tu comunidad artesana ahora es testigo
