[ESP-ING] Tutorial como hacer una almohada con material reciclado // Tutorial how to make a pillow from recycled material
ESPAÑOL
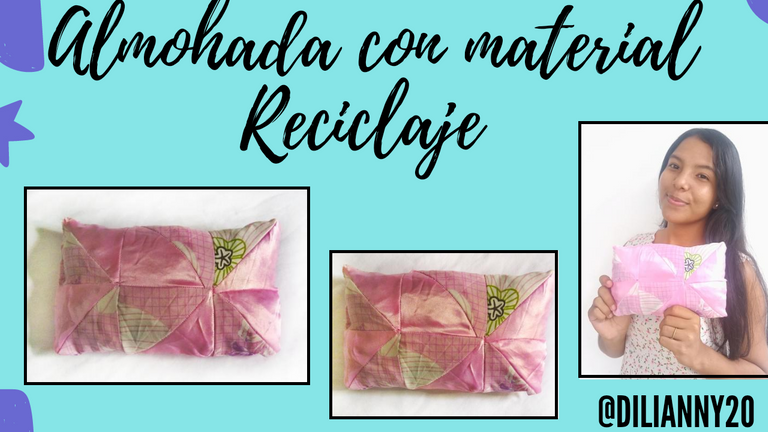

Sean bienvenidos a mi blog queridos amigos de la comunidad Hive Diy ❤️ . Espero que estén teniendo un excelente día, siempre es muy grato estar por aquí con ustedes; en esta ocasión les cuento que estuve realizando una linda mini almohada con material reciclado.
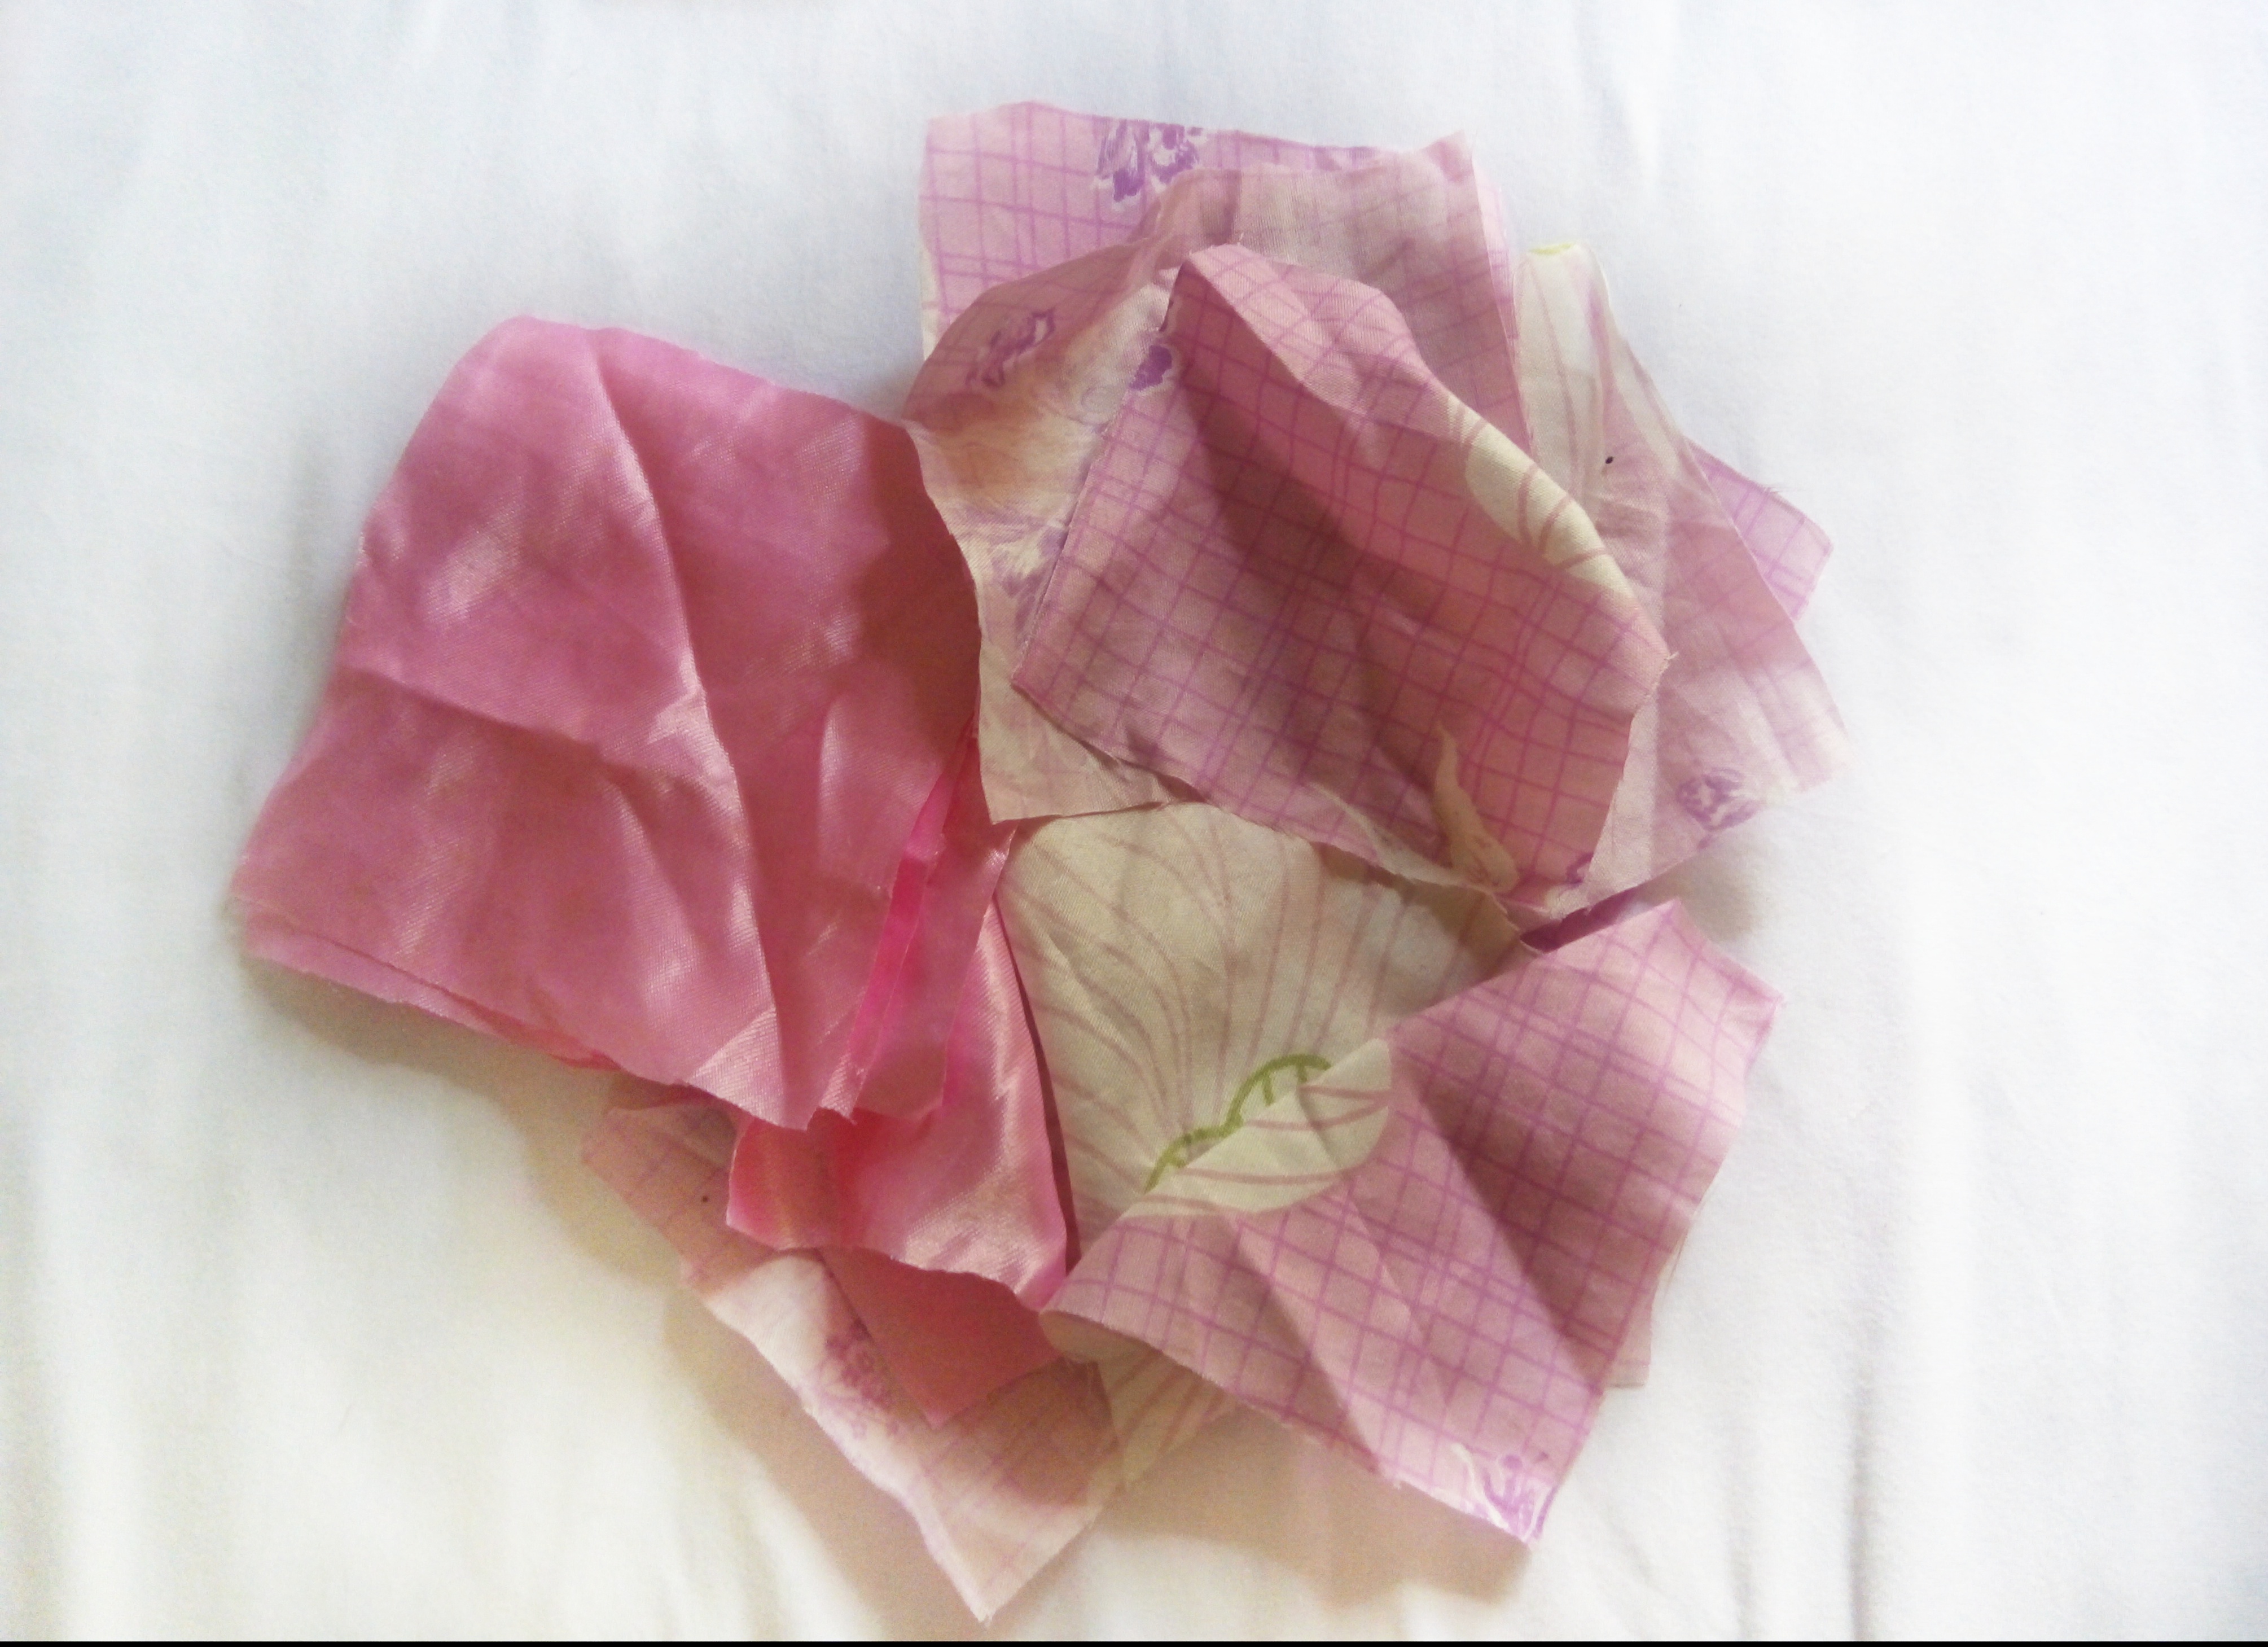
En los trabajos anteriores que he realizado la tela sobrante la suelo guardar, así que se me ocurrió hacer esta almohada con esos materiales de provecho, me pareció genial la idea y perfecto para compartirlo con ustedes.✨
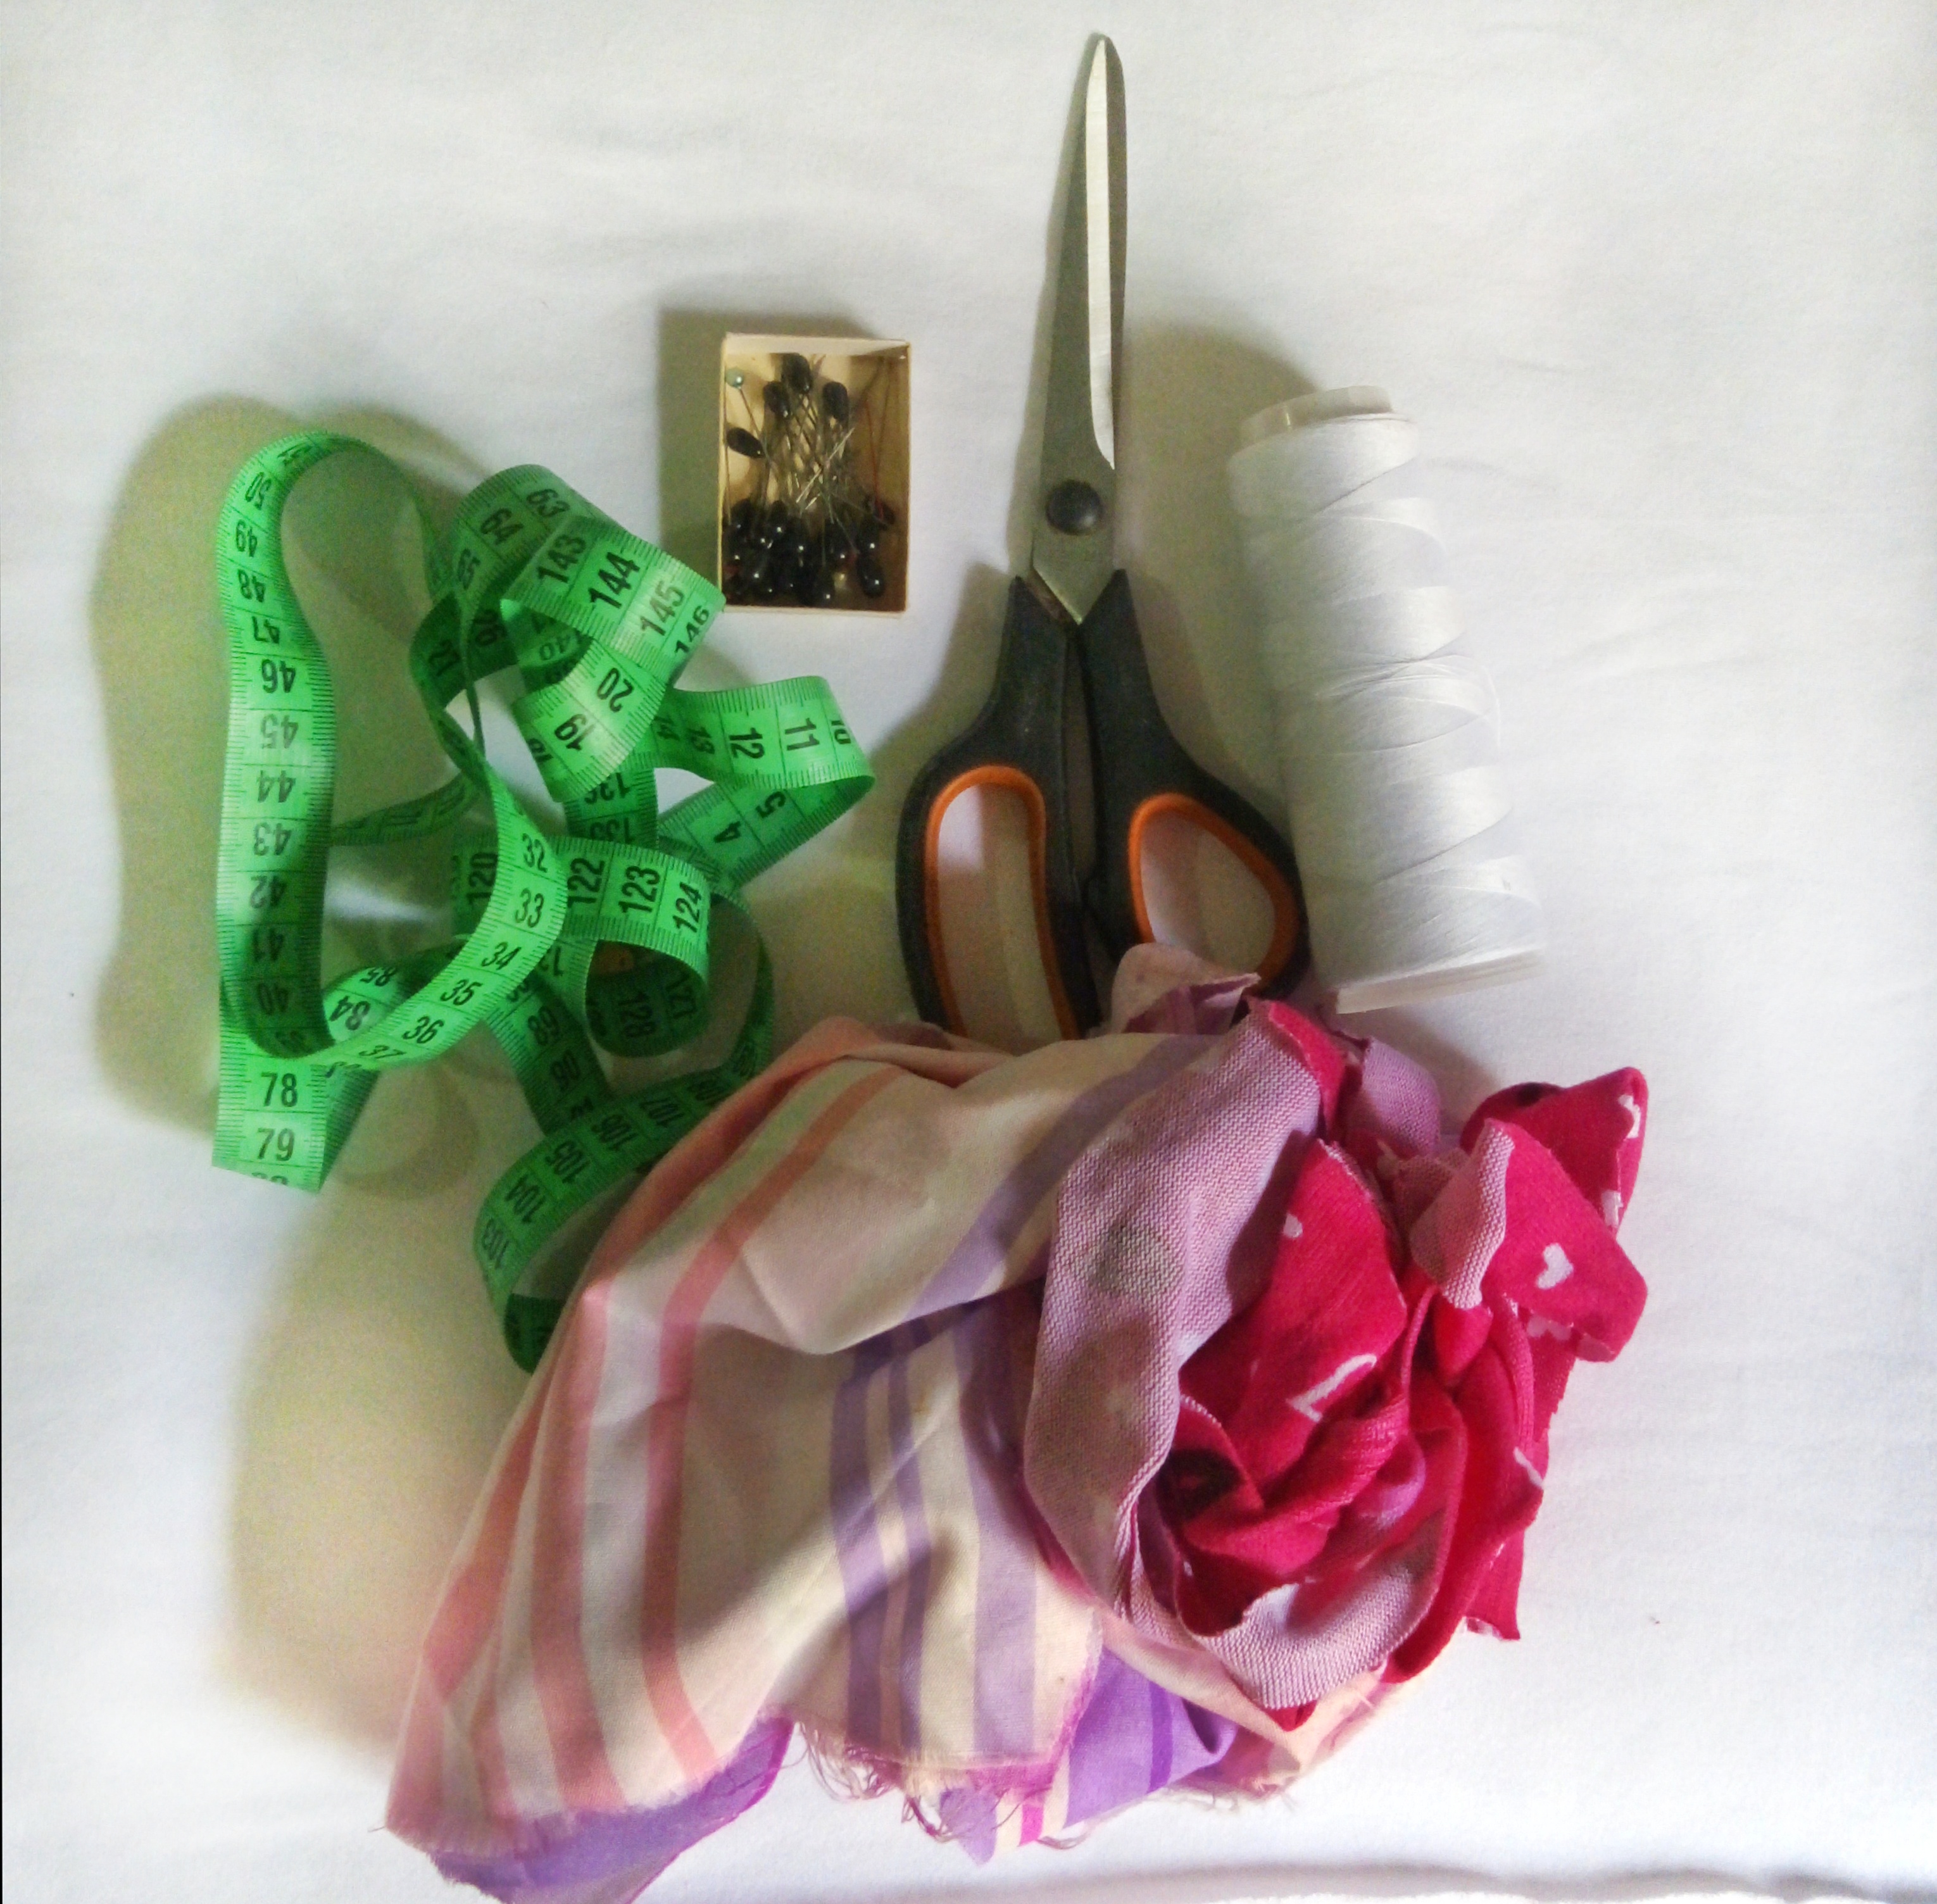
Materiales que utilice
- 🌸 Telas Recicladas
- 🌸 Ganchillos
- 🌸 Tijera ✂
- 🌸 Máquina de Coser
- 🌸 Cinta Métrica
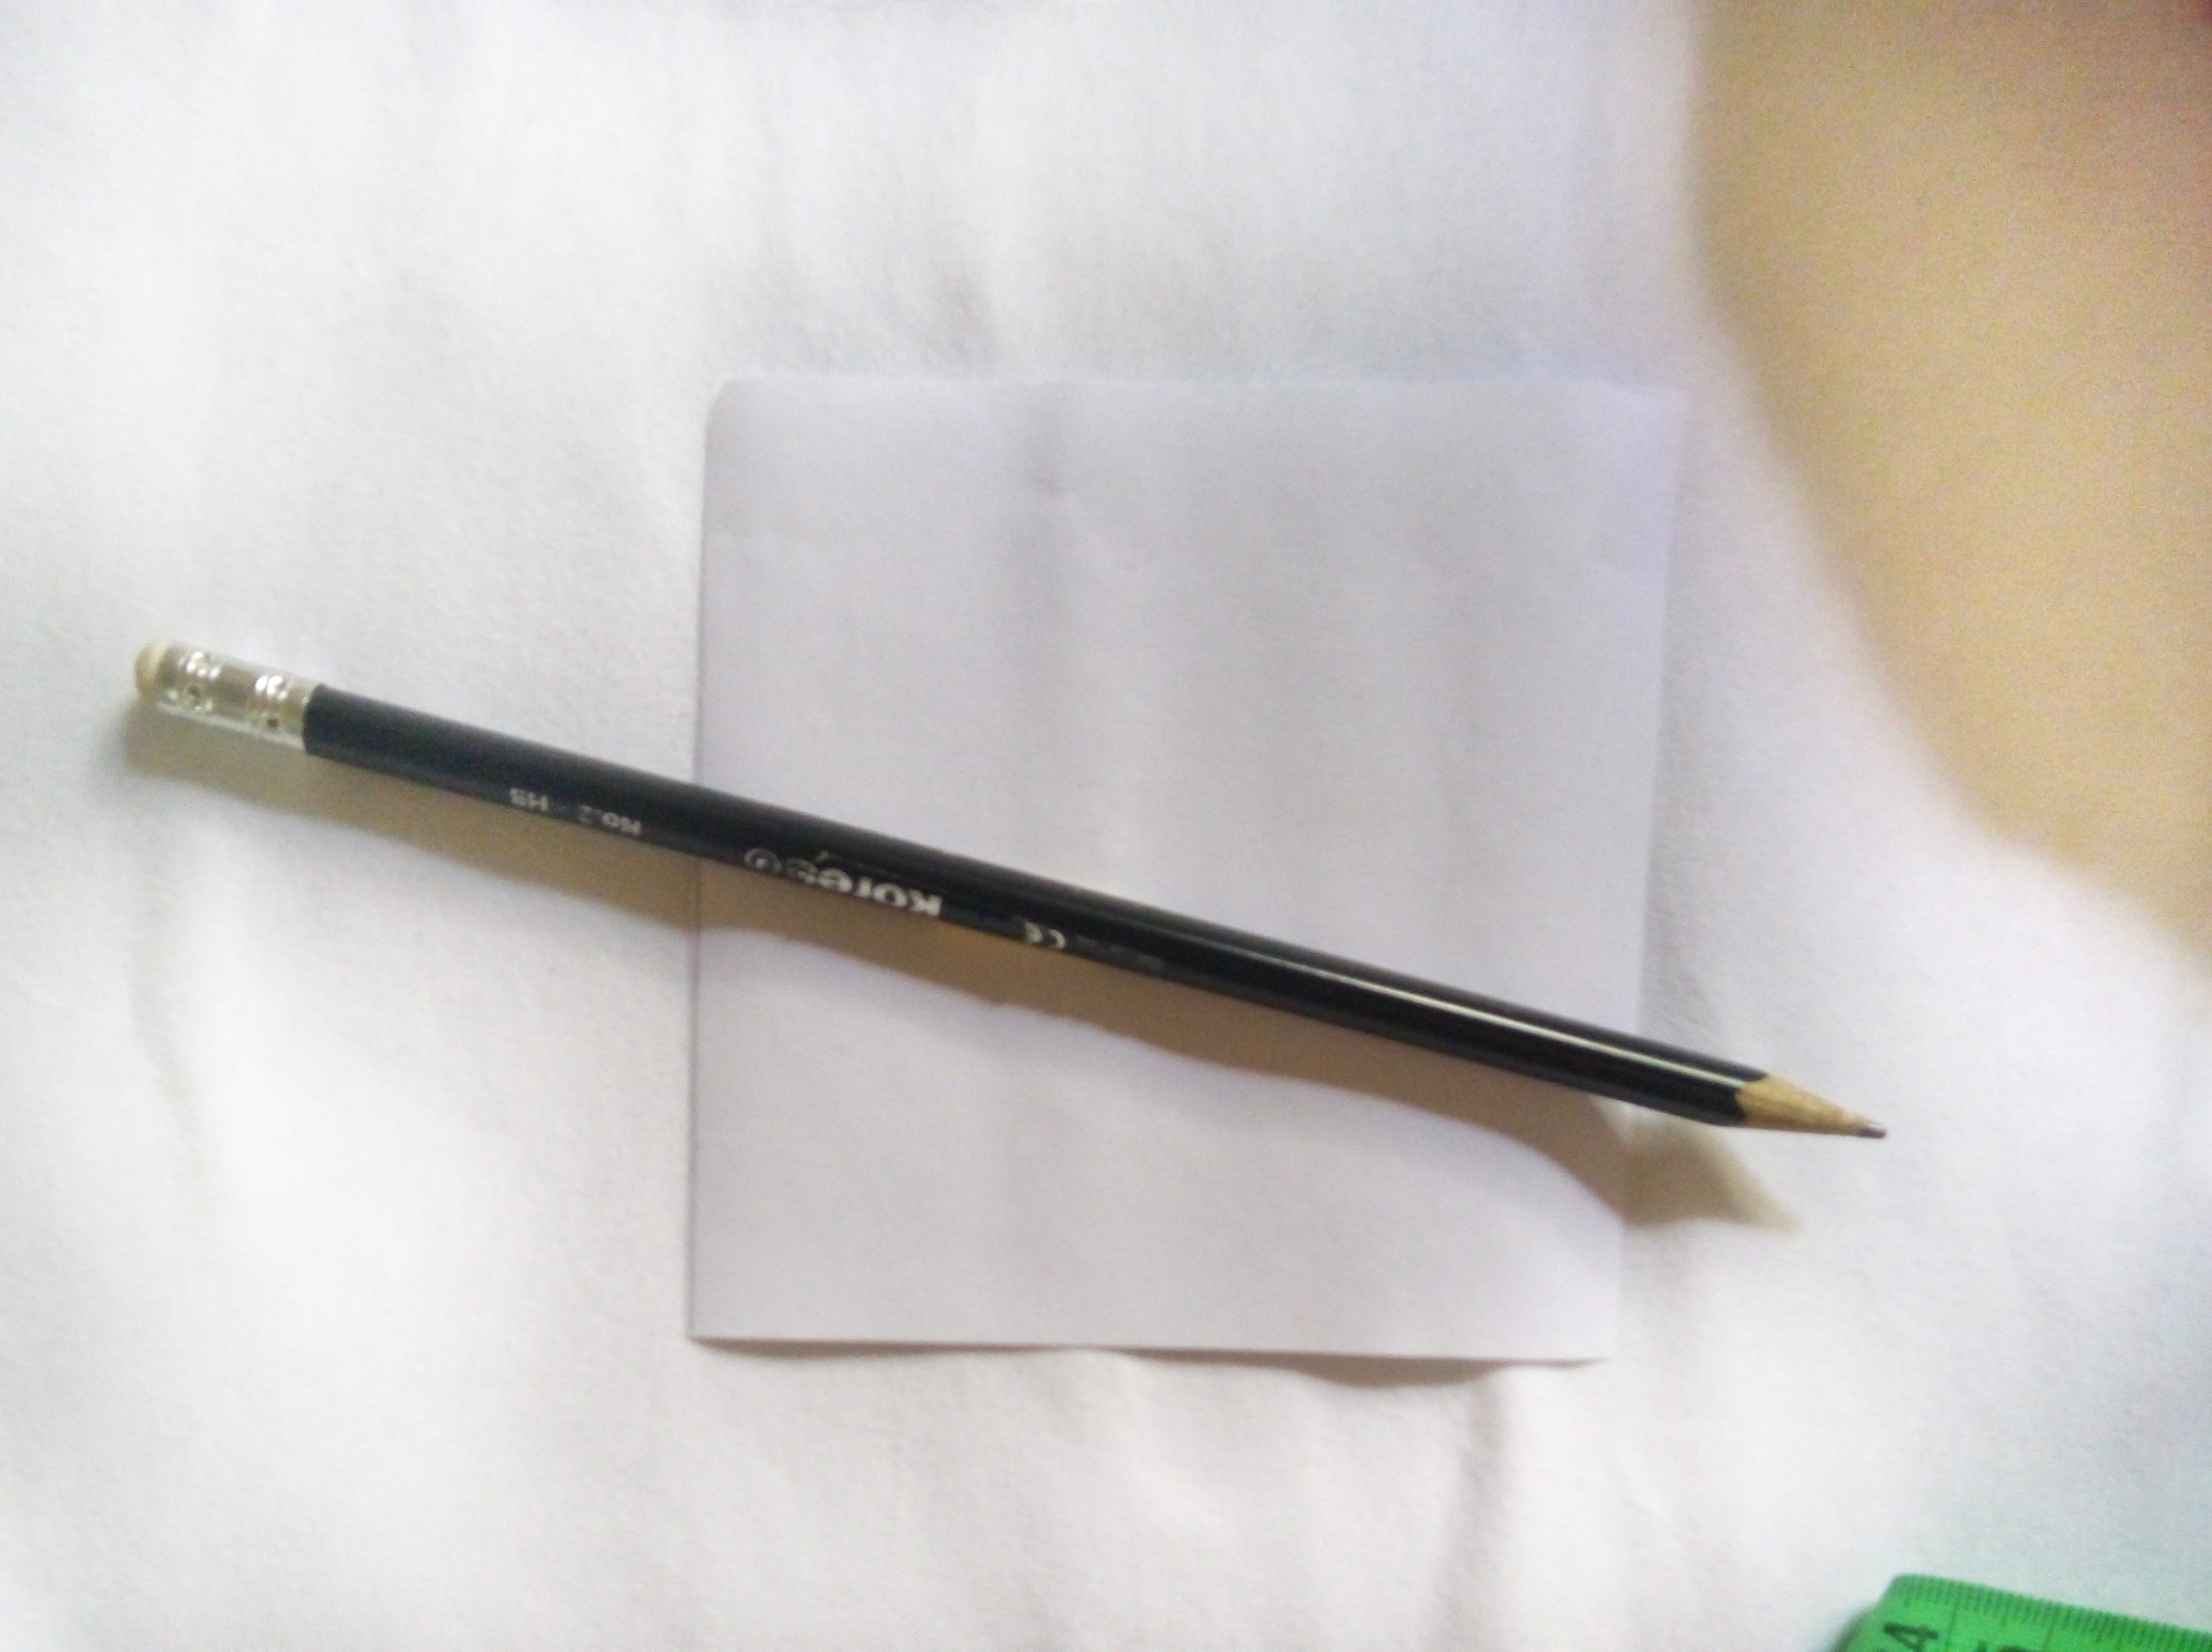
- 🌸 Lápiz
- 🌸 Hoja de Papel
Pasos para realizar la almohada reciclada
Primer Paso:
Lo primero que hice fue tomar la hoja de papel, el lápiz y la regla, luego realicé un cuadrado de 10 x10 centímetros, después de esto tomé la tijera y recorte el cuadrado.
Segundo Paso:
Al tener el cuadrito listo en la hoja de papel lo utilizaremos como nuestro molde, así que ahora vamos a tomar un trozo de tela y vamos a dibujar varios cuadrados. Después vamos a recortar.
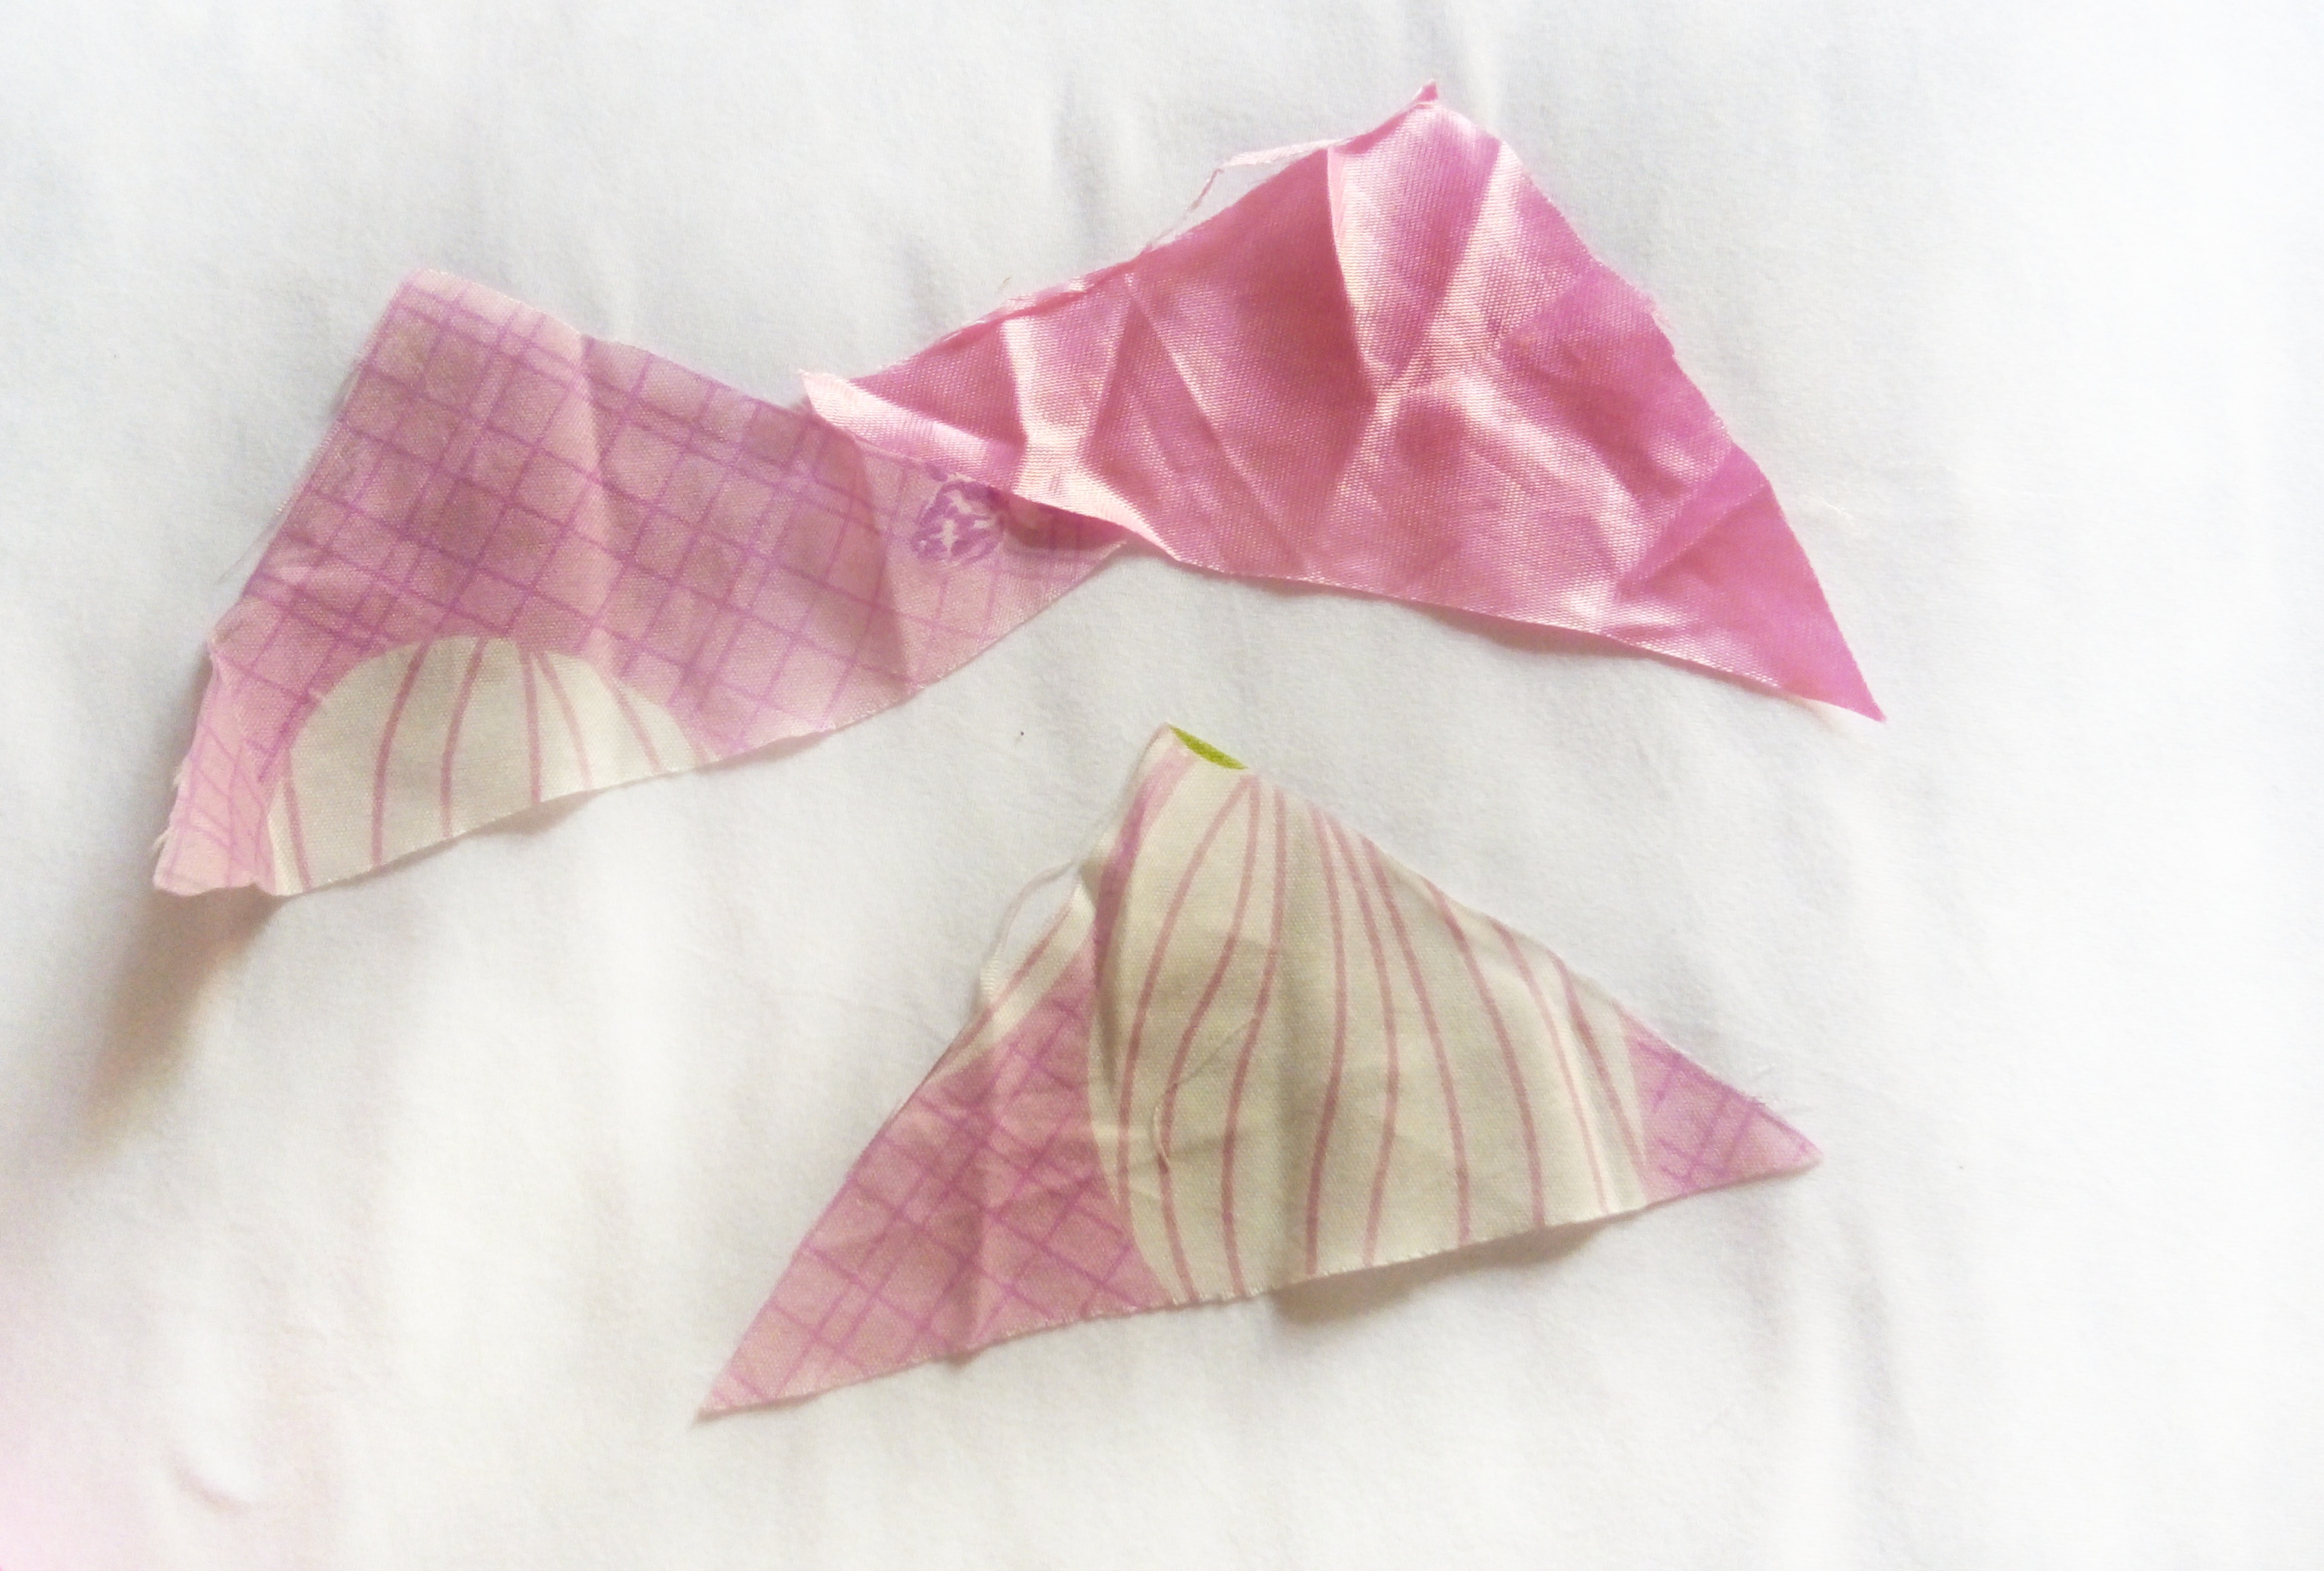
Tercer Paso:
Ahora vamos a tomar cada uno de los cuadritos y doblamos una esquina con la otra, luego vamos a cortar y nos quedará la forma de un triángulo..
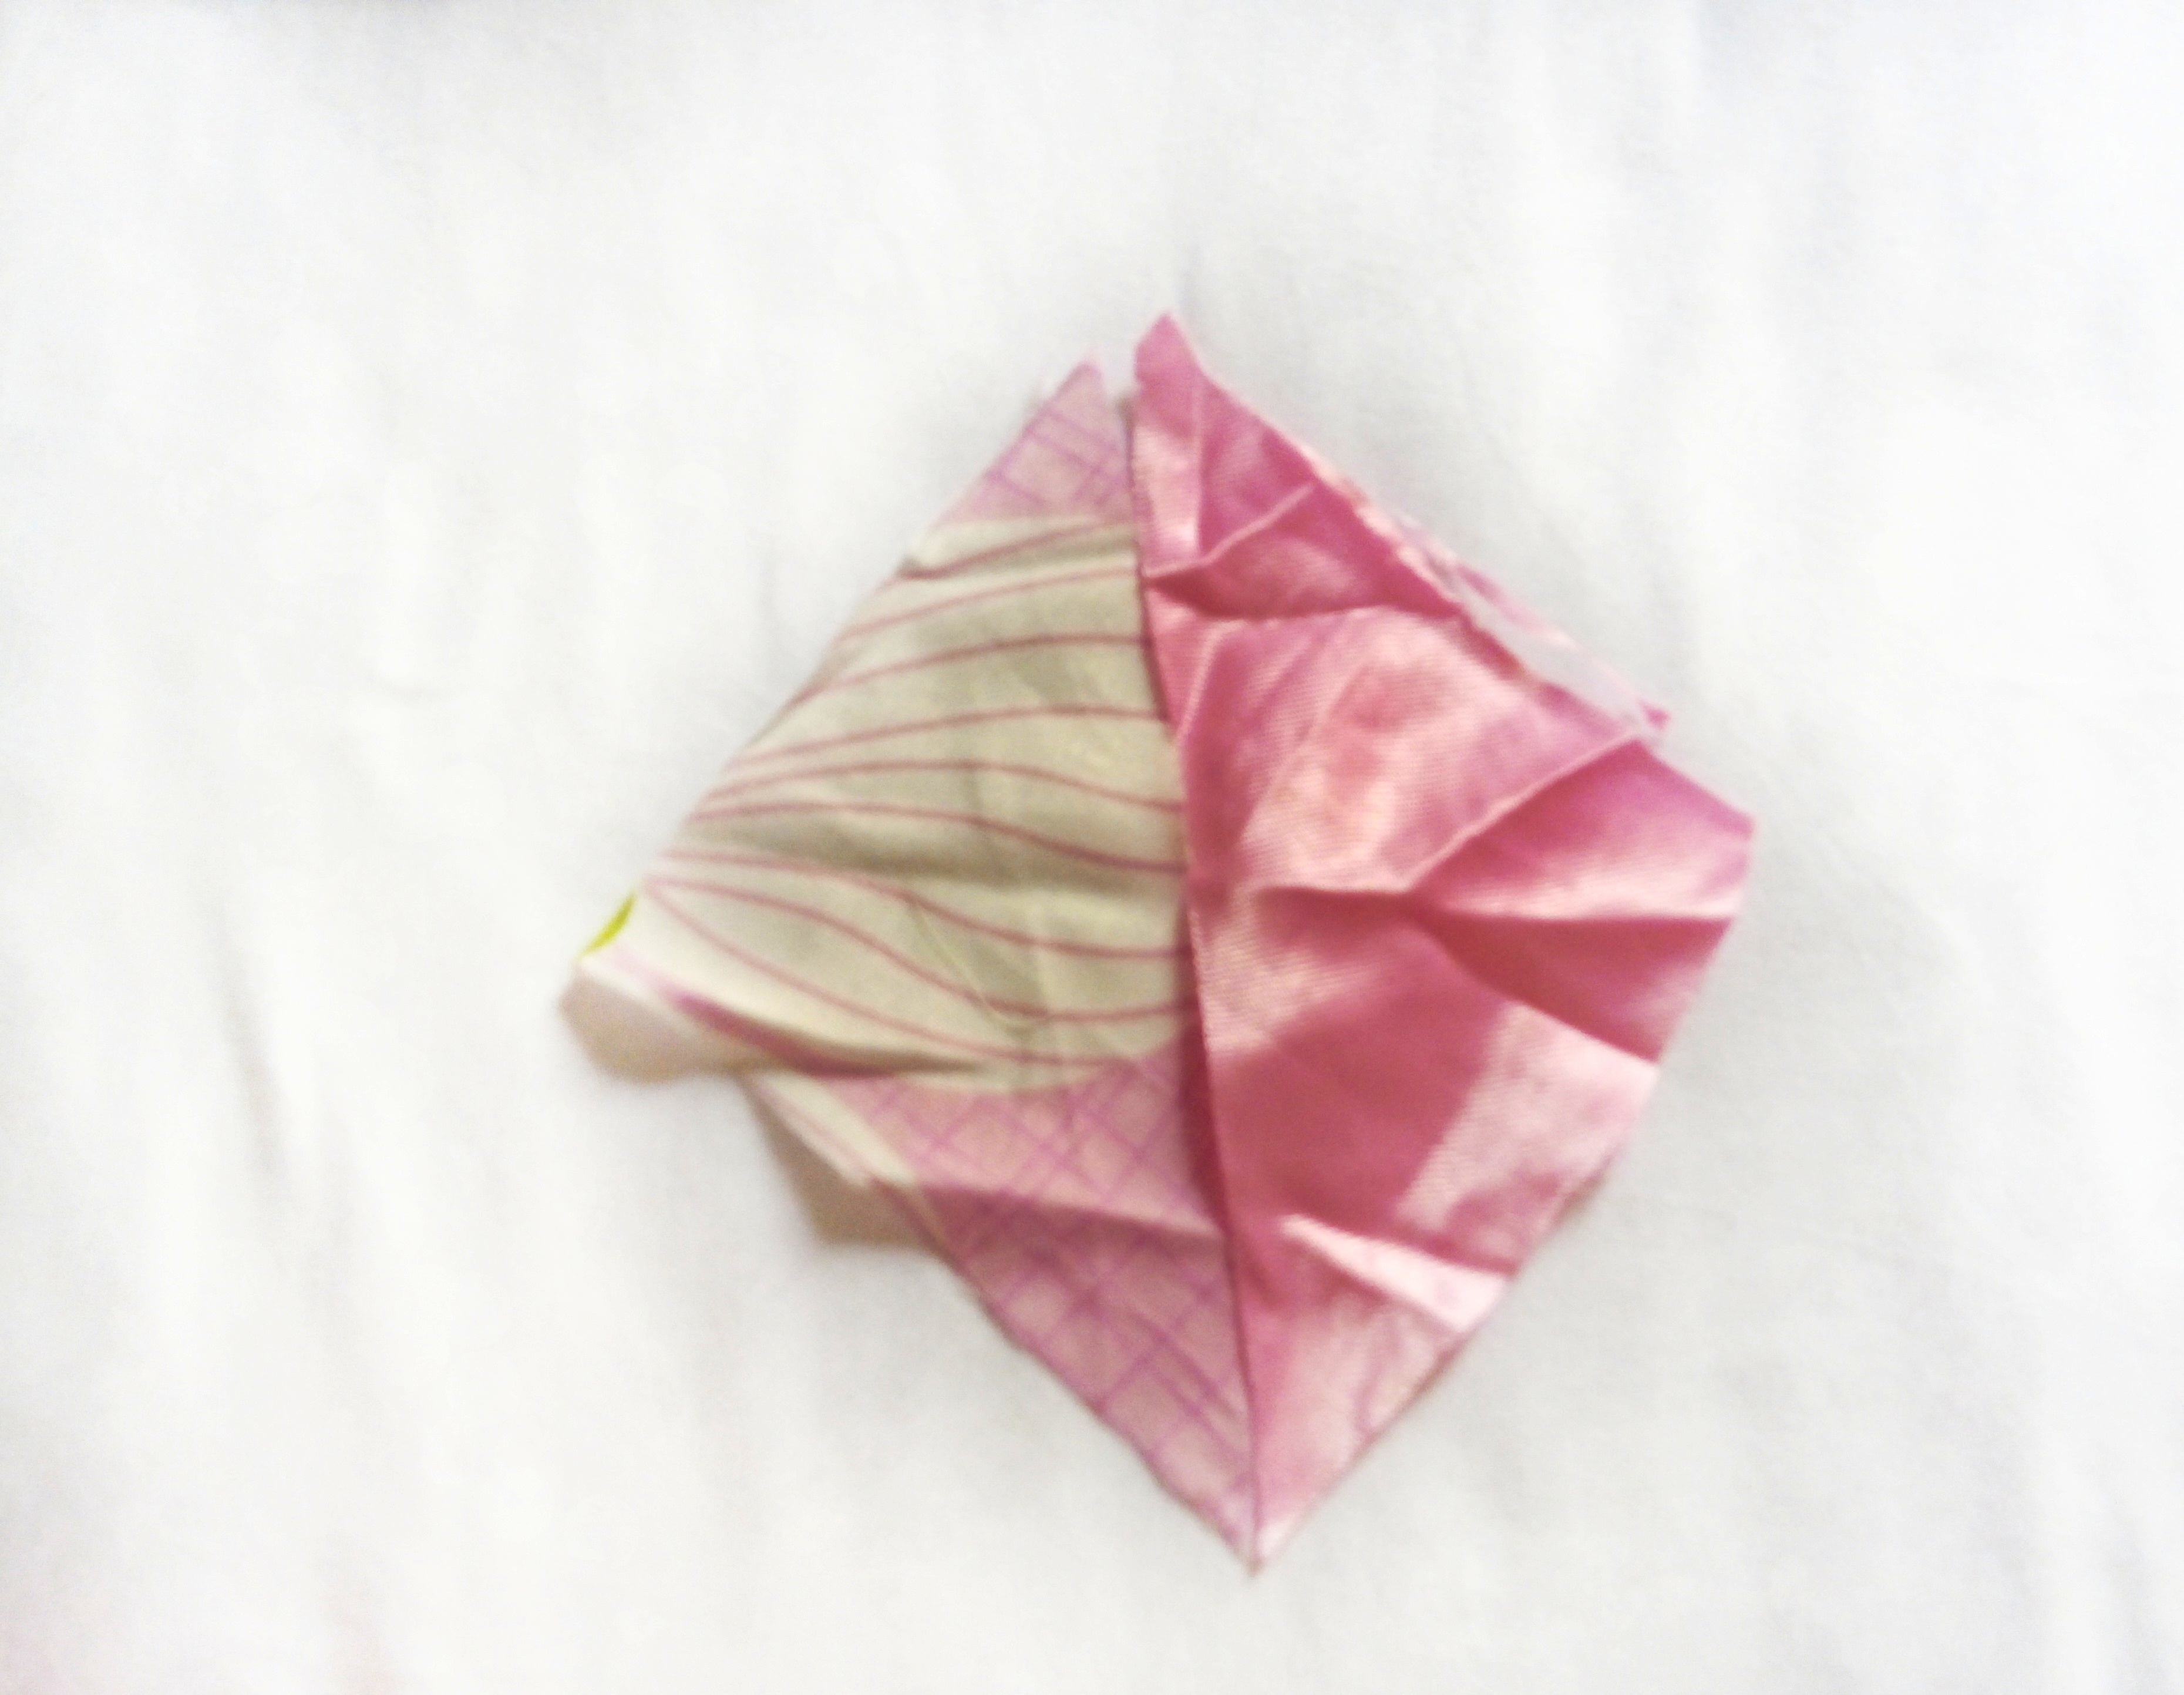
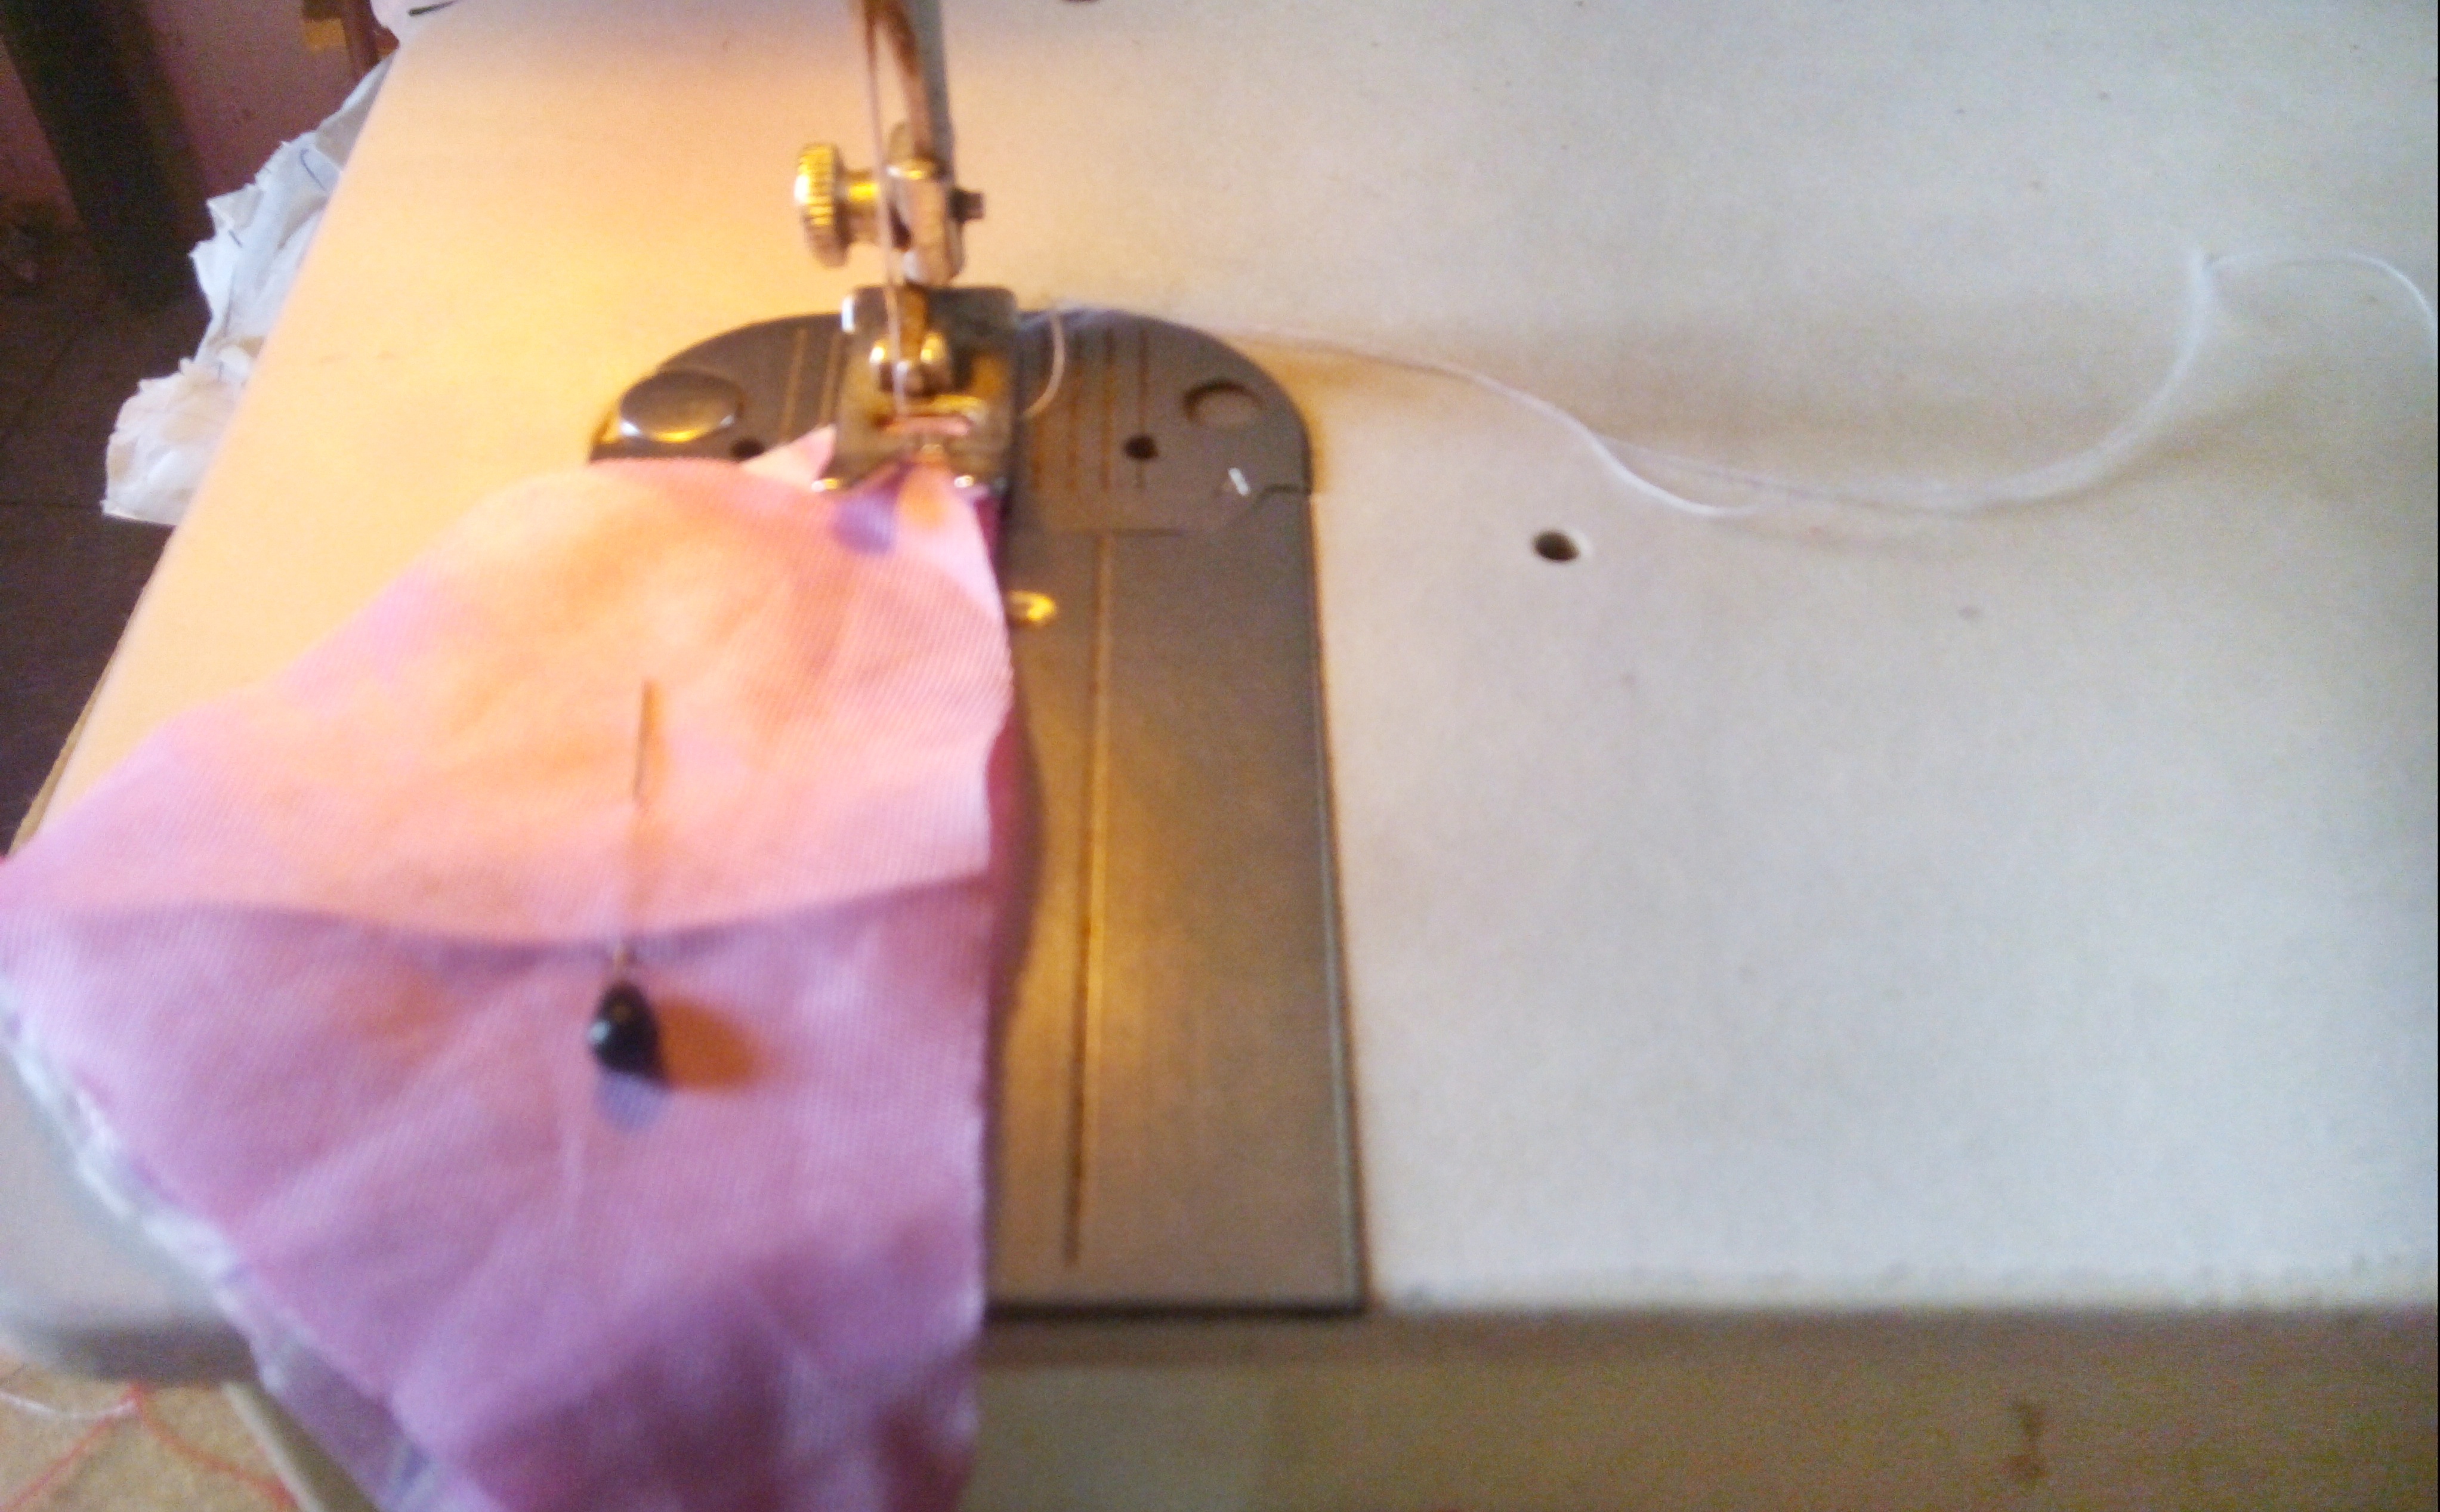
Cuarto Paso:
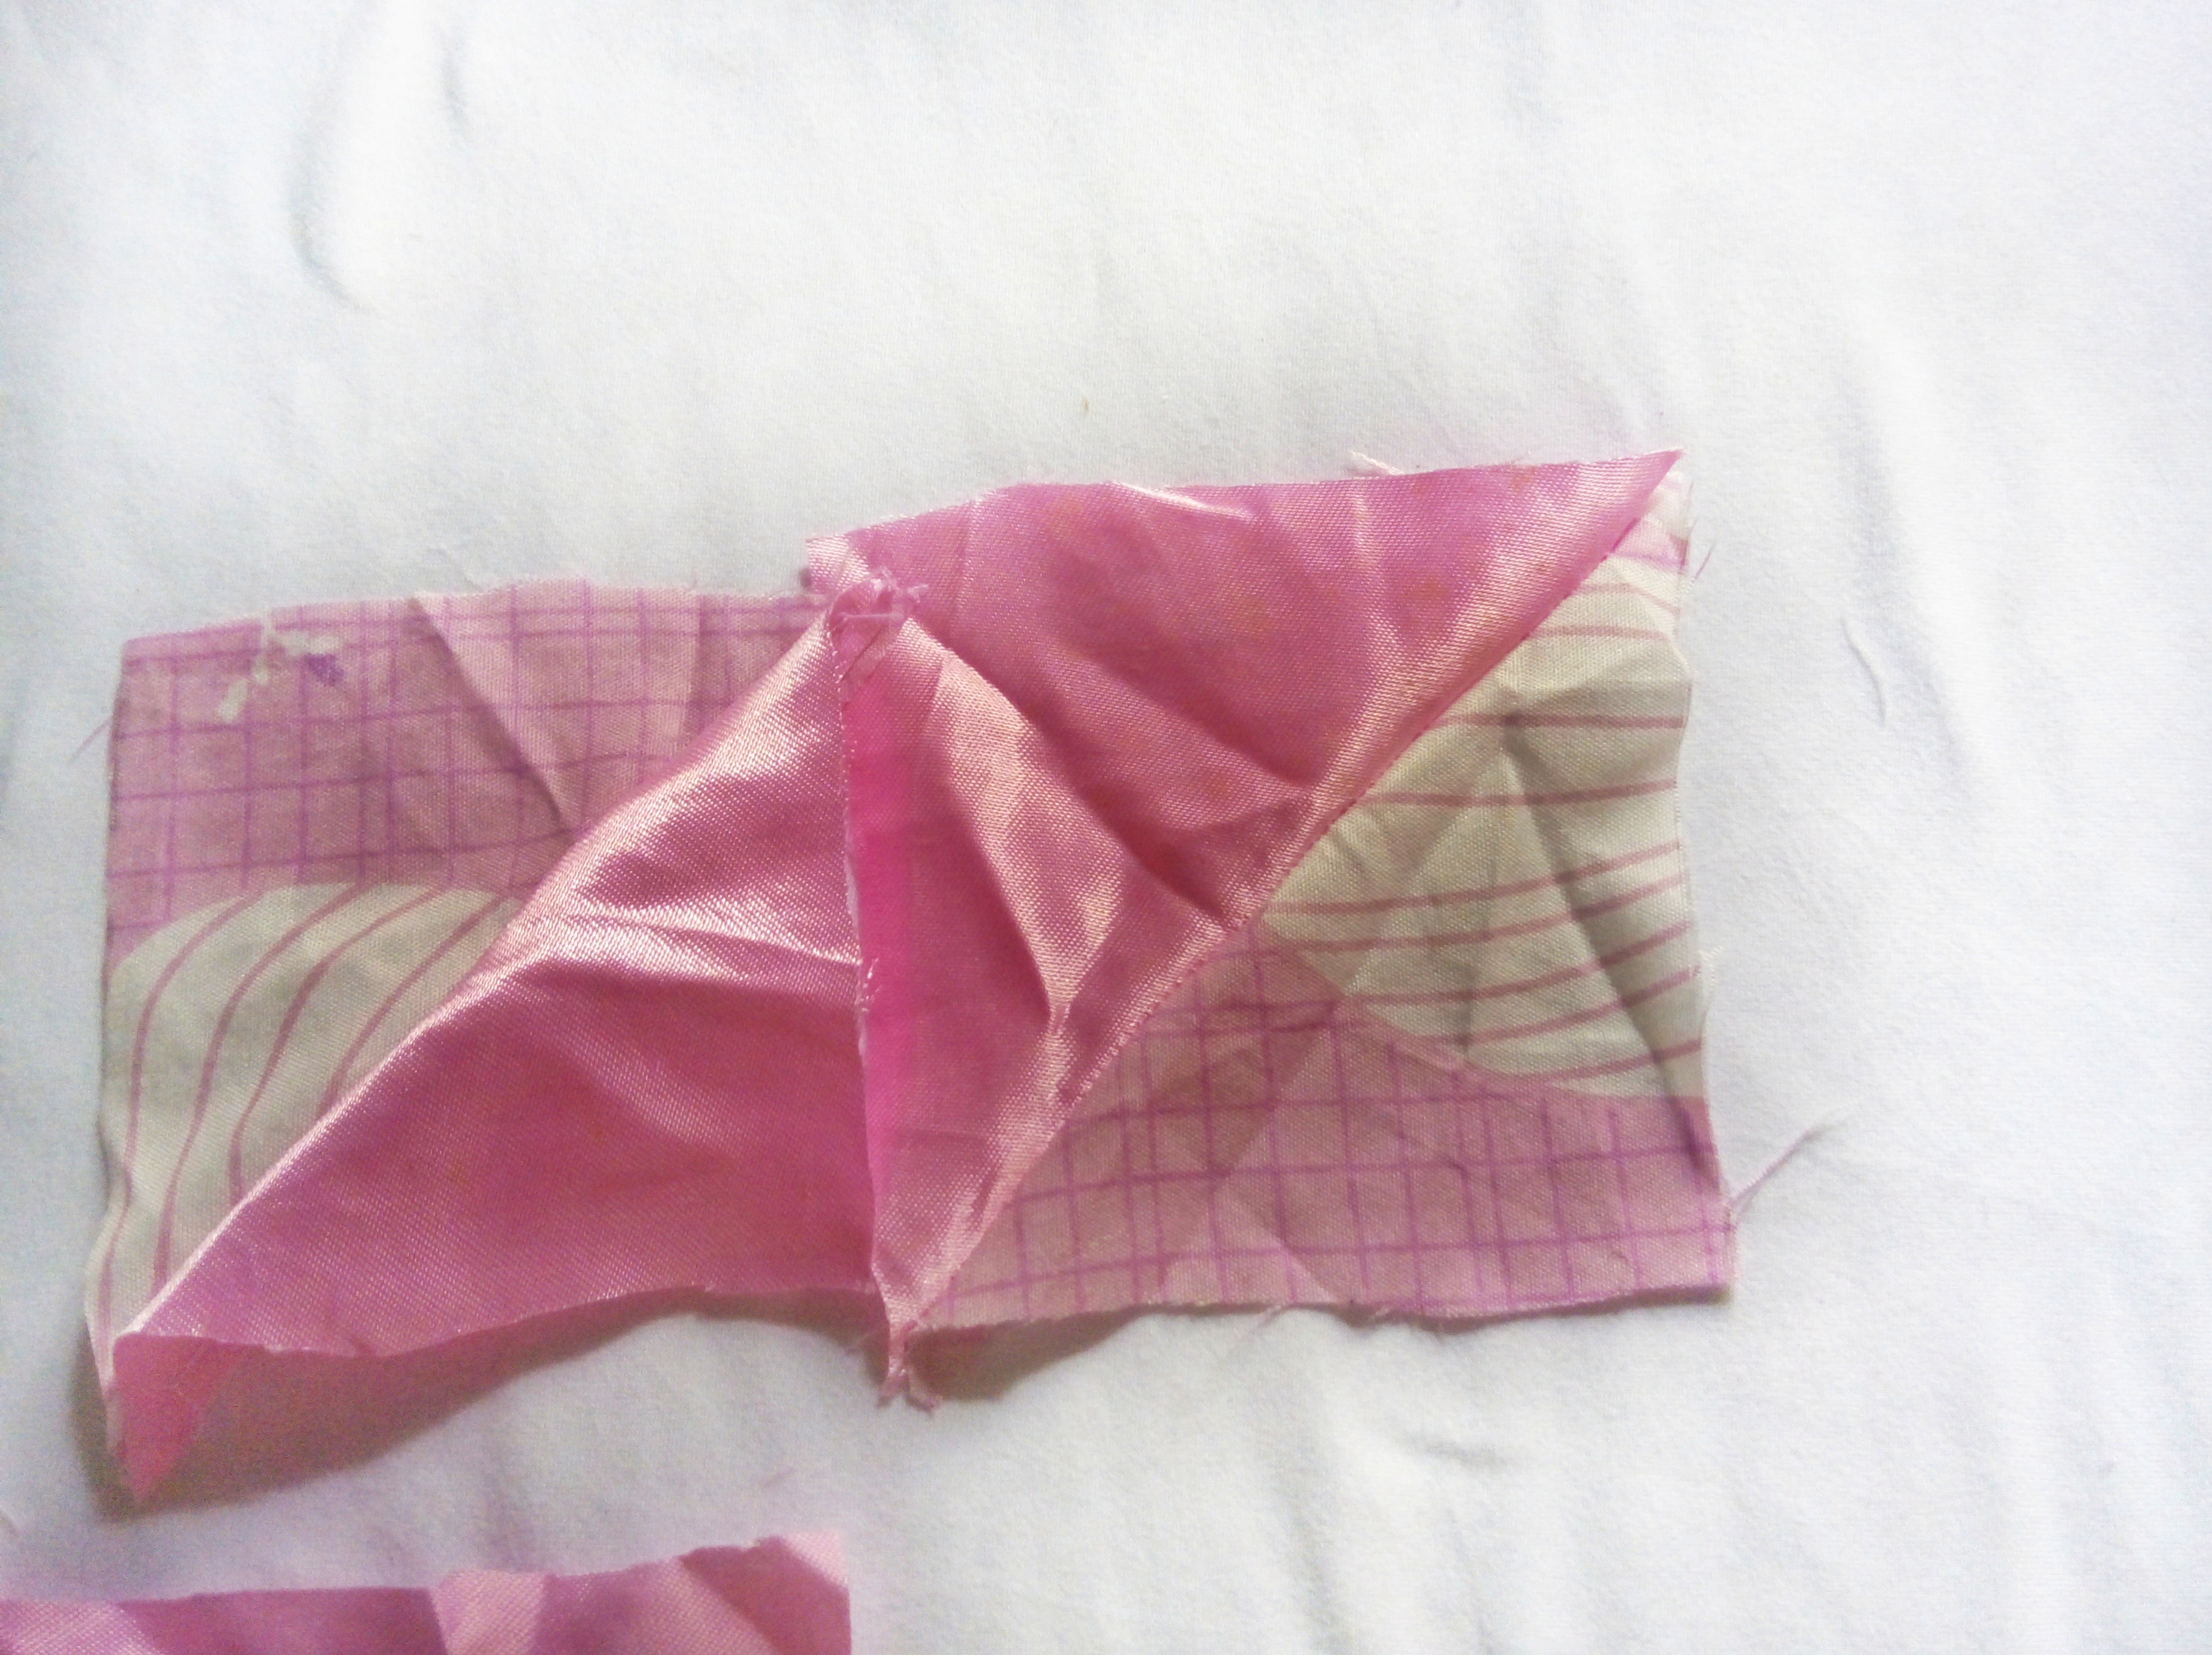
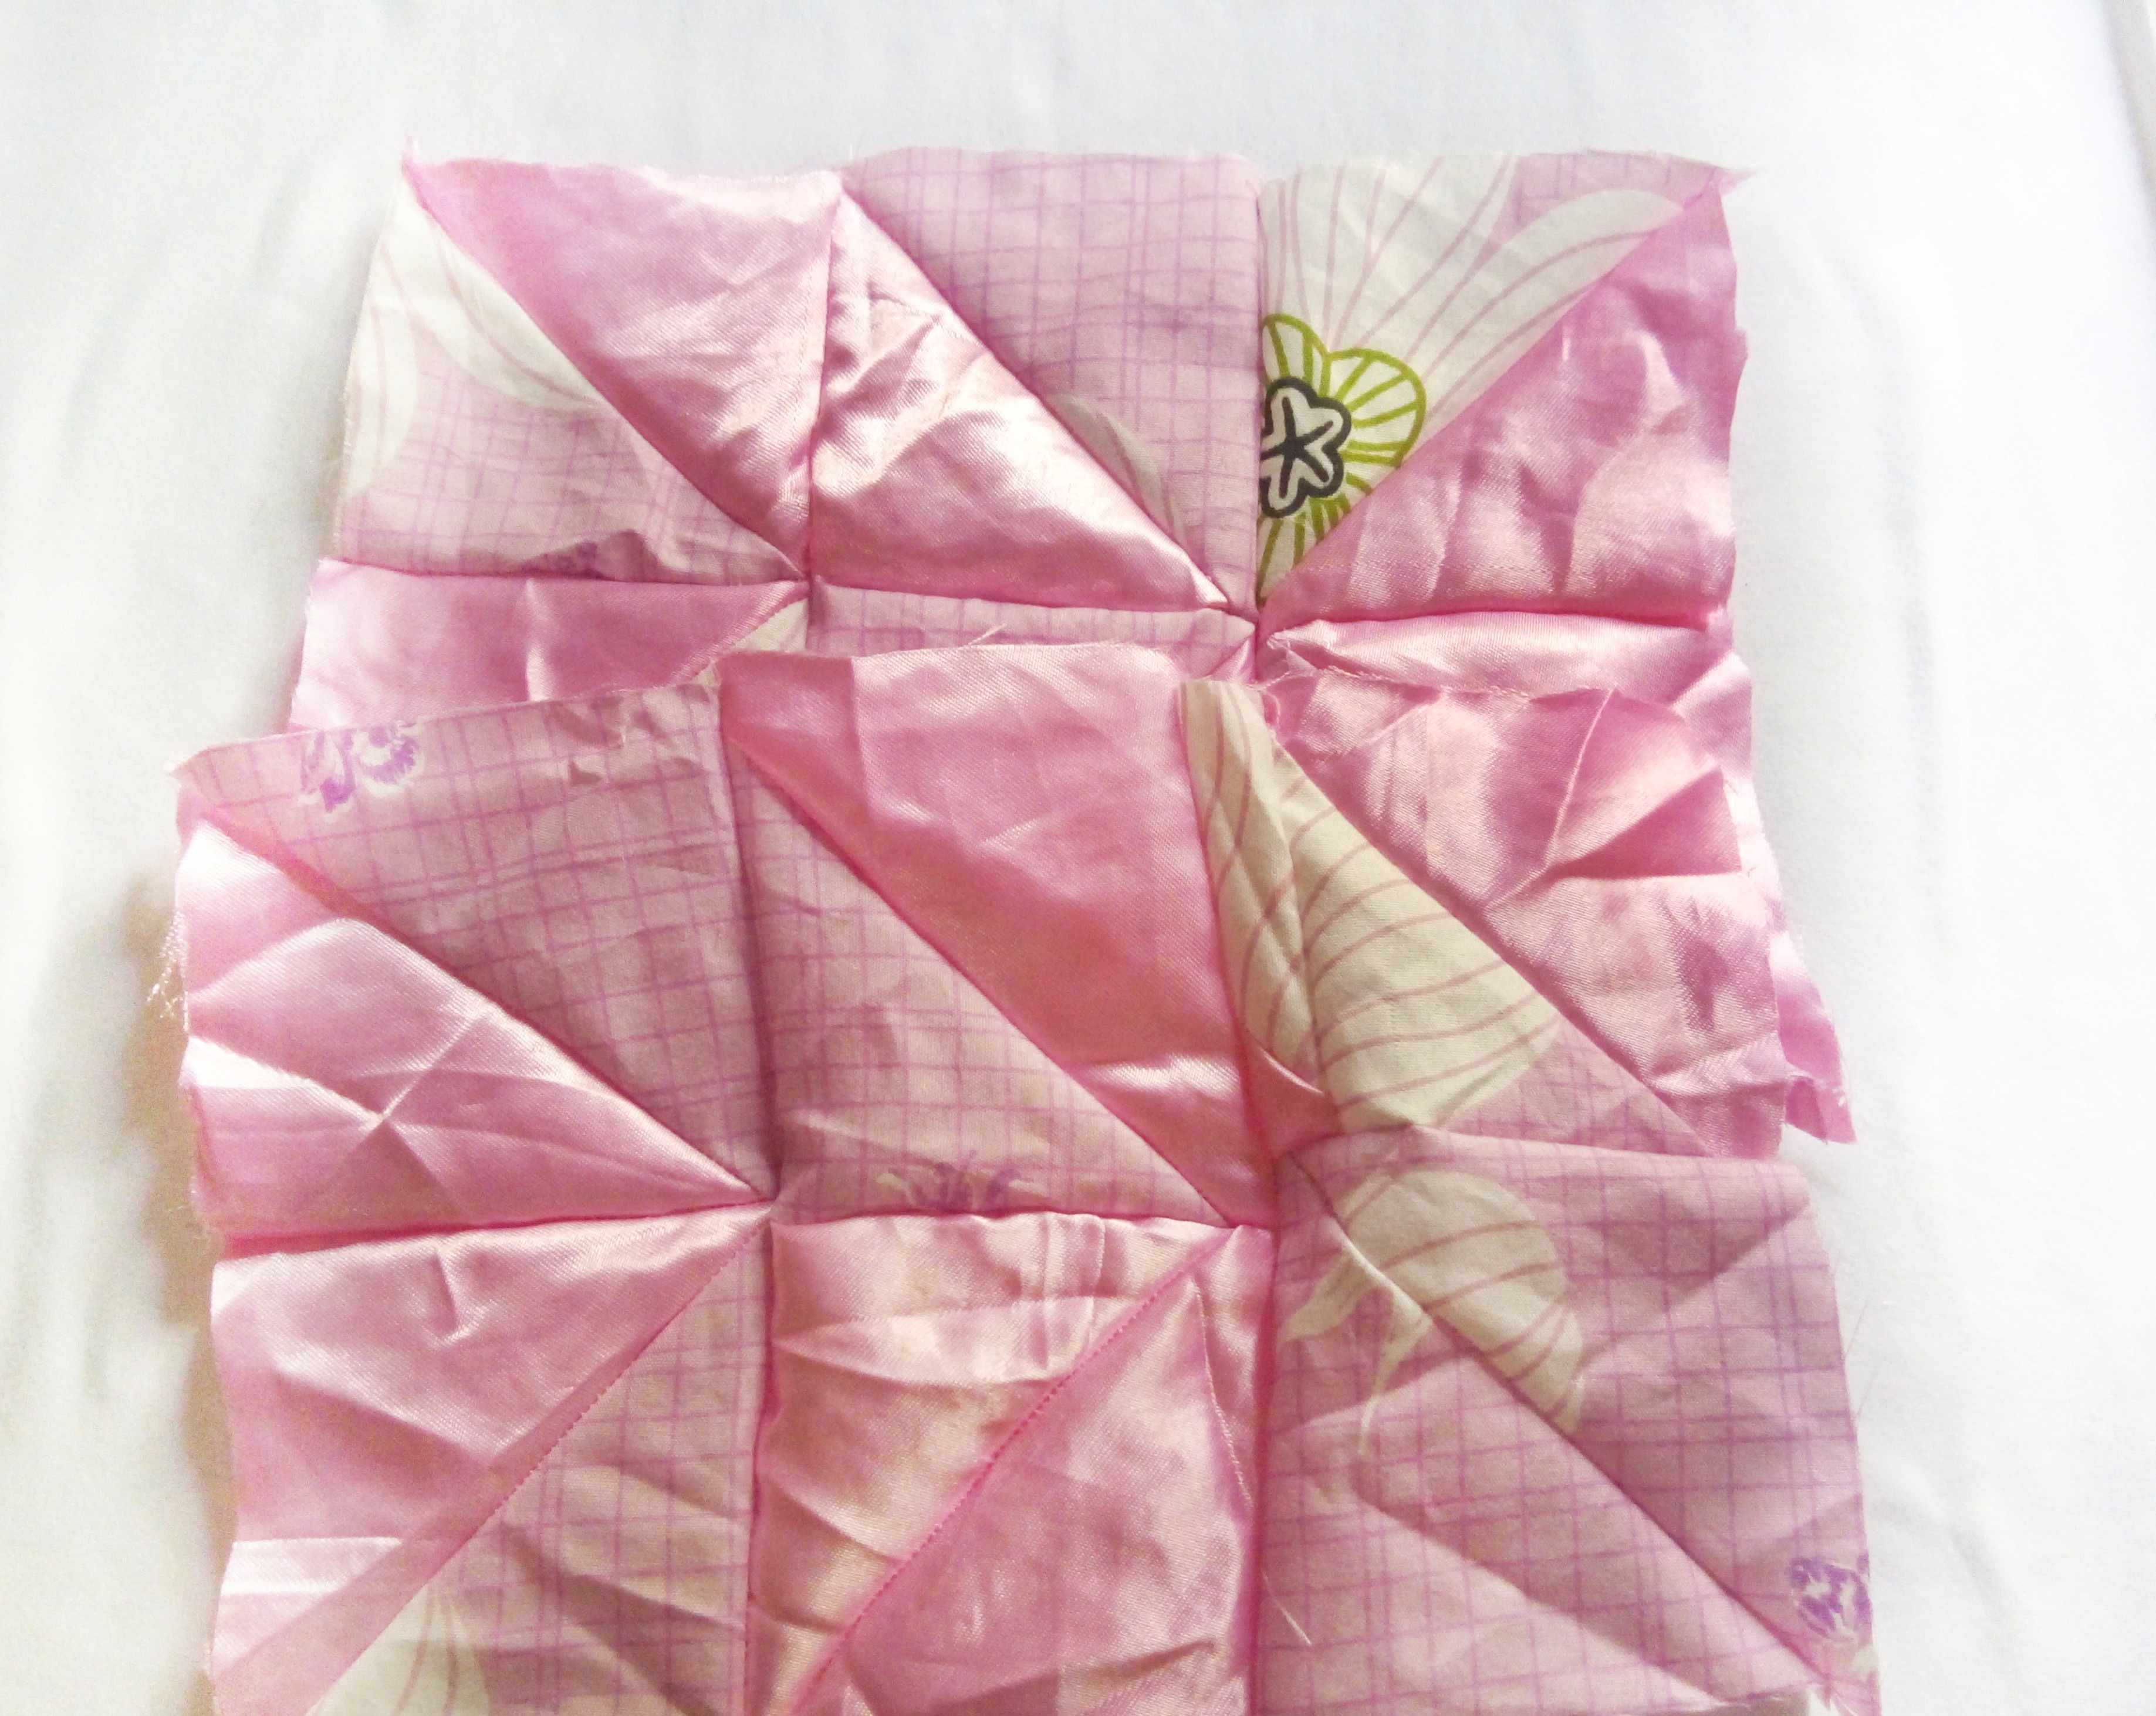
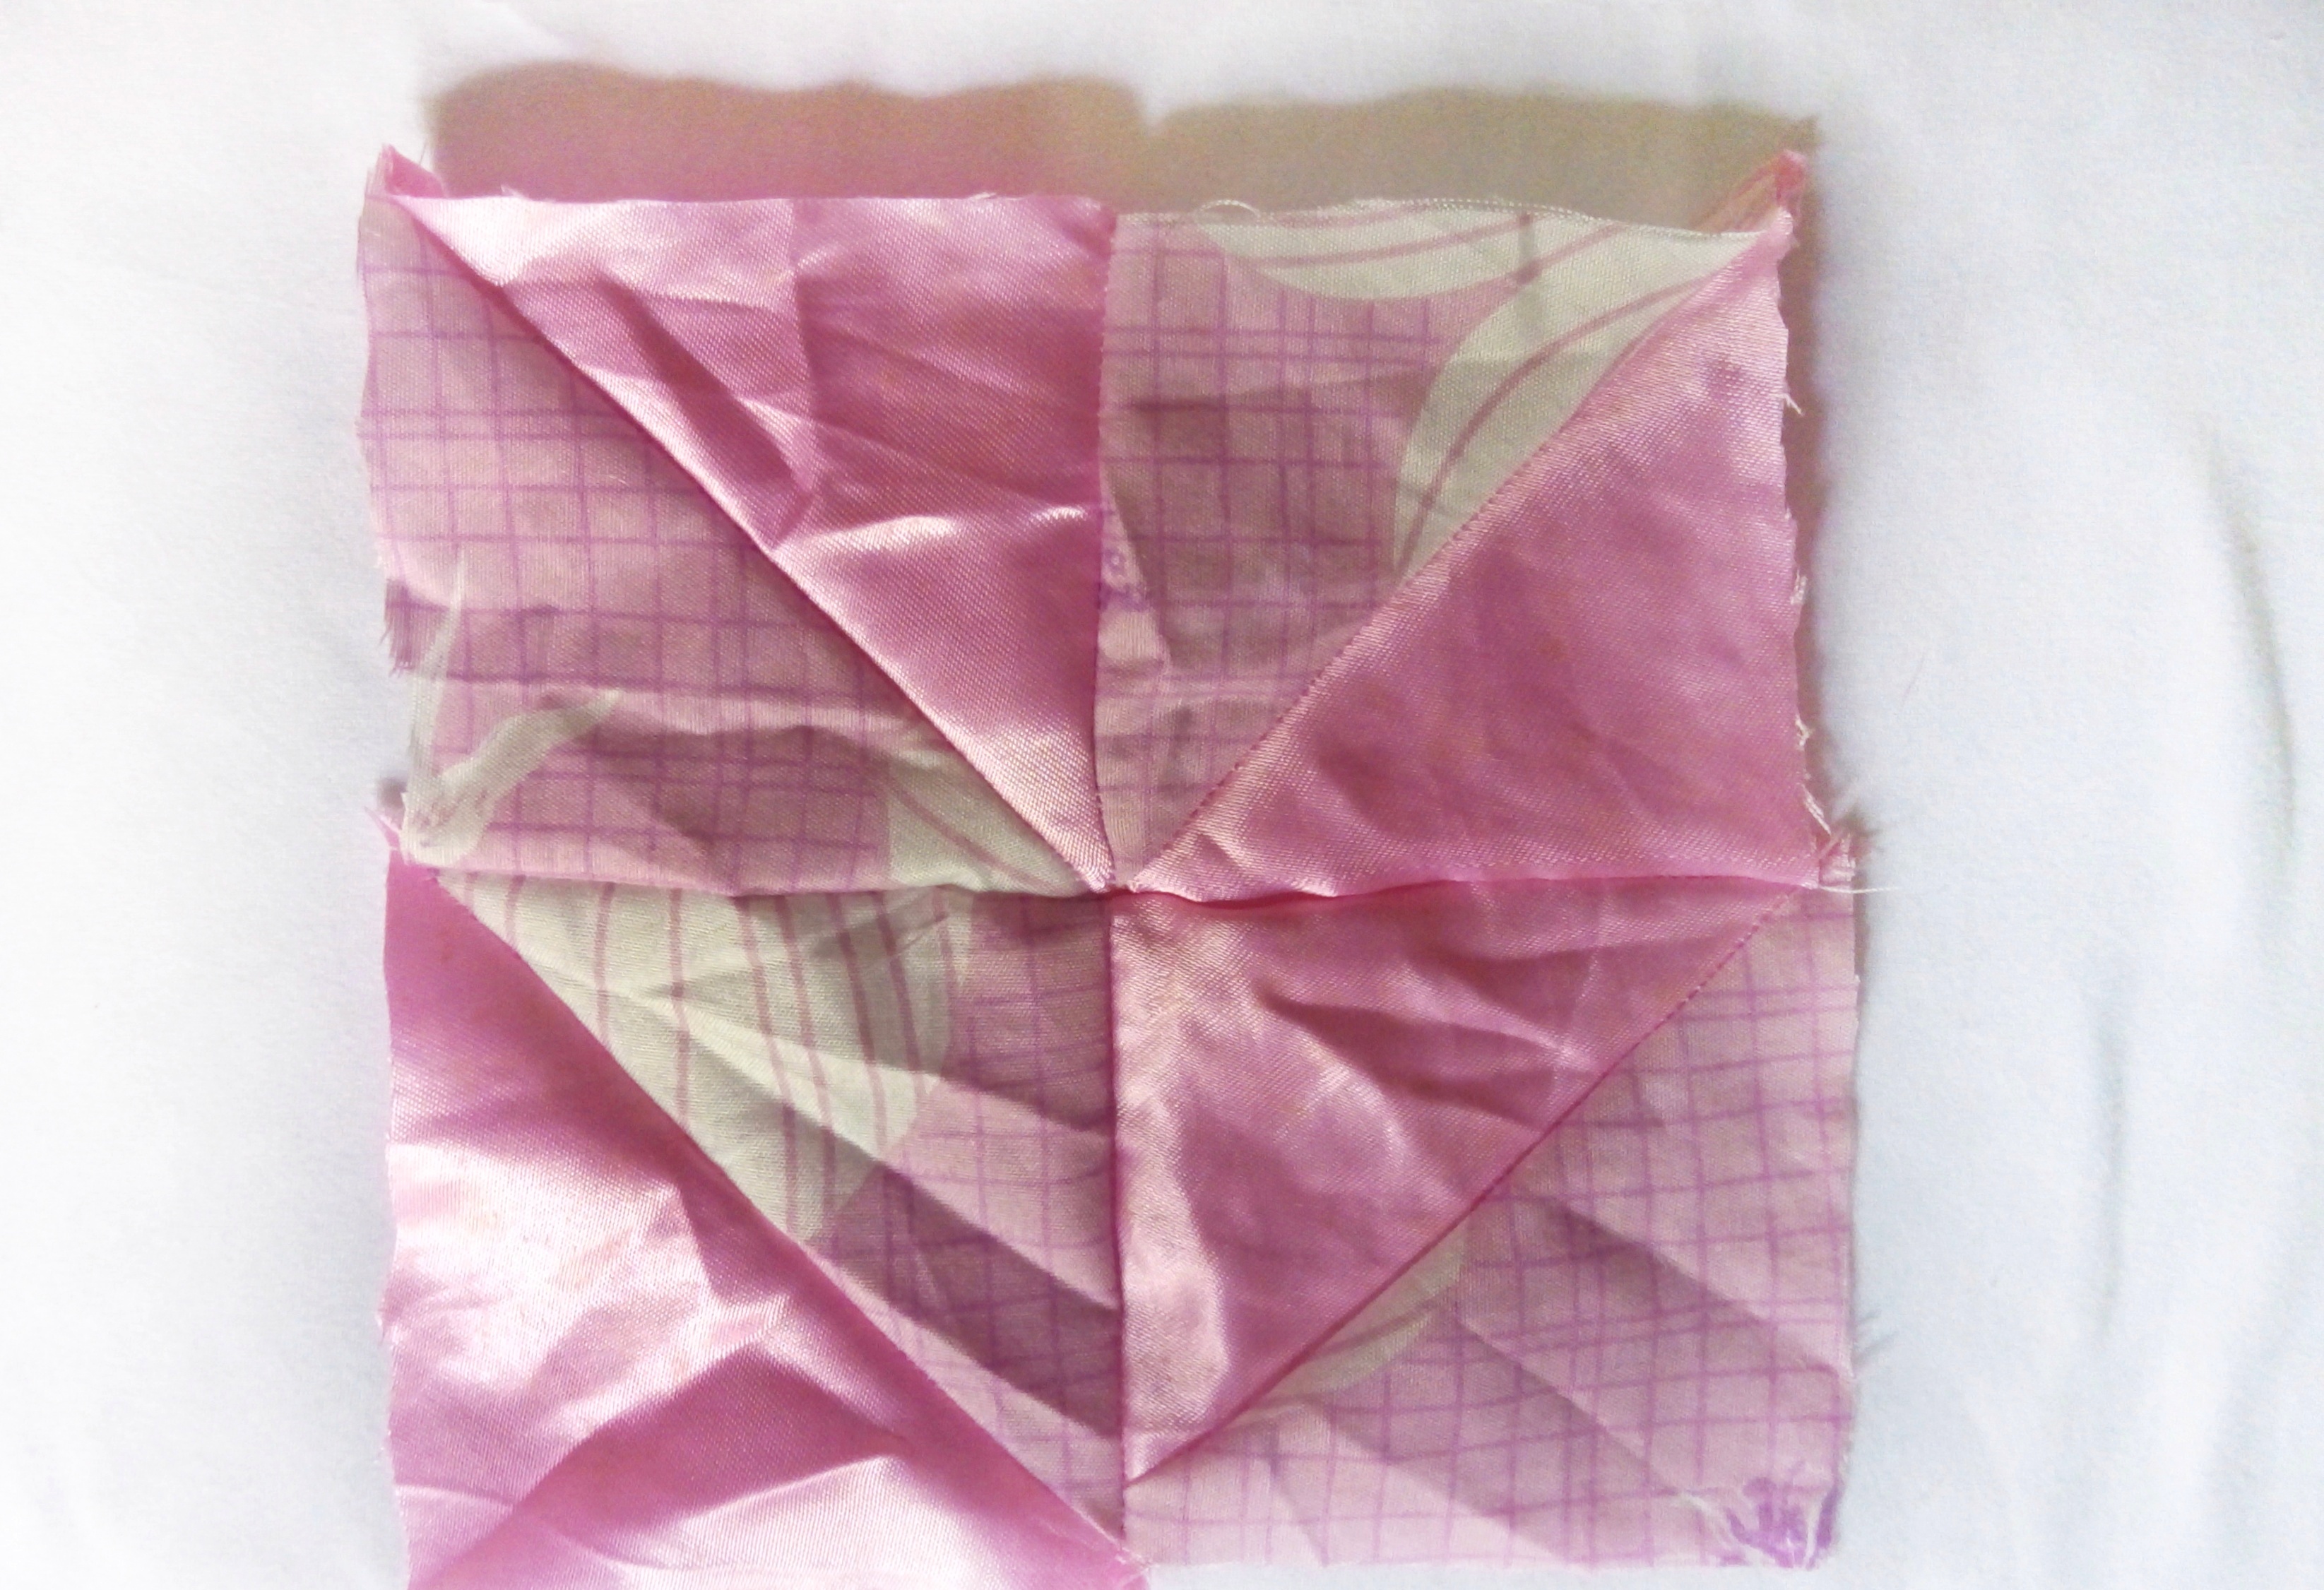
Luego vamos a tomar dos triángulos de diferentes tela y vamos a coser para formar un cuadrado, vamos a la máquina a pasar una costura recta. Esto lo vamos hacer con todas las piezas, vamos hacer 12 cuadrados.
Quinto Paso:
Vamos ahora a unir los cuadros formando una línea de 3 cuadros.
Sexto Paso:
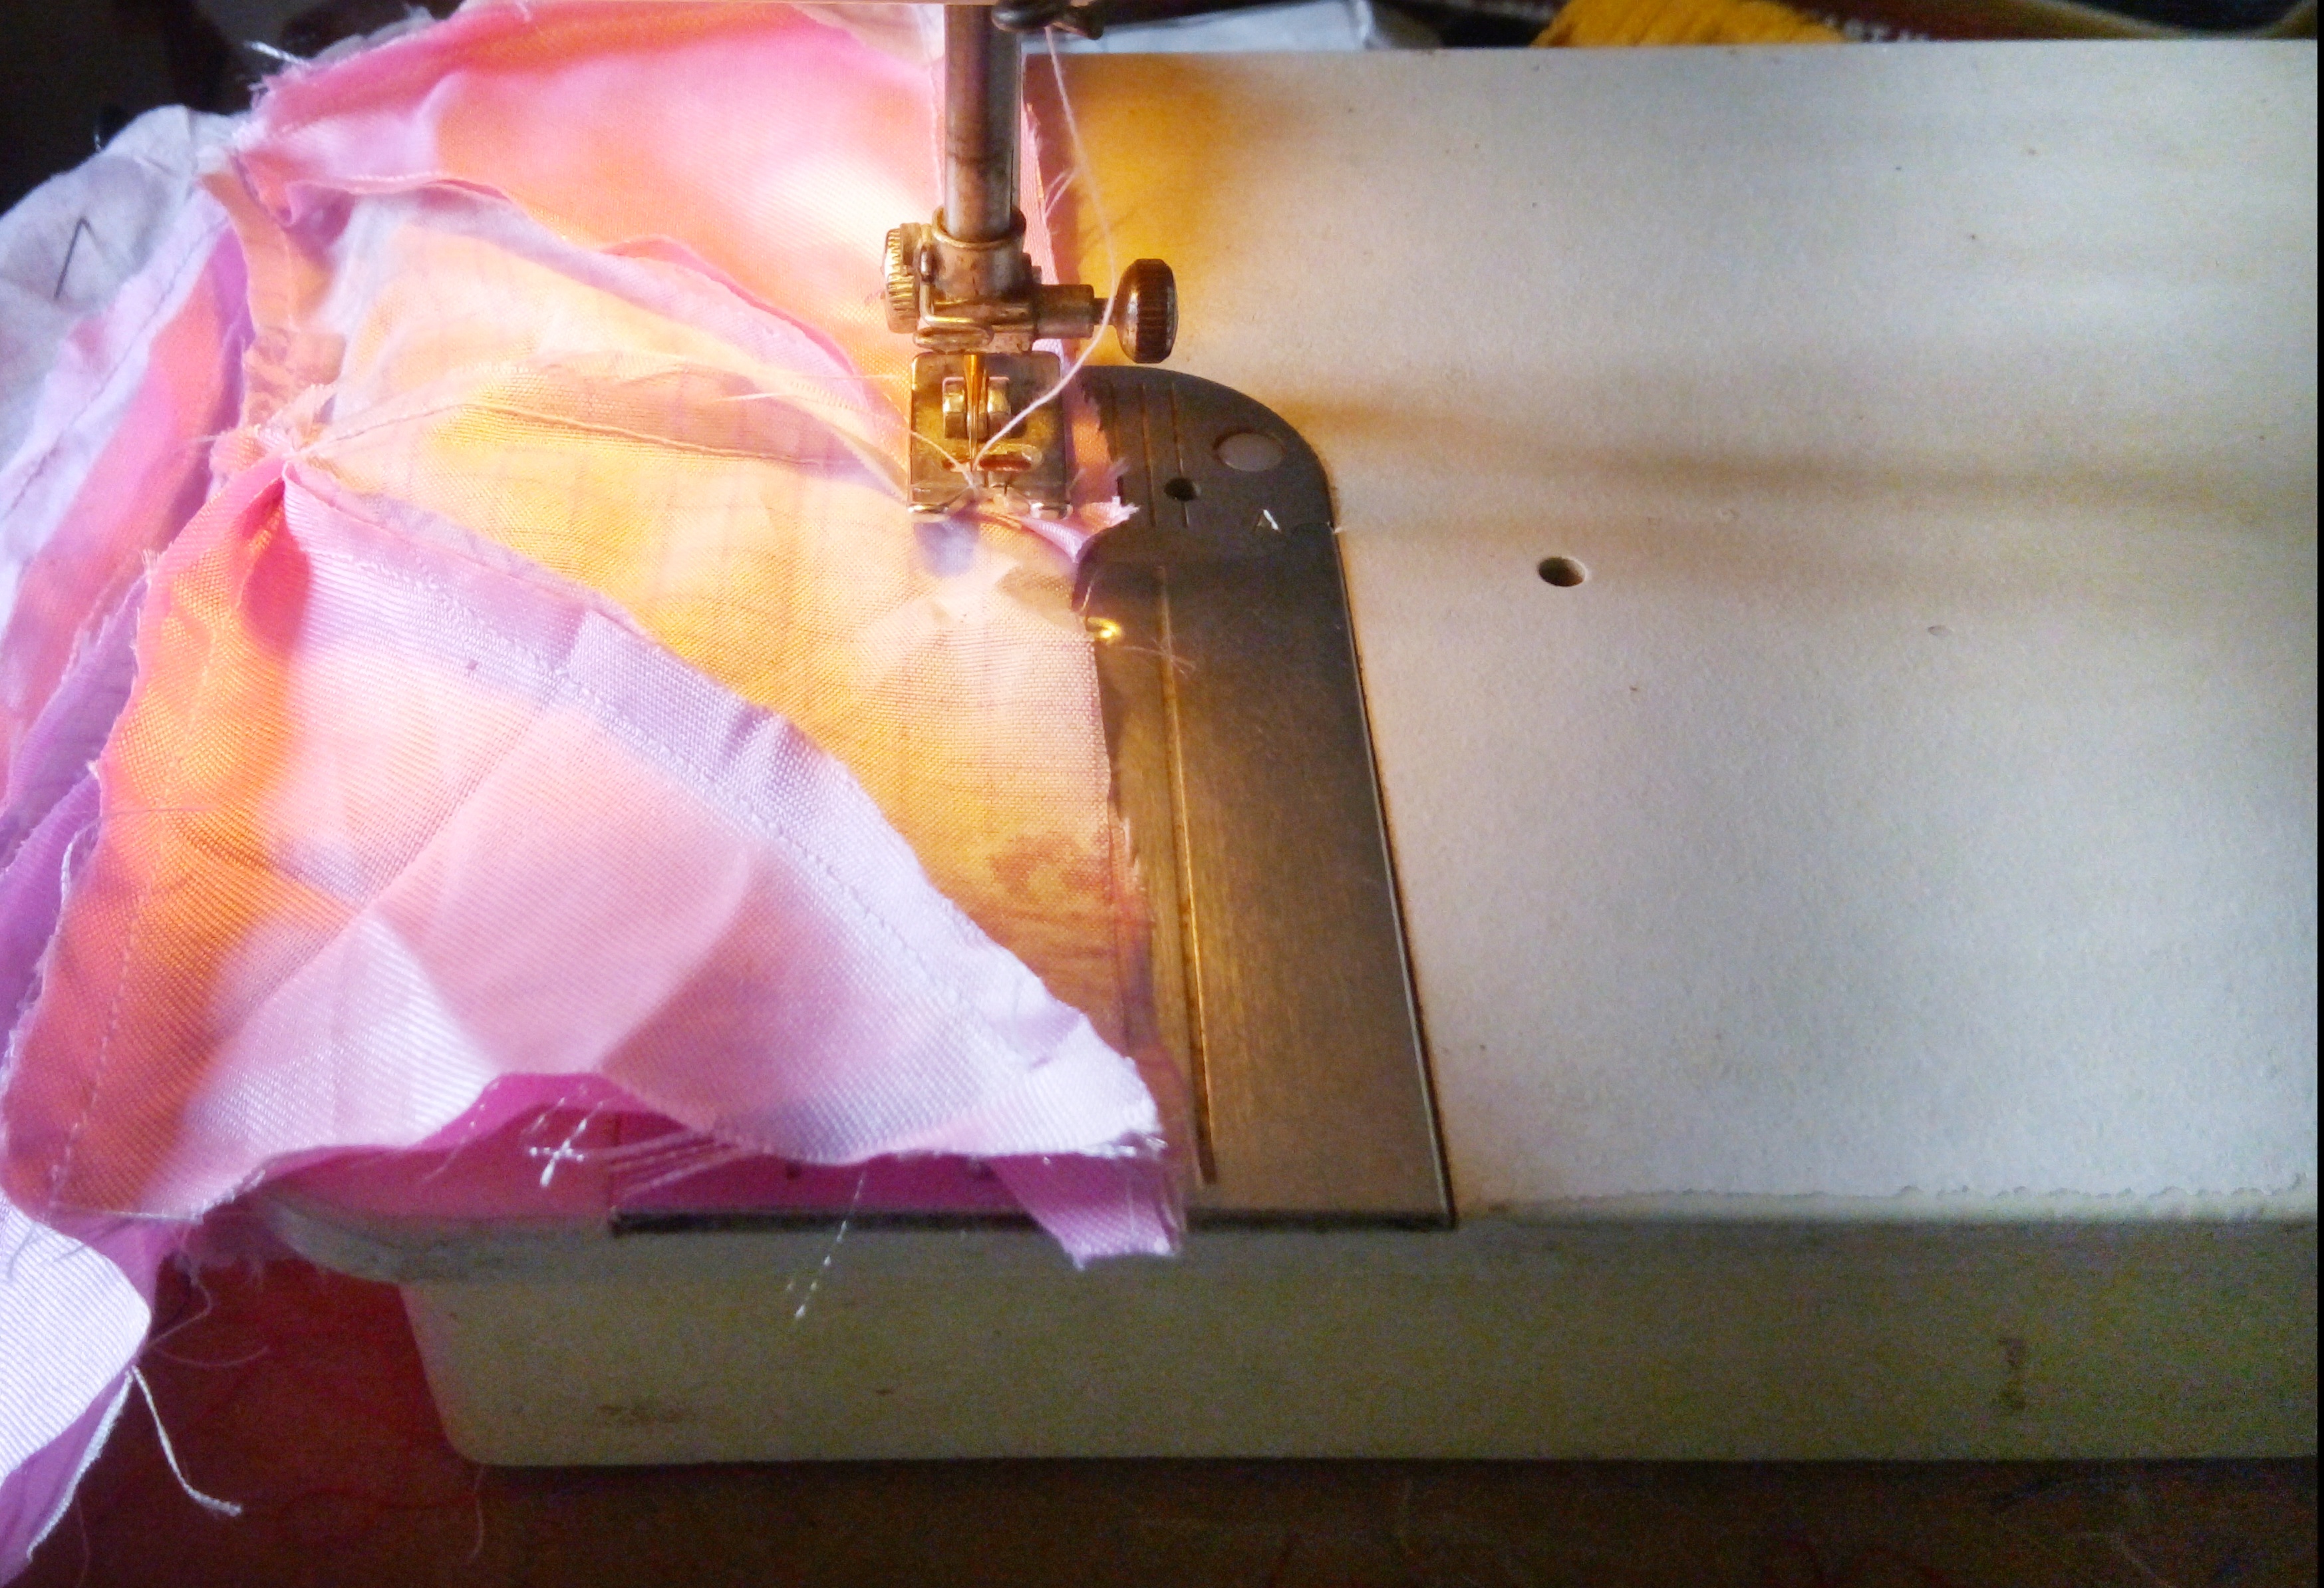
ahora vamos a realizar la unión de las dos bases de cuadros, vamos a pasar una costura recta y dejaremos un pequeño orificio por dónde meteremos la tela de relleno que es la tela reciclada que nos quedo.
Resultado
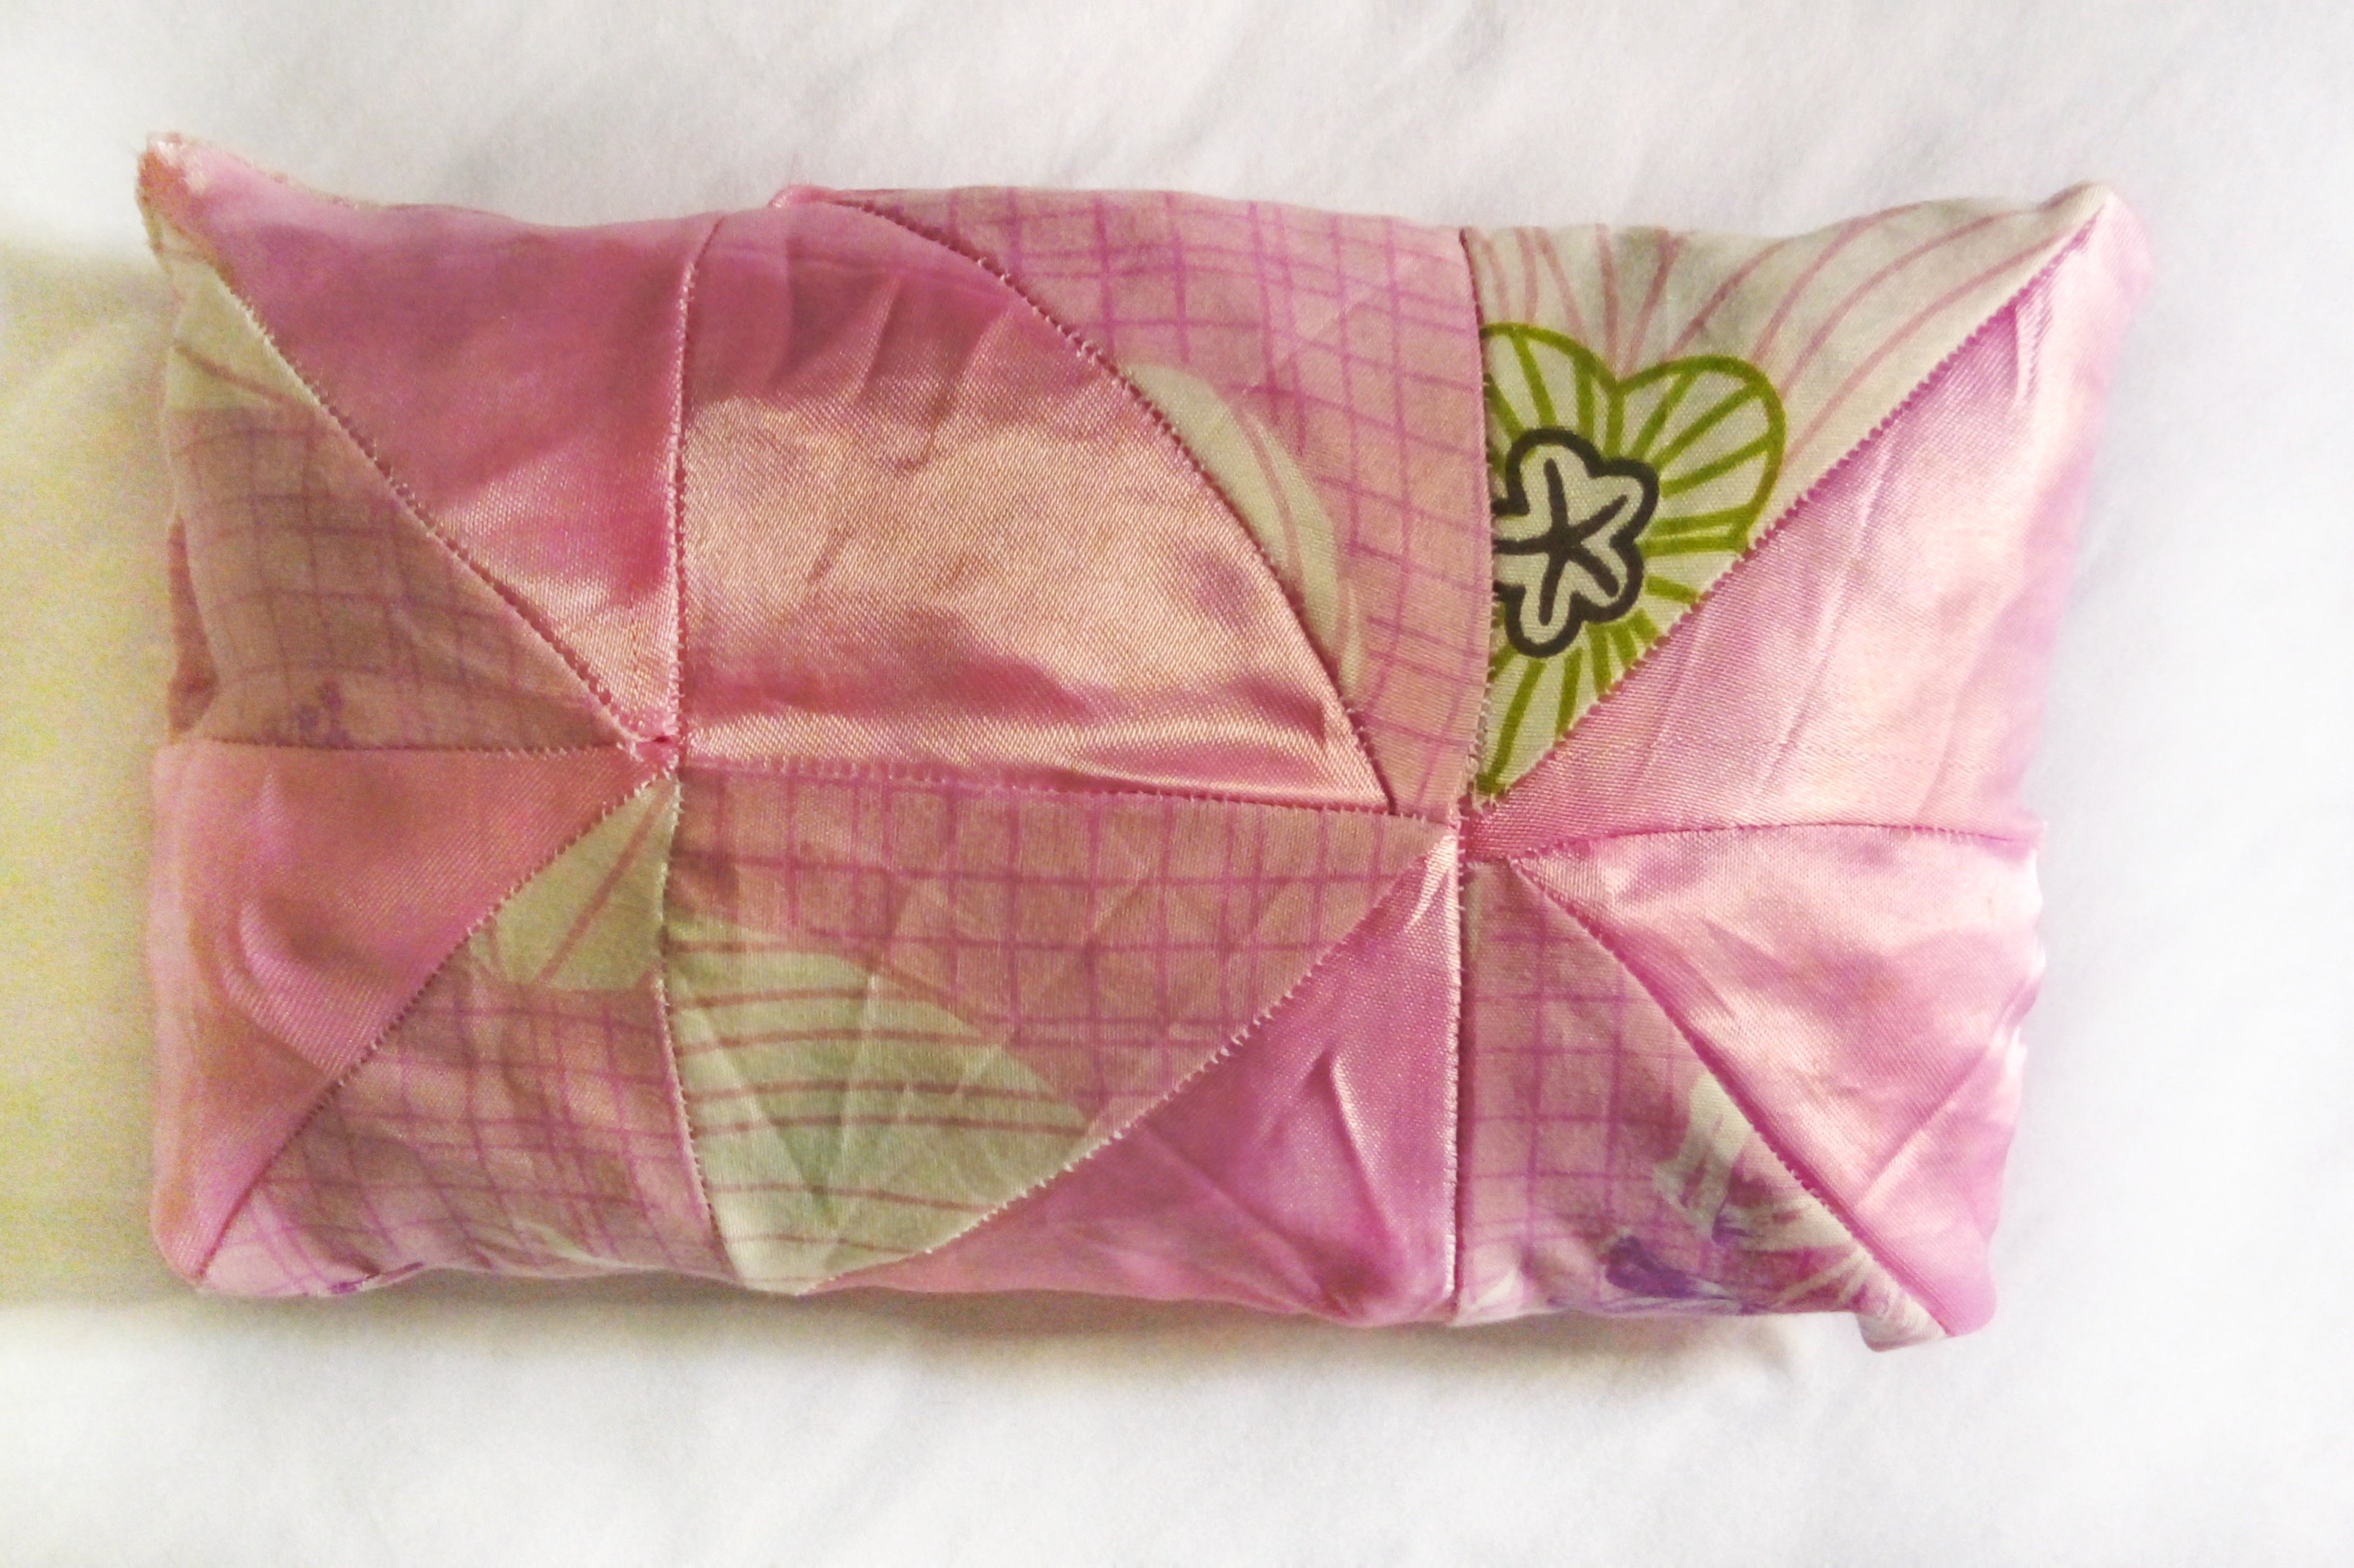
Listo amigos, así queda la almohada con material reciclado, es una forma maravillosa para utilizar los retazos de tela, espero puedan sacarle provecho y jugar con la imaginación para crear de diferentes modelos. Hasta la próxima ❤️❤️❤️❤️🥰🥰🥰

ENGLISH
Welcome to my blog dear friends of the Hive Diy community ❤️. I hope you are having a great day, it is always a pleasure to be here with you; this time I tell you that I have been making a nice mini pillow with recycled material.
In the previous works that I have done, I usually keep the leftover fabric, so I thought of making this pillow with those materials, I thought it was a great idea and perfect to share it with you.✨
Materials used
- 🌸 Recycled Fabrics
- 🌸 Crochet hooks
- 🌸 Scissors ✂
- 🌸 Sewing Machine
- 🌸 Tape Measure
- 🌸 Pencil
- 🌸 Sheet of Paper
Steps to make the recycled pillow
First Step:.
The first thing I did was to take the sheet of paper, the pencil and the ruler, then I made a square of 10 x 10 centimeters, after that I took the scissors and cut out the square.
Second Step:
Once we have the little square ready on the sheet of paper we will use it as our mold, so now we are going to take a piece of fabric and we are going to draw several squares. Then we are going to cut out.
Third step:
Now we are going to take each of the squares and fold one corner with the other, then we are going to cut and we will have the shape of a triangle.
Fourth Step:.
Then we are going to take two triangles of different fabric and we are going to sew to form a square, we are going to the machine to pass a straight seam. We are going to do this with all the pieces, we are going to make 12 squares.
Step 5:
We are now going to join the squares forming a line of 3 squares.
Step Six:
Now we are going to make the union of the two bases of the squares, we are going to pass a straight seam and we will leave a small hole where we will put the stuffing fabric that is the recycled fabric that we have left.
Result
Ready friends, here is the pillow with recycled material, it is a wonderful way to use the fabric scraps, I hope you can take advantage of it and play with your imagination to create different models. Until next ❤️❤️❤️❤️🥰🥰🥰🥰🥰
I love recycling and as every person who is into sewing, has a lot of fabric left, using those pieces to create something new is always a good idea.
Está bellísima 👍
Hola amiga, te quedo muy bonita con los retazos que reutilizaste, gran idea. Feliz domingo.
Unir cada pieza requiere de bastante paciencia ajaja, el resultado final es hermoso una almohada muy original.